Smart objects are an incredibly useful feature in Photoshop. They let you edit images and add filters without any loss of quality. However, they aren't that well known.
Beginners may not even have heard of smart objects, and casual users might think they're an advanced option beyond their capabilities In fact, everyone should make use of smart objects.
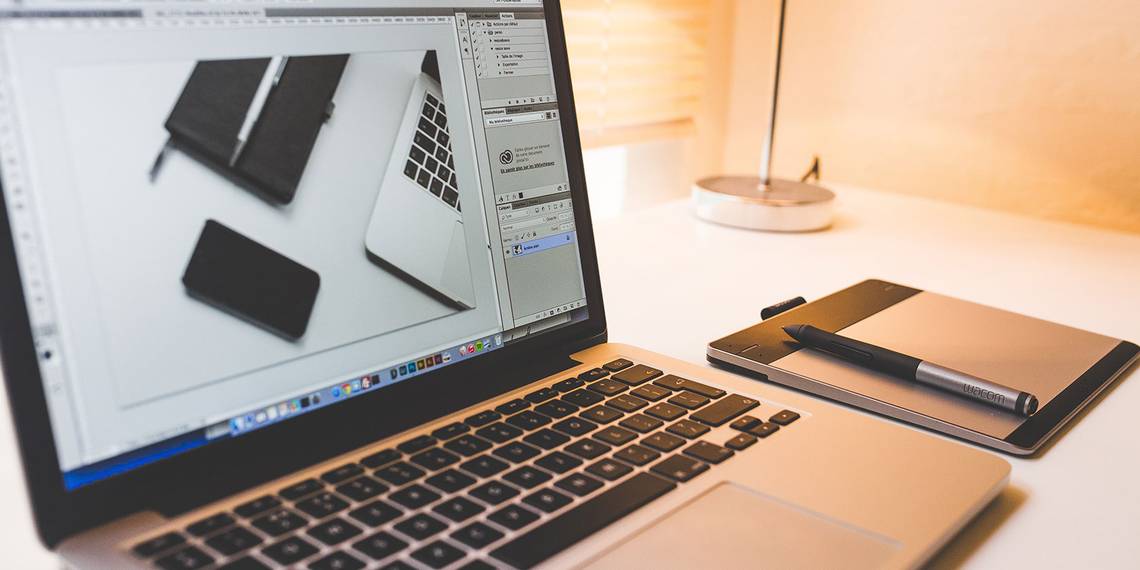
In this guide, we'll show you how to get started using smart objects in Adobe Photoshop.
What Are Smart Objects?
A smart object is a special kind of layer that enables true non-destructive editing in Photoshop.
When you convert a normal layer into a smart object, the content of that original source layer gets saved separately---as a file-within-a-file. No matter how much you edit the smart object, the original source content remains untouched.

Smart objects can contain both raster and vector content, and work like normal layers. You can resize or transform them, apply filters or add adjustment layers. You're also able to make selections and use masks.
What makes it even more useful is that you can access and edit the source content at any time, too. Just double-click the thumbnail image for the layer in the Layers panel.
Use Smart Objects for Non-Destructive Editing
Non-destructive editing is the main reason why you should use smart objects. You can scale, resize, and rotate them without any loss of quality.
Here's how it works.
Open an image on a new layer. Use the Free Transform tool (Ctrl + T on Windows, or Cmd + T on Mac) to make the image smaller, then hit Enter to apply the change.
Now use Free Transform again to enlarge the image back to its original size. Notice how the image is now soft or pixellated.

This happens because when you made the image smaller Photoshop threw away the extra detail that was no longer needed.
Now try this.
Reopen the original image. Right click on the layer in the Layers panel and selecting Convert to Smart Object. Now repeat the above steps, making the image smaller, then bigger again.

This time there's no loss in quality. A smart object saves a copy of the original, unedited content so any changes you make are not permanent. You can even properly resize images fully without losing quality.
Edit Multiple Smart Objects Together
Often you'll need to reuse the same picture, shape, or other object more than once in the same image. By turning it into a smart object you can edit multiple instances of that element in one go.

Highlight the layer containing the content you want to repeat, right-click, and select Convert to Smart Object.
Next, duplicate the layer several times by hitting Ctrl + J on Windows, or Cmd + J on Mac. This creates multiple copies of the same smart object, all tied to the same source content.
Use the Move tool (V) to reposition all your duplicated layers.

Now, for any one of the duplicated layers, double-click the thumbnail in the Layers panel. This will open the original source content in a new tab. Edit it, then save, and close the tab.

Back in your main file, all instances of the duplicated smart object will have been updated to reflect the changes you just made.
Edit Smart Objects Individually
You can, of course, use smart objects more than once but still edit them individually.

To do this, don't duplicate the layer.
Instead, go to Layer > Smart Objects > New Smart Object via Copy. This creates a copy of both the smart object layer and the original source file.

Use Linked Smart Objects Across Several Files
In most cases, a smart object uses content embedded in your image file. But you can also create smart objects linked to external files.
This allows you to reuse smart objects across several files and projects. Whenever you update the linked source image, all the files that share the smart object will also be updated.
Here's an example.

Go to File > Place Linked and select an image file from your desktop that you want to use as the basis for your smart object. This will open the image on your canvas as a smart object. Hit Enter to confirm.

Create another file and do the same again, using the same source image. You should have two documents containing the same image.
Now open the external, linked source image, edit it, then save it. Both the files that link to this image will now be updated with the new changes.

When you use this option, you need to take an extra step when saving your file. First, save it as normal. Then, go to File > Package then hit Choose to save both your Photoshop file and the linked image together in a folder. If you move or delete the linked image otherwise, your file will break.
Use Smart Filters
Smart objects give you a massive upgrade to Photoshop filters, turning them into smart filters.
Filters are normally quite heavy handed. You apply them, and if you don't like the effect you have to undo it and try again.
Smart filters on smart objects are non-destructive. You can edit them at any time, and even hide or delete them if you no longer need them.

It's simple to use. Turn your layer into a smart object then apply a filter in the normal way. Look in the layers panel, and you'll see the filter listed below the smart object layer.
Double-click to edit it, or drag it onto the trashcan to remove it.
Mask Filters in Photoshop
Even better, you can mask smart filters to control where on your image they take effect.

Smart filters have masks automatically applied to them. It's the box above the filter in the layers panel. The mask is empty (white) by default. This means the filter effect is applied across the whole layer.
Click the mask thumbnail, select a brush, and set it to black. Now start painting over your image. The filter effect is removed from all of the black areas.
Set the brush to gray to make it partly visible.

Masking filters like this enables you to create bokeh effects in portraits, or to selectively apply sharpening or noise reduction to specific areas of a photo.
Use Smart Objects to Create Templates
A final great reason to use smart objects is that they make it easy to create templates in Photoshop.
Just right-click on the smart object layer and select Replace Contents. Then select the new image that want to use as the source content.

Why is this so useful?
Because if you've applied filters, or altered the shape of a layer, then the new source image for your smart object will retain these properties. This wouldn't happen if you simply dropped in a new image onto a separate layer.
Downsides to Using Smart Objects
Smart objects are extremely useful, but they have a few downsides you need to know about.
First, files that contain smart objects are heavier. They're larger and often require more system resources.
Second, they can also be more complex. If you're using a lot of smart objects you need to label and group your layers properly to help stay organized.

Third, smart objects are not directly editable. You can't use things like the brush tool or clone stamp on one without converting it back to a raster layer, losing the benefits of smart objects in the process. Do this at Layer > Smart Objects > Rasterize.
Alternatively, you can directly edit the smart object's source content. In most cases, this can be a better option.
The Next Steps
Smart objects are so useful, whether you use Photoshop for vector graphics or photo editing. And they're easy enough to use that anyone---from beginners to pros---can benefit from using them.
As we've seen, one of their best uses is for adding filters to images. We've covered the basics in this article, but there's a lot more you can do with them. Check out our guide on how to apply a smart filter to multiple layers to discover how you can take things to the next level.