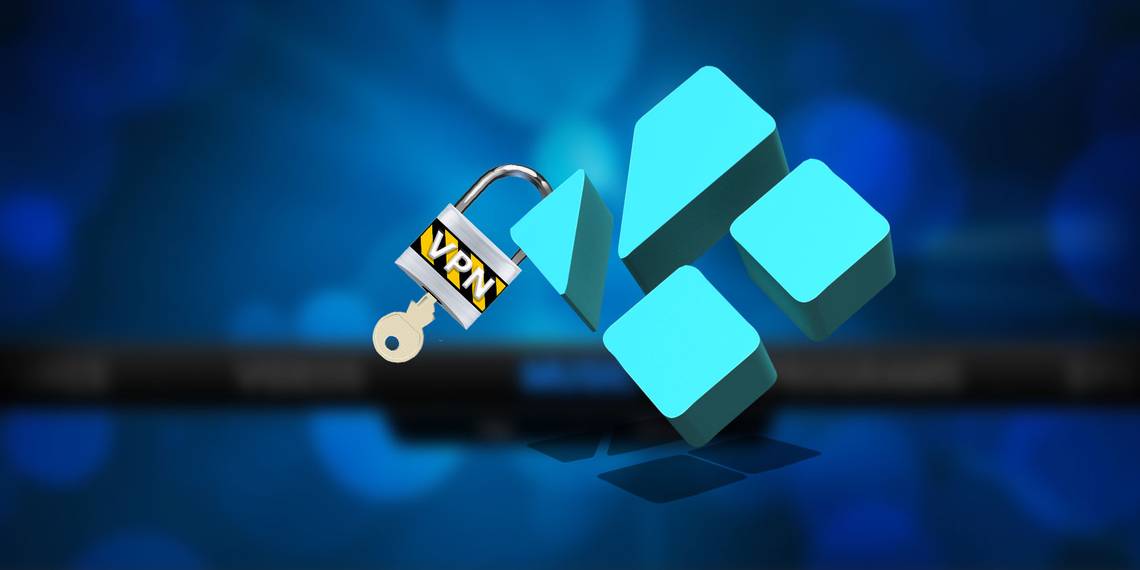
You're using Kodi. Perhaps it's on your PC, or your Android device, or some other hardware. You might be using it to stream video that you shouldn't or you might be using it legitimately. Either way, it's a good idea to use a VPN like ExpressVPN.
This isn't about avoiding the scrutiny of the law. If you're watching content via Kodi on your mobile app, using a VPN will protect your data while watching over free Wi-Fi. Alternatively, it can be used to beat region locking for services like Netflix, BBC iPlayer, or even YouTube.

With an active VPN, your data is automatically encrypted before it leaves the device, and is routed via a secure server. There are many other reasons to use a VPN, but these are the main ones when it comes to the Kodi media center software.
Now that you know why it's important to use a VPN with Kodi, I'm going to show you how to set one up.
Which VPN Should You Use?
Many VPN services are available. Some of these are free while others are paid. For regular use, and streaming video data, we would recommend a paid VPN service.

The optimal VPN for Kodi will provide support for P2P file transfers, as some Kodi add-ons use peer-to-peer for faster downloads. Your chosen VPN should also support OpenVPN, which is arguably the best VPN protocol currently available. Most VPN providers offer OpenVPN support.
As noted, the selection of VPN services on offer is vast. If you want a quick recommendation, however, our current favorite is ExpressVPN.
When You Need a Kodi VPN Add-On
Being able to successfully set up a VPN add-on for Kodi on your device depends on establishing whether you actually need one.
In short, if the device you're using to run Kodi doesn't have a dedicated VPN client, you need a VPN add-on. Windows, iOS, and Android users: you can simply run your usual VPN, then launch Kodi. Job done.
On platforms where no VPN client is available (and this will differ depending on which VPN service you select), an add-on is required. Consoles, for example, benefit from this approach, as do Linux-based Kodi media centers.
If you find that neither of the suggested methods below work out for you, then the most sensible option is to use your router to access your VPN, rather than a client app.
Note: The following steps are based on the default theme for Kodi 17.01. The location of some menu items may differ in your chosen theme.
Adding OpenVPN Support to Kodi on a Games Console
To get OpenVPN functionality on Kodi on a console, you'll need to install the Open VPN for Kodi add-on. Kodi includes support for a vast number of add-ons, some offering unique televisual experiences, others for podcasts, and many that replicate popular services such as Netflix or Hulu.

Next, open Kodi and go to System > File Manager, and click on Add Source. Select None, then enter the address http://fusion.tvaddons.ag. Click Done, then enter the name as fusion. Click OK, then return to the Home screen. Here, click System > Add-ons > Install from ZIP file, then fusion.

Continue by clicking XBMC-repos > English > metalkettle-x.x.x.zip (where the "x.x.x" will display the latest version number) and wait until you see the Add-on enabled pop-up box. Click MetalKettles Addon Repository, then Program add-ons where you'll find openvpn. Click Install and wait for the Add-on enabled pop-up.
OpenVPN on a Linux-Based Kodi Box
If you're running Kodi on a Linux PC, you'll need to install the VPN for OpenELEC add-on, also from the metalkettle repository. Follow the instructions above, up to installing openvpn. At this point, simply select and install VPN for OpenELEC.
Configure Your VPN
From this point on, it should be simple to configure your VPN. Whichever add-on you're using, click on the Run icon, and find the setup menu item. You'll be prompted to browse through the list of VPN providers. If yours isn't listed, there should be a custom option.
Next, you'll be prompted to enter your VPN account's username and password, so add these (take extra care if you're not using a physical keyboard) and click OK when done.
You should then be able to select from the list of servers, so select your favorite (or most appropriate for your purposes) and wait until it connects. Your Kodi box is now connected to the internet via a VPN!
How to Enjoy Overseas TV With a VPN on Kodi
You're now able to overcome region blocking. For instance, if you're in the U.S. and desperate to catch the latest episode of Doctor Who, Line of Duty, or other big-hitting TV show in the U.K., you can now watch online with ease.
Use the VPN server selection screen in your VPN plugin to select a server in the U.K. Once the server has connected, check that your IP address has changed (you'll find an add-on to check this). If everything is running as it should, you could then use the appropriate add-on to view the TV show you're looking for.
It's really that simple. Of course, it might have its downsides. For instance, choosing a VPN thousands of miles away may result in some stuttered streaming. As such, if there is a download option available, it might be wiser to use this!
Your VPN Is Running: Kodi Is Now Private and Secure
With these steps completed, you now have a VPN on your Kodi device. Better still, you can switch between multiple profiles, a useful option if you're planning to avoid region blocking.
Again, Kodi proves just how flexible it is, and why it is the number one open source media center software in the world. While we can hope for a simpler method of setting up a VPN in future, for now this is as straightforward as it gets.
Now that you have a properly configured VPN, it might be a good time to make sure your Kodi setup is also proper and optimized.