Have you ever wanted to sell something online? From handmade products like badges or pottery to clothes, artwork, or decor items, there are a million ways to put your crafty skills to use and sell over the internet.
However, it can be tough to set up an online store if you don't have much web design experience. For that reason, we've put together a guide on setting up an online store, for free and with absolutely no coding knowledge required.
Why Use Storenvy?
You've probably heard of Etsy, which is a popular way to create a website to sell goods online. However, there aren't many customization options on Etsy so it's hard to make your store stand out.
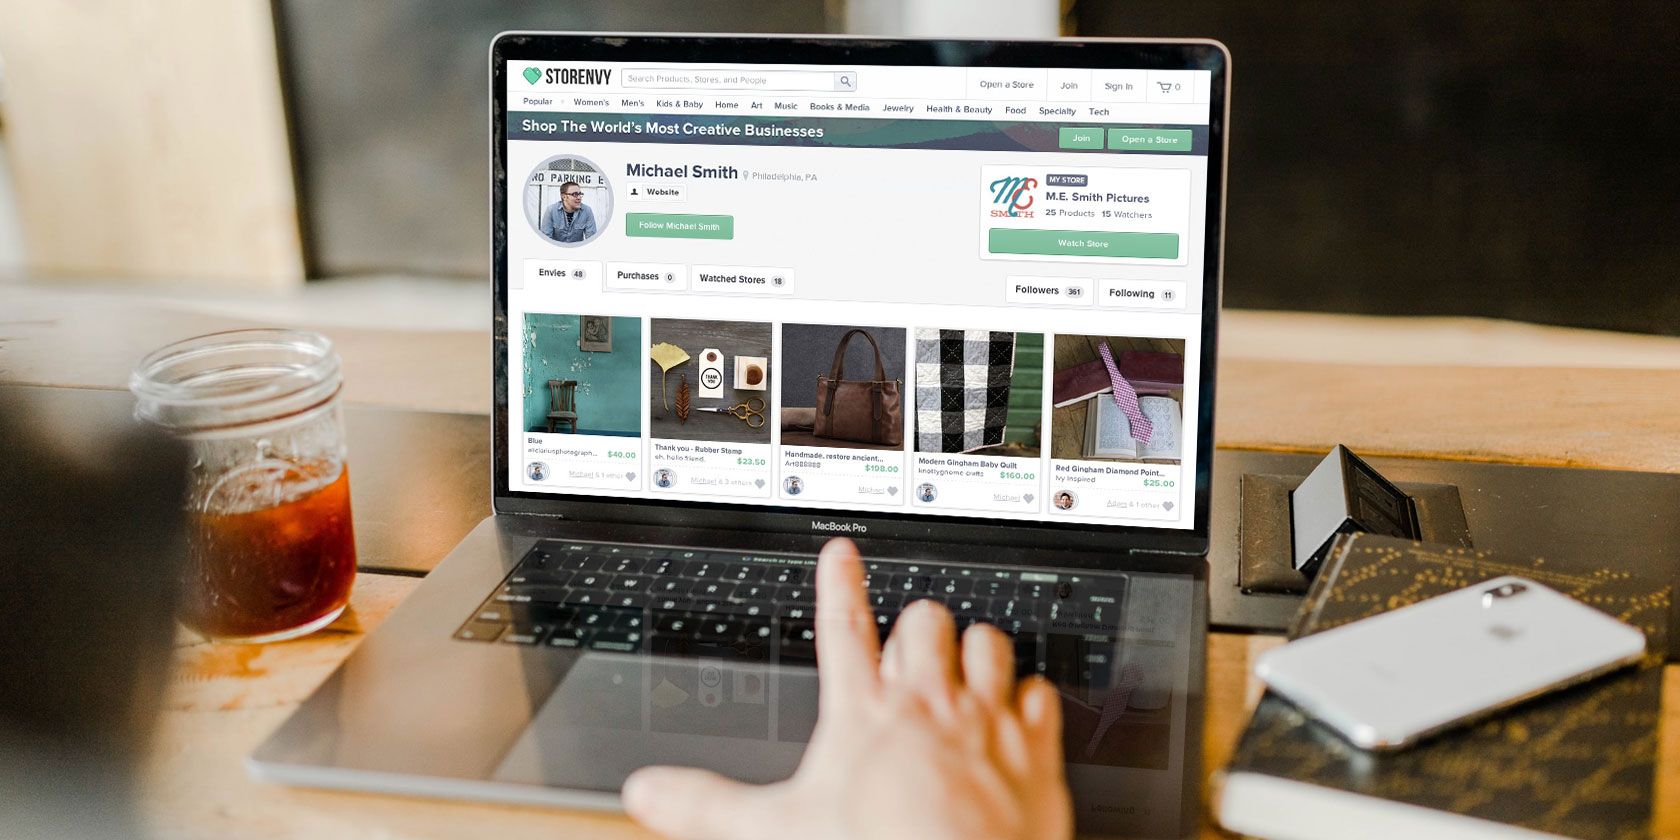
A good alternative is Storenvy, which lets you set up and customize your own store for free. You can list up to 1000 products at a time and you don't have to pay any monthly subscription fees. You can list any item for sale as long as it isn't on the list of prohibited products.
Payments from customers are handled through PayPal or Stripe, so these merchants will charge a cut of transactions when people buy from you. But that's it. It won't cost you anything to set up your store.
Creating a Storenvy Store
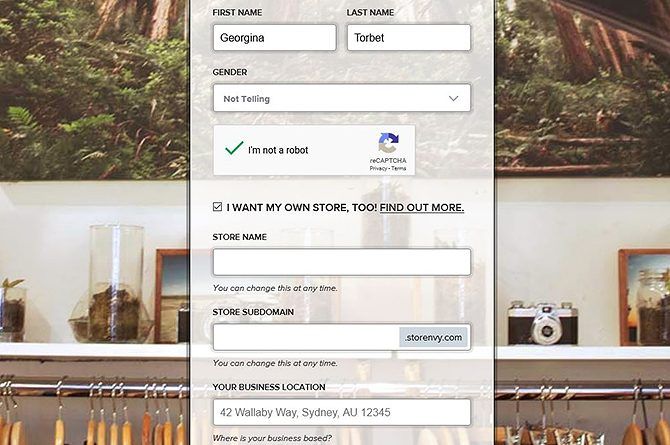
To begin setting up your store, head to the Storenvy join page. Fill out basic information like your name, email address, and password. Then select the I WANT MY OWN STORE, TOO! checkbox. This brings up more options for your store like the store name, URL, and address.
Once everything has been filled in, you'll be taken to a page that says Congratulations! You've created a Storenvy Store.
You're now ready to start editing your store.
Setting Up a Storenvy Store
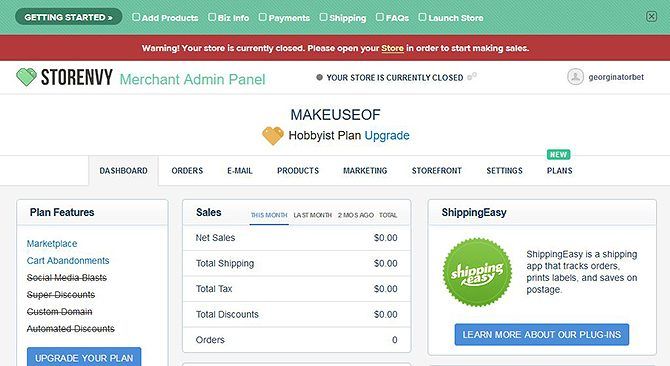
Begin by going to your store admin panel. The panel is located at http://yourstoreurl.storenvy.com/admin. In this case we'll go to https://makeuseof.storenvy.com/admin as makeuseof is the URL of our store.
Now we need to add essential information to the store like its name, phone number, an about blurb, and a logo. You can add these things by going to Settings in the menu at the top of the admin panel.
On this page you can also add links to your Twitter, Instagram, website, or a website you have built yourself.
Make any changes you want and the click Save Changes.
Now you need to sort out your payment options. You can take payments either with Stripe or Paypal, and you'll need to have your own account for each service you want to use. Go to http://yourstoreurl.storenvy.com/admin/settings/payments and connect either your Stripe account, your Paypal account, or both.
You may also want to add a FAQ section so your visitors can easily see answers to questions about your products. To do this, go to https://yourstoreurl.storenvy.com/admin/settings/support and here you can use the form to add FAQs. You can also a separate customer support address if you don't want customer questions coming to your primary email address.
Adding a Product to Your Storenvy Store
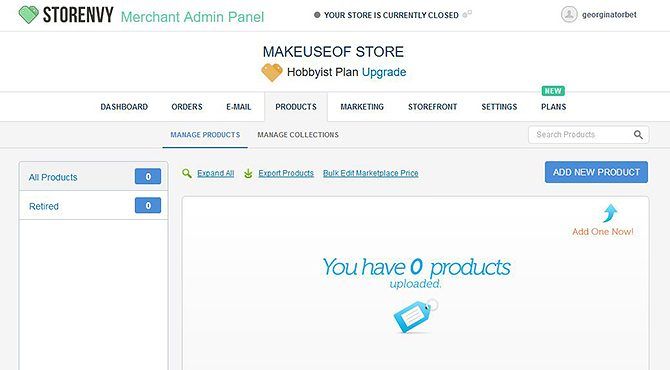
Now we're ready to start adding products to the store. To do this, go to Products in the top menu of the admin panel.
Click on the blue button on the right which says Add new product. Enter a product name and a price in US Dollars. Now choose a category and subcategory for your product from the dropdown menu. This will help shoppers find your product when they are browsing.
Once you have entered this information you'll be taken to a page where you can add more details about the product. The key things to add here are a description of your product, and tags to help people find your item.
Your tags should be relevant to your product but can be creative. For example, if you're selling a kitchen apron in a robot printed fabric, obviously you should tag it with apron. But you should tag it with robot too, so that people searching for robot-themed items can find it.
Another very important step here is to add images of your product. The images should be clear, well-lit, and show off the product well. You can upload photos in the Product Images section using the Add Image function.
Once you're done with your product, hit Save Changes. Repeat this process to add as many items to your store as you want.
Setting Shipping and Taxes for Your Storenvy Store
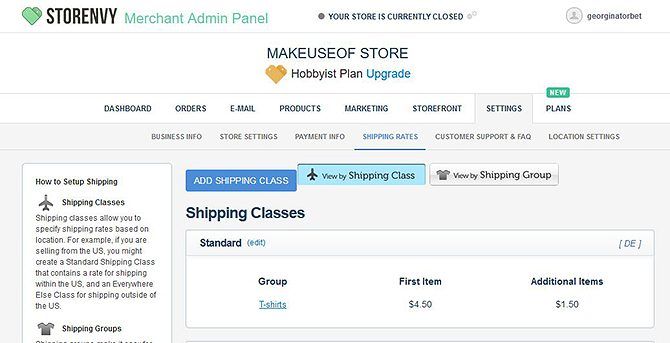
Another important step is setting your shipping rates. To do this, go to Settings in your admin panel and then to Shipping rates. You start off with two shipping classes, which represent where the items will be sent to---Standard, for within your country, and Everywhere Else, for international shipping. If you want to offer more options, like fast shipping, you can use the Add Shipping Class button.
As well as the classes, there are shipping rates. These are for different products, so stickers can be shipped for cheaper than pottery, for example. The default shipping rate is for T-shirts, and you can use this for all your products if you want. Or you can add a new shipping rate by going to https://yourstoreurl.storenvy.com/admin/shipping_groups and clicking on Add Shipping Group.
Finally, you need to add tax information for your particular location. To do this, go to https://yourstoreurl.storenvy.com/admin/settings/local and fill in information about sales tax and VAT in your country.
Customizing Your Storenvy Store
Before you launch your store, you'll want to customize the way it looks. To do that, go to your store's URL. For example, our URL is https://makeuseof.storenvy.com/.
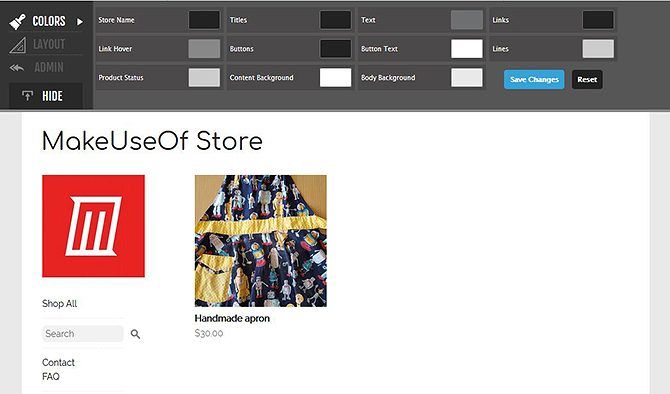
At the top you'll see a set of colored boxes with labels next to them. Click on a box to change the color of various elements, like the background, the text, the titles, and the links. You can choose a color using the popup color palette. Once you're happy with your colors, click Save Changes.
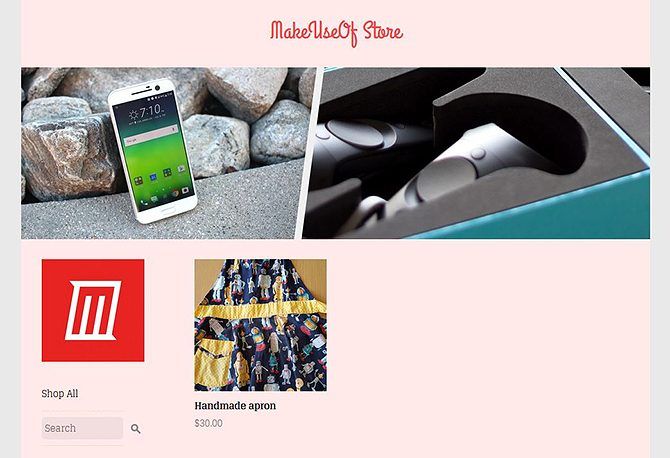
Now you can change the layout as well. Go to Layout in the top left and you can change the fonts, the alignment of the title, and the way the background image displays. To select a background image and a header image, go to https://makeuseof.storenvy.com/admin/theme/images to upload your images.
Once all your changes are made, hit Save Changes.
Opening Your Storenvy Store
Now you have products, information, and a store layout. The last thing to do is to open your store to shoppers.
To do this, go to your store's main URL. At the bottom right of the page you'll see a switch saying Your storefront is currently Closed. Hit this button and it will switch to saying Open.
And that's it! You can send customers to https://yourstoreurl.storenvy.com and they can browse your products and make purchases.
Set Up a Free Store With Storenvy, No Coding Required
Storenvy makes it easy to set up your own store and start selling products, with no coding required. The site is free to use and you'll just need to pay fees to Paypal or Stripe on purchases made by your customers.
Alternatively, if you're looking for something with more features but which is a bit more technical to use, then you can learn how to create an online store using Shopify.

