You might need a Mac in order to create your own iOS apps, but if you're more of a green alien sort of guy, the Android IDE (Integrated Development Environment) is also available on OS X (among other platforms).
If you're ready to move on from creating iPhone apps, or you're itching to create the next big thing for Android, installing the IDE is step one of the journey. Or, if we're moving too fast, why don't you start with a course?
Why Bother With Android?
If you're versed in OS X and iOS development, you might be asking yourself why even bother with Android?
Many iOS developers shy away from Android due to device fragmentation and the need to further patch/re-create apps for different version of the OS — of which there are many. I'm not going to attempt to sell you on which of the two is better, as they both offer numerous benefits for developers, but I will say that for app creators who are looking to make a living from their apps, finding some sort of balance between devices is never a bad idea.

Additionally, you'll find that the overall experience is far less restrictive with Android. For one, Google Play (Android's App Store) doesn't have many of the same restrictions as Apple, nor does it require the $99 annual fee for developers (it's $25 on Google). Google provides you access to Android's inner workings (by means of an open source model) which allows you to create things like emulators, boot loaders, and customized docks, icons, start screens — you name it — that just aren't possible with iOS.
If you're strictly looking at revenue numbers, Apple's App Store is still going to be your primary target. While Google Play has 60-percent more annual downloads than the App Store, Apple's App Store actually accounts for 70-percent more yearly app revenue. That's not to say you can't be profitable on Android, or that you should avoid the platform altogether, quite the contrary actually.

While Apps might have higher revenue numbers in the Apple App Store, the download numbers are significantly higher with Google Play, making it an intriguing platform for testing and tuning a free app before launching a premium or freemium version.
Eclipse with ADT or Android Studio?
In days past, you had the ever-confusing choice between a bundled package featuring Eclipse and the ADT (Android Developer Tools) plugin, or the official Android Studio, which was based on the IntelliJ platform - a Java-based IDE.
Luckily, recent iterations have seen the process streamlined a bit with just one release, called Android Studio.
In fact, while the option to use Eclipse still exists, Google is officially recommending you start the migration process to Android Studio as support for ADT is ending. If you need help migrating your projects, this Android Developers Blog post should help you out.
Now, if you're just looking for the emulators that come bundled with Android Studio, it's important to note that there are other, more lightweight ways to do this on your Windows, OS X, or Linux-based PC without the need for the bulky Android Studio download and install. On a Mac, try BlueStacks, or you can just download and run Android on your Windows PC. If you're looking for ultra-lightweight Android emulation, try this browser emulator for Chrome.
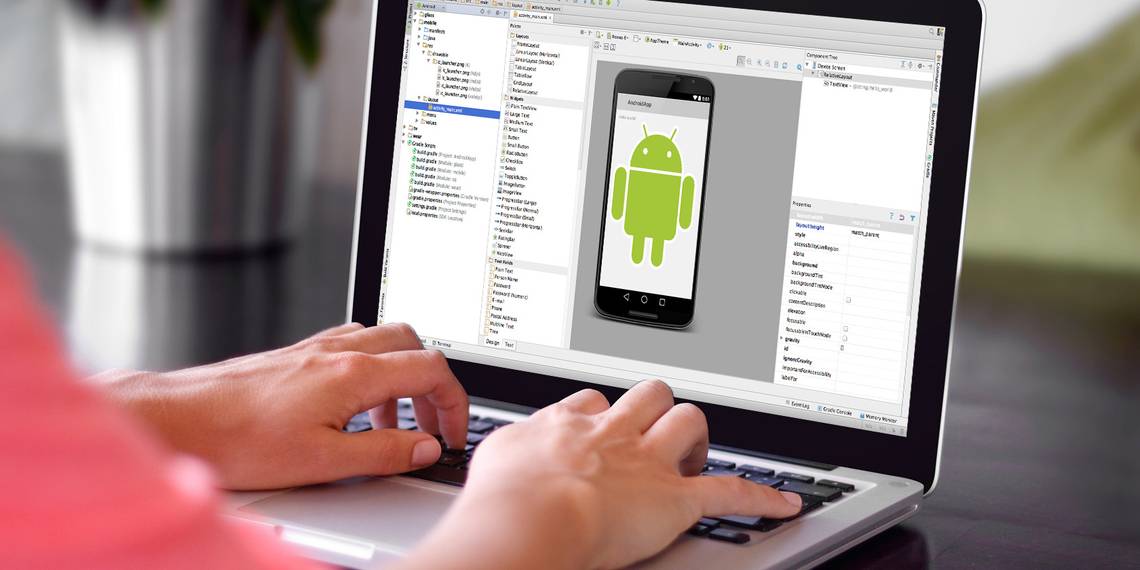
Getting Up and Running with Android Studio
First we must download and install Android Studio, a package that consists of:
- Android Studio IDE
- Android SDK (software development kit)
- Android 5.0 (Lollipop) Platform
- Android 5.0 emulator system image with Google APIs
Let's get started.

Launch the .dmg file, and drag Android Studio into the Applications folder.

Open Android Studio and follow the steps laid out by the setup wizard. Occasionally, you'll run into an error saying the file is "damaged" or untrustworthy and should be moved to the trash. If this happens, you'll just need to adjust your security and privacy settings to allow the application to run by going to System Preferences > Security & Privacy > General and then selecting Anywhere where it says "Allow apps downloaded from:"

If you need to use Android SDK tools from the command line, you can access them by opening up Terminal (Applications > Utilities > Terminal) and using the following:
/Users/username/Library/Android/sdk/

Just remember to add your username in place of
username
.
Adding SDK Packages
The Android SDK (software development kit), which comes with the Android Studio package, does not include everything you need to start developing Android apps. The SDK itself is a utility used to separate your tools, platforms and components into packages by using the Android SDK Manager.
So, as such, we'll have to add some packages in order to get everything ready for development. Don't worry, it's a simple process.
First open the SDK manager under Tools > Configure > SDK Manager.

Note: From here on, to keep this concise, we're going to assume that if I don't mention something specifically, it means one of two things:
- It's pre-selected and it'll install automatically once we're done.
- You don't need it... at least right now.
Ok, let's continue. Select the following:
- Android SDK Tools
- Android SDK Platform-tools
- Android SDK Build-tools (highest version)

Open the folder for the highest version of Android in the list (5.1.1 as of this writing) and select:
- SDK Platform
- ARM EABI v7a System Image

Open the Extras directory and download the following APIs for the Android Support Library:
- Android Support Repository
- Android Support Library

Open the Extras directory and download the Google Play services package for even more APIs. Add:
- Google Repository
- Google Play Services

Install the packages
- Click Install 22 packages (or however many the SDK manager reports).
- Click each package name on the left to accept the license terms for each.
- Click Install.
Note: Do not exit the SDK manager until the install is complete!
Once the install is complete, you can dive right in and start developing and even run Android apps right from your trusty Mac (or Hackintosh) running OS X.
Porting iOS Apps to Android
Due to a lack of similarity in the two operating systems, there isn't anything that offers a plug and play solution for porting apps from the other OS.
However, there is a program called Apportable I felt was worth pointing out. Apportable essentially translates Swift and Objective-C to run ARM and x86 machine code that Android is able to understand. You'll also find additional plugins for further lightening your development load, such as the SpriteBuilder Plugin. That said, not all Apple APIs are available on Apportable, so while it's the best we've got, it still isn't a plug and play solution.
The main benefits of Apportable are in faster cross-compiling without the need for emulators, virtual machines or a Java-programmed alternative. While Java makes for great cross-compatibility in mobile apps, it leaves both the iOS and Android versions feeling, well, not native. In fact, most feel like cheap ports from the other OS.
Again, this isn't a perfect solution, but it should significantly lighten your workload if you must move back and forth between Android and iOS.
Happy developing, and be sure to share what you come up with us here at Make Use Of.
Have you developed an iOS or Android app? Which platform do you believe offers the best tools for developers?