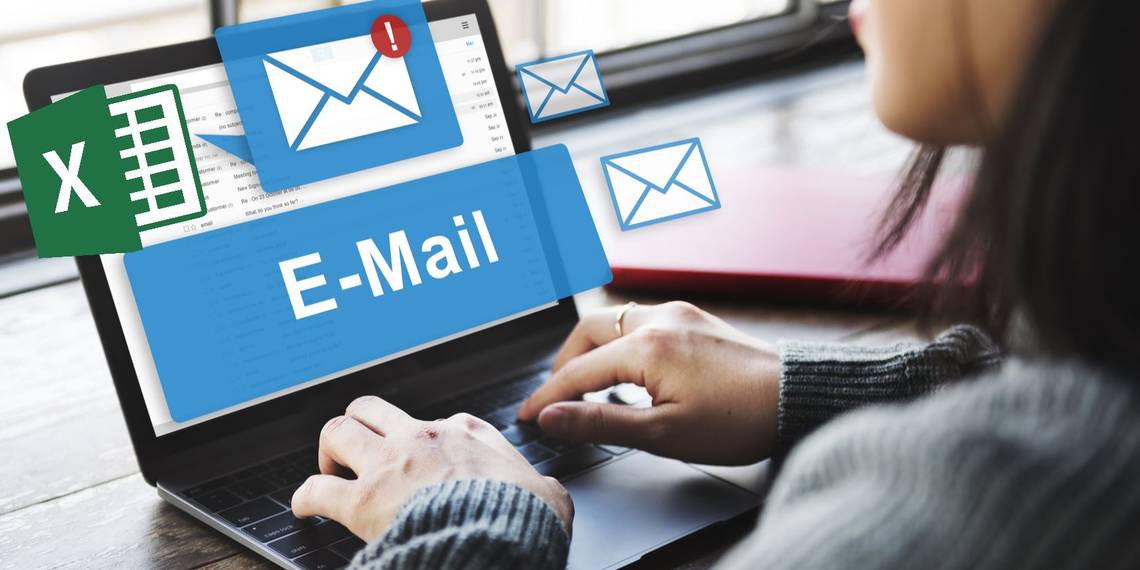
To send emails from Microsoft Excel only requires a few simple scripts. Add this functionality to your spreadsheets, and you can accomplish much more in Excel.
Excel macros can do many of the same things VBA scripts can, without the need for as much programming knowledge. VBA lets you implement more advanced routines, like creating a spreadsheet report with all of your PC information.
Prefer to watch this tutorial as a video? We've got you covered!
Why Send Email From Excel?
There are a lot of reasons why you might want to send an email from inside Microsoft Excel.
Maybe you have staff who update documents or spreadsheets every week, and you'd like to receive an email notification when they do. Or you might have a spreadsheet of contacts, and you want to send one email to all of them at once.
You're probably thinking that scripting an email broadcast from Excel is going to be complicated. That's not the case at all. The technique in this article makes use of a feature that's been available in Excel VBA for a long time, Collaboration Data Objects (CDO).

CDO is a messaging component used in Windows since very early generations of the OS. It used to be called CDONTS, and then with the advent of Windows 2000 and XP, was replaced with "CDO for Windows 2000." This component is already included in your VBA installation within Microsoft Word or Excel and is ready for use.
Using the component makes sending emails from within Windows products with VBA extremely easy. In this example, you'll use the CDO component in Excel to send out an email that will deliver the results from a specific Excel cell.
Step 1: Prepare Your Gmail Account
To send email from Microsoft Excel, we'll be using Gmail, though you can customize the macro below to work with other email clients. Note that Gmail no longer permits third-party app access, meaning you'll first have to enable Gmail's 2-step authentication.
From your Google account's Security page, under Signing in to Google, click App passwords. On the App passwords screen, find the Select app drop-down menu and select Mail. From Select device, select Windows Computer. Then click GENERATE.

Jot down the 16-character app password; you'll need it when you configure the macro.
If you don't see the app passwords option, although you have set up 2-step verification for your account, it's probably because a third party, such as your school or work, manages your account, or you enrolled in Google's Advanced Protection program.
Step 2: Create a VBA Macro
Tip: Before you start, save the Excel file you'll be working with as a Macro-Enabled Workbook, i.e. in the XLSM format.
First, we'll need the Excel Developer tab. If you don't see it, here's how to enable it:
- Go to File > Options.
- Under Customize the Ribbon > Main Tabs, check the Developer option.
- Click OK to save your changes.

Inside Excel's Developer tab, click on Insert in the Controls box, and then select a command button.

Draw it into the sheet and then create a new macro for it by clicking on Macros in the Developer ribbon.

When you click the Create button, it'll open the VBA editor.
Add the reference to the CDO library by navigating to Tools > References in the editor.

Scroll down the list until you find Microsoft CDO for Windows 2000 Library. Mark the checkbox and click OK.

When you click OK, make note of the name of the function where you're pasting the script. You'll need it later.
Step 3: Configure Your Macro
Now you're ready to create the mail objects and set up all the fields necessary to send an email. Keep in mind that while many of the fields are optional, the From and To fields are required. Paste all the code snippets below into your Module1 (Code) window.
This is what the complete code looks like:
        Sub Send_Emails()
   Dim NewMail As CDO.Message
   Dim mailConfig As CDO.Configuration
   Dim fields As Variant
   Dim msConfigURL As String
   On Error GoTo Err:

   'early binding
   Set NewMail = New CDO.Message
   Set mailConfig = New CDO.Configuration

   'load all default configurations
   mailConfig.Load -1

   Set fields = mailConfig.fields

   'Set All Email Properties
   With NewMail
       .From = "username@gmail.com"
       .To = "username@gmail.com"
       .CC = ""
       .BCC = ""
       .Subject = "Send Email From an Excel Spreadsheet"
       .TextBody = "This is the body of your email. And here is some added data:" & Str(Sheet1.Cells(2, 1))
       .Addattachment "c:\data\email.xlsx"             'Optional file attachment; remove if not needed.
       .Addattachment "c:\data\email.pdf"             'Duplicate the line for a second attachment.
   End With

   msConfigURL = "http://schemas.microsoft.com/cdo/configuration"

   With fields
       .Item(msConfigURL & "/smtpusessl") = True             'Enable SSL Authentication
       .Item(msConfigURL & "/smtpauthenticate") = 1          'SMTP authentication Enabled
       .Item(msConfigURL & "/smtpserver") = "smtp.gmail.com" 'Set the SMTP server details
       .Item(msConfigURL & "/smtpserverport") = 465          'Set the SMTP port Details
       .Item(msConfigURL & "/sendusing") = 2                 'Send using default setting
       .Item(msConfigURL & "/sendusername") = "username@gmail.com" 'Your gmail address
       .Item(msConfigURL & "/sendpassword") = "password" 'Your password or App Password
       .Update                                               'Update the configuration fields
   End With
   NewMail.Configuration = mailConfig
   NewMail.Send

   MsgBox "Your email has been sent", vbInformation

Exit_Err:
   'Release object memory
   Set NewMail = Nothing
   Set mailConfig = Nothing
   End

Err:
   Select Case Err.Number
   Case -2147220973  'Could be because of Internet Connection
       MsgBox "Check your internet connection." & vbNewLine & Err.Number & ": " & Err.Description
   Case -2147220975  'Incorrect credentials User ID or password
       MsgBox "Check your login credentials and try again." & vbNewLine & Err.Number & ": " & Err.Description
   Case Else   'Report other errors
       MsgBox "Error encountered while sending email." & vbNewLine & Err.Number & ": " & Err.Description
   End Select

   Resume Exit_Err

End Sub
And these are the sections and fields you need to customize:
- With NewMail: This section contains all the parameters for sending your email, including the body of your email. The .From field needs to contain your Gmail address, but you're free to set the other fields however you want. For the body, you can piece together components of the message by using the & string to insert data from any of the Microsoft Excel sheets right into the email message, just like shown above. You can also attach one or more files.
- With fields: This is where you configure your SMTP settings for your Gmail account. Leave the smtpserver and smtpserverport fields as is when copying the code. Enter your Gmail username and the 16-digit app password into the respective fields.
Step 4: Test Your Macro
In the VBA editor, go to Run > Run Sub/User Form or press F5 to test the macro. If your email fails to go through, you should see an error message. Otherwise, you'll see a confirmation that your email was sent successfully.

If you receive an error that reads The transport failed to connect to the server, make sure you've entered the correct username, password, SMTP server, and port number in the lines of code listed underneath With fields.
Step 5: Connect the Command Button to Your Script
To connect your command button to this script, go into the code editor and double-click on Sheet1 to view the VBA code for that worksheet. Select your button, e.g. CommandButton1, from the drop-down on the left and define the action on the right; Click works. Then type the name of the function where you pasted the script above; in our example it's Send_Emails.

When you go back to your sheet now, click the button to send the email.
Here's an example of what the message should look like in your inbox:

Take It Further and Automate the Whole Process
It's all well and good to be able to send email from Excel at the touch of a button. However, you might want to use this functionality regularly, in which case it makes sense to automate the process. To do so, you'll need to make a change to the macro. Head to the Visual Basic Editor and copy and paste the entirety of the code you've put together so far.
Next, double-click ThisWorkbook from the VBAProject hierarchy.
From the two dropdown fields at the top of the code window, select Workbook and select Open from the Methods dropdown.
Paste the email script above into Sub Workbook_Open().
This will run the macro whenever you open up the Excel file.

Next, open up Task Scheduler. You're going to use this tool to ask Windows to open up the spreadsheet automatically at regular intervals, at which point your macro will run, sending the email.

From the Action menu, select Create Basic Task... and work your way through the wizard until you reach the Action screen.
Select Start a program and click Next. Use the Browse button to find Microsoft Excel's location on your computer, or copy and paste the path into the Program/script field. Then, enter the path to your Microsoft Excel document into the Add arguments field. Complete the wizard, and your scheduling will be in place.
It's worth running a test by scheduling the action for a couple of minutes in the future, then amending the task once you can confirm that it's working.
Note: You may have to adjust your Trust Center settings to ensure that the macro runs properly.
To do so, open the spreadsheet and navigate to File > Options > Trust Center. From here, click Trust Center Settings..., and on the next screen set the radio dial to Never show information about blocked content.
Make Microsoft Excel Work for You
Microsoft Excel is an incredibly powerful tool, but learning how to get the most out of it can be a little intimidating. If you want to truly master the software, you'll need to be comfortable with VBA, and that's no small task.
However, the results speak for themselves. With a little VBA experience under your belt, you'll soon be able to make Microsoft Excel perform basic tasks automatically, giving you more time to concentrate on more pressing matters.