<firstimage="https://www.makeuseof.com/wp-content/uploads/2010/06/scribefire.jpg">
Like many people who have very full and busy lives, finding the time to write a blog entry is very difficult. There are a lot of Firefox plugins available for blogging, such as the three Joel previously outlined in his article. However, when I discovered ScribeFire and wrote a review of the software, one of the things that I mentioned being impressed with is the ability to create a blog post template.
For me, this feature is worth its weight in gold, because a lot of effort during writing a blog entry is spent correctly formatting my post with Google Ads and images. In this article, I'm going to configure ScribeFire to handle the formatting automatically. This way, all you have to do is pop open ScribeFire and whip together the content - all of the formatting and ad placement will be inserted automatically, and you don't even have to think about it.
Setting Up ScribeFire
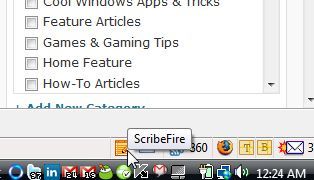
You can install the ScribeFire plugin for Firefox, Chrome or Safari - so hopefully you're covered. You can either access ScribeFire from the Tools menu item, press F8, or you can click on the ScribeFire icon at either the top or bottom toolbar of your browser.
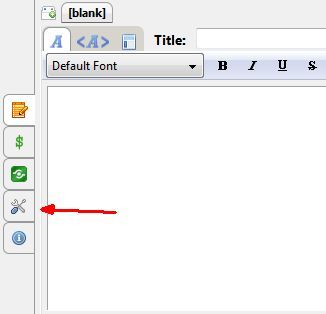
I've already covered all of the blogging features in my previous review of this software, so if you're not sure how to use ScribeFire, make sure to check that out first. What I really want to focus on here is the setup section where you can pre-format posts when you click the "blog this" button for a particular webpage. You can access that feature by clicking on the setup button.
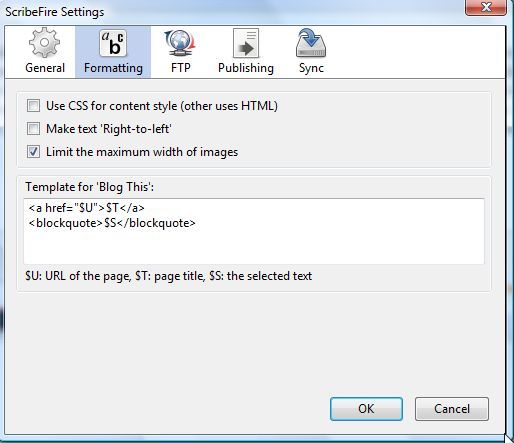
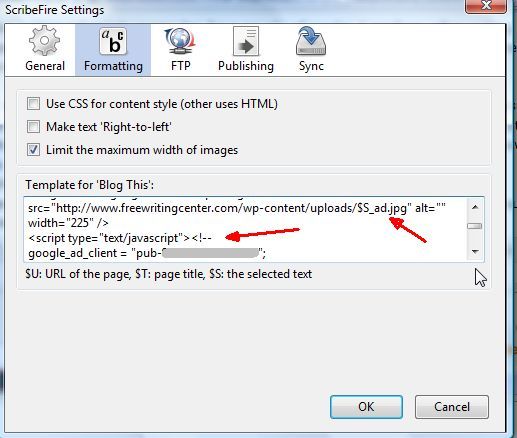
This opens up the page where you can develop your blog post template. In my case, I'm going to do two things - set up the Google Ad template, and I'm also going to incorporate a selected word from the webpage to insert and format the first images in the post.
The text in the template field above is the default template you'll find after first installing ScribeFire. Basically it is set up to quote the URL ($U), page title ($T) and the text on the webpage that you've selected ($S). In my case, the template will insert a dynamic header image, content fields that you can fill out, and then the Google Ad alongside another image.
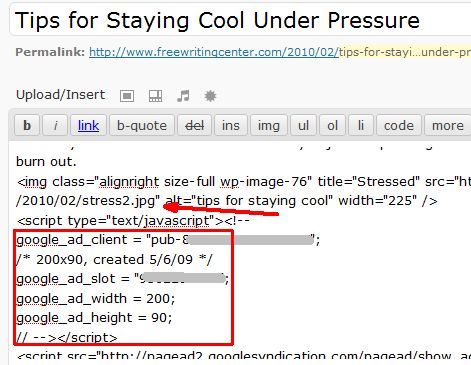
Here is how that Google Ad setup looks on my existing blog (currently I have to copy and paste this every time I write a new entry).
These are the two elements you need to dynamically create with ScribeFire - the Google Ad and the image, which will change depending on your post. Since you can highlight text on a webpage and that becomes the $S variable in your ScribeFire template, you can exploit that and use it to generate a different image name in every template.
Here is how that would look.
In the template you can link to images in your upload area using the $S variable, which lets you name your image by first highlighting a word on a webpage and clicking the ScriptFire "Blog this" link. In my example I've used $S_intro and $S_ad, so now if I highlight the word "computer," the blog entry will automatically name the intro image "computer_intro.jpg" and the ad image "computer_ad.jpg" - all you need to do is upload images with those names and the post will display them properly.
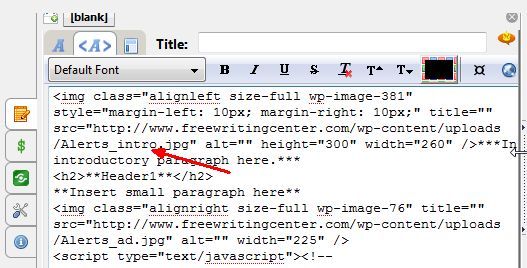
Here is what a ScriptFire post looks like after I highlight the word "Alerts" on a webpage and then click "Blog this".
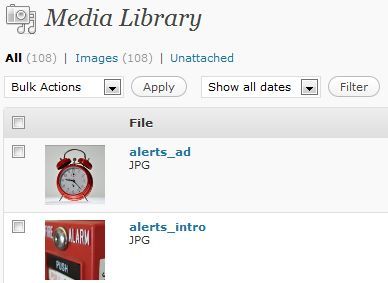
There is no need to enter this code every time you write up a blog entry. The images and Google Ad code is automatically generated, and all you have to do is write your post. Here I've uploaded the files with the proper names into my blog's media section.
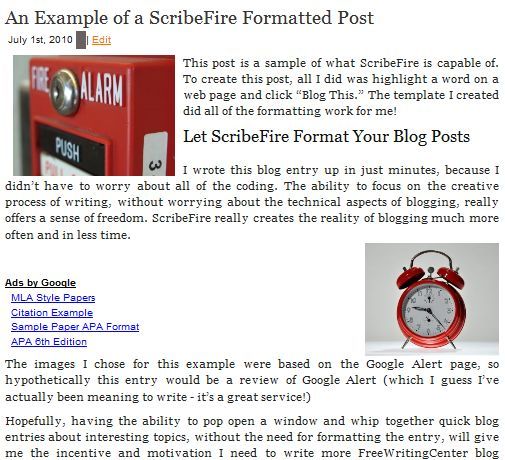
Once I fill out the fields in the blog post template for the content, it's just a matter of publishing and everything is properly formatted automatically. It's one of the fastest and easiest methods to write up a well-formatted blog entry with the click of a button.
Here's the blog post after publication from ScribeFire.
Now that the template is set up properly, creating a new post is just a three step process. First, highlight a word on any webpage that you'd like to name the images and click "Blog this" in the ScribeFire menu. Second, upload the images with the correct names to your upload area. Finally, fill in the content fields with your writing. No need to worry about formatting, just write!
If you wanted to, you could get creative using the title and URL variables as part of your template - maybe you could create a generic introduction that mentioned the link and title for that web page. However you configure your template, it will save you a lot of time in adding new content to your blog whenever the motivation strikes you.
Have you ever tried using the "Blog this" feature of ScribeFire? What's your opinion of it? Has it saved you time with your blogging efforts? Share your insight in the comments section below.


