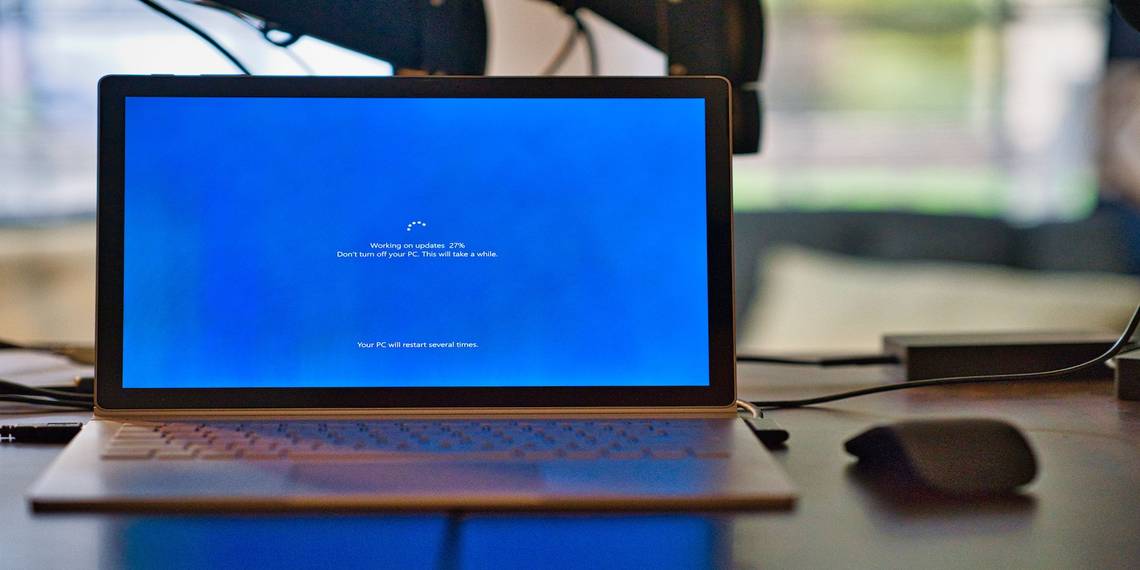
Most Windows users are likely to have experienced this scenario: you're working away when suddenly your PC tells you that it needs to restart. But when you boot it up again, all the files, folders, and applications you had open are nowhere to be seen.
Instead of getting back to work, now you have to reassemble everything you need for the task at hand. A reboot can put a real dent in your productivity—here are some tools and tips to help you pick up from where you left off without missing a beat.
1. Allow the Important Stuff to Startup with your System
There are some files and applications that you may well use every time you sit at your PC. Instead of taking the time to open them manually every time, it might be simpler just to schedule them to initialize alongside your system.
First, you'll need to create a shortcut of whatever you're looking to launch on startup, which you can do by:
- Navigating to its location via File Explorer, right-clicking it, and selecting Create shortcut from the dropdown menu.
- Then, use Windows Key + R to open a Run dialog and enter shell:startup. This will take you to the Startup folder.

Drag and drop the shortcuts you made to this folder, and you're done. To reverse the process, just delete the respective shortcut, and that file, folder, or application will no longer open at startup.
Adding multiple programs to the startup folder can cause your startup to slow down, especially if you're short on memory. In that case, it may be better to rely on a third-party tool, such as Startup Delayer, to set up a staggered launch of the applications you use every day. If you'd prefer to remain in control, you can also launch multiple programs from a single batch file rather than completely automatizing the process.
2. Automatically Restore Folders at Startup
To make sure that all the folders you have open when your computer shuts down are opened again when its starts back up, all you need to do is tick a checkbox.
- First, type control panel in the Windows start menu search bar and select the Best match. This will open the Control Panel.
- Now, navigate to File Explorer Options. To do that, search for file explorer from the space in the top-right corner. Select the Best match.

Open the View tab and scroll down until you find an entry that reads Restore previous folder windows at log-on. Make sure that box is ticked, click OK, and you'll be up and running for the next reboot.
3. Download a Specialized Utility
While system tools can help you out in a pinch, the most elegant way to retrieve your workspace after a reboot is to download a specialized piece of software.
SmartClose offers an easy way of re-opening your specified processes for free. CacheMyWork is much the same in terms of its functionality, but its minimalist approach to UI will either be a selling point or a detriment, depending on your tastes.
SmartClose has the edge in terms of settings you can tweak, but the straightforward CacheMyWork has its own appeal in terms of simplicity.

However, if you're looking for a tool that can re-open files and folders as well as applications, you're going to have to pay for it. Twinsplay is priced at $39 per user, but the extra functionality you get might make it a smart investment.
Apart from the windows themselves, the program will remember the content that was being displayed—for instance, if you had several tabs open in your web browser, they'll be restored, too. It's a powerful tool and definitely has its advantages over the free alternatives; the only question is whether you'll use it enough for the price to be palatable.
4. Use a Virtual Machine
The most comprehensive way to preserve your Windows experience through a reboot is to utilize a virtual machine. A virtual machine is a way of emulating an OS on your computer—a virtual computer that runs on your real computer.
Applications for this software typically focus on using a different OS to the one installed on your system, but in this case, you would take advantage of save states to pause your session before picking it up at a later time.
VMWare Player and VirtualBox are two free virtual machine packages that offer this functionality for free. However, there is a drawback to this technique: you'll need a fairly powerful computer to handle the strain.
You're emulating another instance of Windows within the one you're running, which takes up system resources.
Depending on the system and the usage, the strain will vary. Word processing and web browsing won't cause too much of an issue, but if you're working with image editing software or video content, you might see your system chug.
Running your workspace within a virtual machine all the time isn't particularly convenient. However, there are other benefits to some virtual machine packages that might make it worthwhile, like the ability to transfer your desktop environment from one computer to another.
It's a compromise, certainly—but it's the best way to restore your session in a pinch and find everything exactly as you left it.
That's All About Restoring Your Windows Sessions
We hope this guide helped with saving and restoring your Windows sessions. These tips will undoubtedly help you be more productive by automating the restoration of your old Windows sessions. Moreover, Windows 10 comes packed with many apps and tricks to help you skyrocket your productivity.