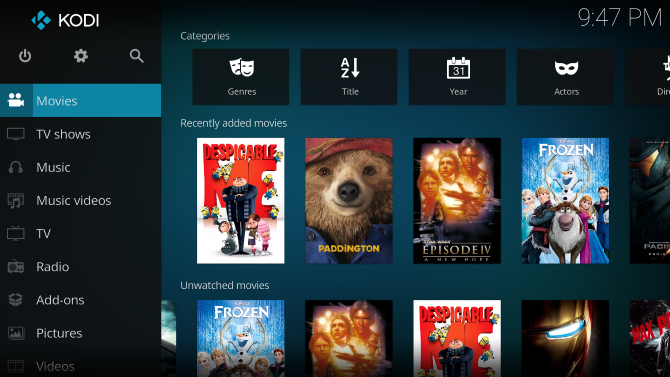
Setting up Kodi on your Raspberry Pi is pretty straightforward. It takes just a few minutes to turn the little computer into a media center. Or if you prefer, it can be set up as a retro gaming system.
But it's a bit trickier to use it for both. Want to kick back and enjoy some retro gaming after browsing YouTube? Here's how to run Kodi alongside a retro gaming suite on your Raspberry Pi.
Two Options for Running Kodi and Retro Games
As you may have gathered, there are two ways that you can install Kodi alongside a retro gaming system on your Raspberry Pi.
- Install RecalBox (or RetroPie). With your preferred gaming suite running, you'll be able to install Kodi.
- Dual boot your microSD card. This way, you get Kodi and your favored retro gaming environment.
The first option is by far the easiest. However, it doesn't give the best results. Even on a Raspberry Pi 3, the computer's performance will dip considerably while using Kodi.
To make matters worse, many add-ons won't work either. If you do plan on using this method (which we'll look at below), avoid third party add-ons and limit your media to local streaming from a main PC or NAS box.
Dual booting Kodi and your preferred retro gaming suite is trickier, but the results are far better. After all, you're not running Kodi on top of RecalBox or RetroPie. Instead, it's got its own partition, its own operating system in the background, and all of the resources it needs. We'll explain this in more depth later.
Installing Kodi in Your Retro Gaming Suite
If you prefer to keep your set up simple, while still running Kodi and a retro gaming suite, you can install Kodi within RetroPie and RecalBox.
Setting Up Kodi in RetroPie
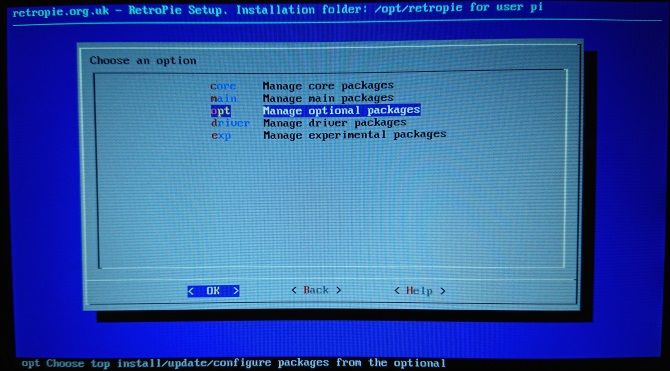
With RetroPie running, and your Raspberry Pi connected to the internet, navigate to the main RetroPie menu, then use your controller to select RetroPie Setup. You'll be taken to a grey text-based menu on a screen with a blue background.
Here, scroll to Manage Packages, then Manage Optional Packages.
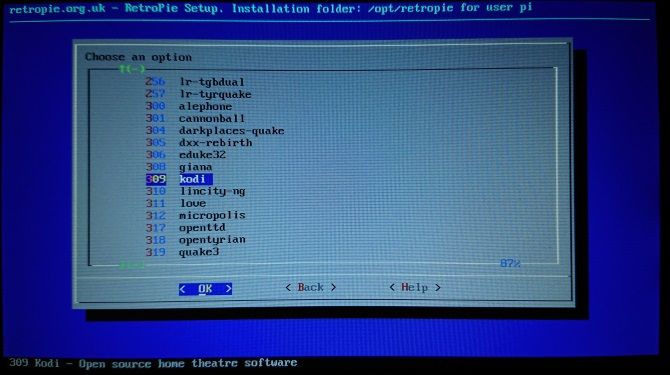
You'll find various options in this menu, mostly open source versions of old video games that you can install. Scroll to 308 kodi and select OK to proceed to the next menu. Select Install from binary to begin installation.
Wait while installation completes, then restart RetroPie. The easiest way to do this is via Main Menu > Quit > Restart Emulation Station. There's no need to restart the full system, as we're only concerned with restarting the user interface so that Kodi is added to the menu. If you prefer to restart the full system, you can do so via the RetroPie menu.
Ready to use Kodi? You'll find it in the Ports menu on the main screen. Enjoy your favorite streamed media, than switch back into RetroPie to start gaming again!
Using Kodi in RecalBox
For RecalBox users, you'll find that Kodi is already preinstalled. You don't need to manually install it as you do with RetroPie!
Instead, simply press the Start button on your controller and select Kodi. Once it opens, you'll see the main Kodi screen, ready for you to start streaming video and audio. It's really that simple!
Dual Booting With RecalBox and RetroPie
As noted above, running Kodi within RecalBox or RetroPie can result in some performance issues. To ensure you get the best out of both systems, the better option is to install them on the same microSD card.
However, you'll need to use a larger card; two operating systems is more than enough for an 8GB card, so we recommend a 16GB card.
You have two options for dual booting. The first is to track down a dedicated disk image that features Kodi (perhaps OSMC or LibreELEC flavors) and RecalBox or RetroPie. But this might take a while. Better is the second option. You can read the steps below for this, or check this video.
Have you used NOOBS? This is an installer tool provided by the Raspberry Pi Foundation, which lets you select an operating system of your choice on your microSD card. It's provided mainly as a simple way to install an OS without worrying about a microSD card writing tool, but it's also useful for installing more than one OS.
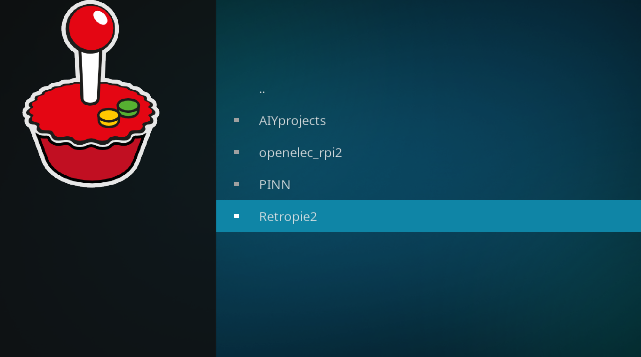
To get RecalBox or RetroPie installed on your Raspberry Pi alongside Kodi, you'll need to use NOOBS, but in a different form. PINN is a great fork of NOOBS that offers a wider selection of operating systems. Used in conjunction with the NOOBS Companion add-on for Kodi, you'll be able to switch between each environment. Both tools are produced by Matt Huisman.
Download: PINN for Raspberry Pi
To use PINN, first download, then extract the contents of the ZIP file to a freshly formatted microSD card. Once done, insert the card into your Raspberry Pi, with Ethernet, monitor, mouse (or keyboard) connected. The menu will load, and you'll see the selection of operating systems.
First choose your preferred Kodi option (OSMC offers the most stable experience), then select RetroPie, or RecalBox; whichever you prefer. You'll also spot the alternative retro gaming environment called Lakka. Use the mouse to select, then click Install.
Switching Between Kodi and Retro Gaming
Once the operating systems are installed, you'll be ready to start enjoying them. Safely eject the microSD card from your PC and replace it in your Raspberry Pi. As you boot up, you'll see the choice of OS, but for this first boot, select your Kodi system.
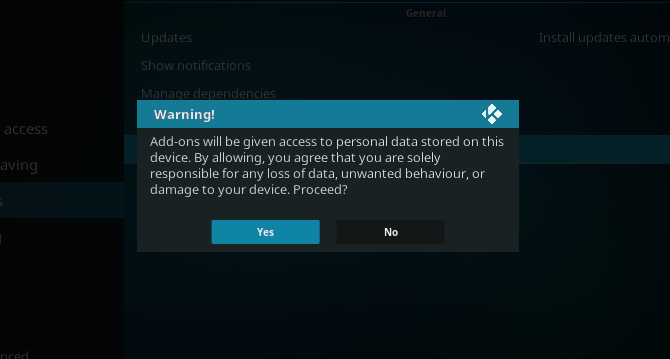
After it has fully booted, go to Settings > System > Add ons > Unknown Sources, and ensure it is Enabled. This allows you to install third party add-ons. Next, go back to Settings, then File Manager.
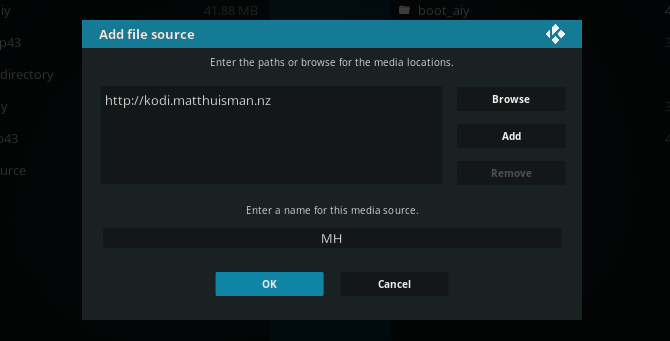
Select Add Source, select <None> and input "http://kodi.matthuisman.nz" without quotes. Confirm with OK, then enter the source name as MH. Confirm again (OK), then return to the main menu.
Go to Add-ons > My add-ons and select Install from ZIP file. Choose MH, then repository.matthuisman.zip.
Wait while the repository downloads; you're now ready to install the NOOBS Companion, which facilitates switching between Kodi and your retro gaming solution.
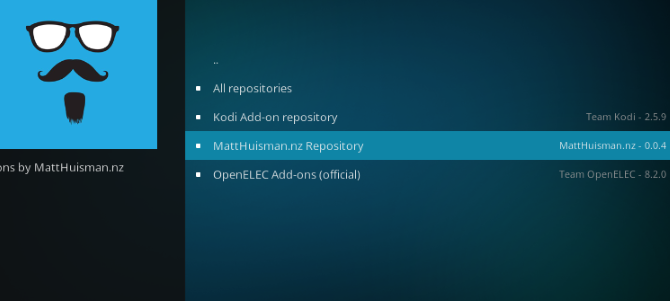
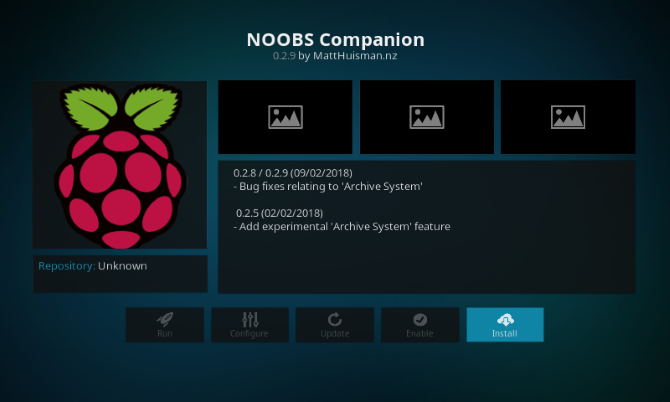
Navigate to Add ons > My Add ons, then Install from repository. Select MattHuisman.nz Repository, then Program Add-ons > NOOBS Companion. Select Install, and wait for the add-on to download. Wait for the pop-up confirmation box, then exit to the main screen.
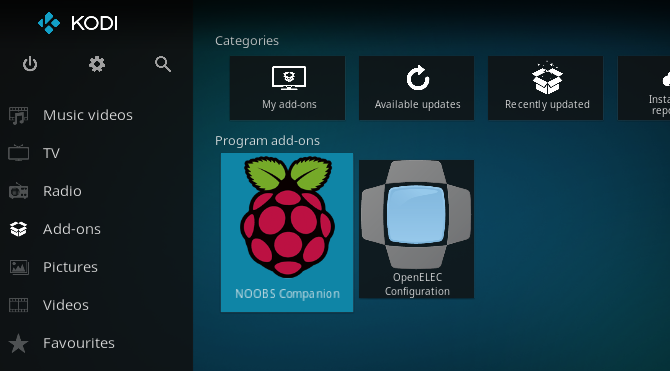
Open the Add-ons menu, and you'll find a list of any other operating systems on your microSD card. Select the one you want to start using it. You can also use the menu option in the NOOBS Companion to select a default OS to boot. This will prove useful when your Raspberry Pi reboots. Select Install Boot-Back to make this happen, and wait.
When you're ready to use your chosen retro gaming system, select it from the NOOBS Companion add-on screen. Ready to switch back to Kodi? Simply select the Kodi option in the main menu.
Kodi and Retro Gaming Together on Raspberry Pi
By now you should have a version of Kodi running on the same microSD card as your favorite retro gaming system. It might be a dual boot scenario, with a choice of each system every time you boot the computer. Or you may have installed Kodi in RecalBox or RetroPie.
Whichever solution you've chosen, you'll find advantages and disadvantages. We suggest you try each, and see which one works for you.
And if you're looking for old PC games you can download for free, check out these sites.


