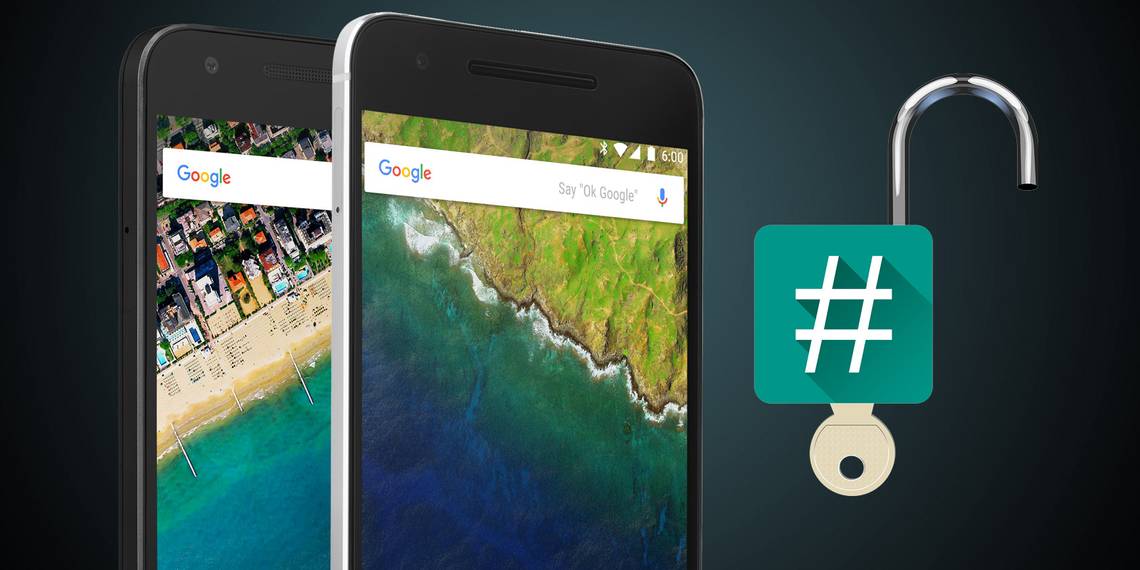
Nexus phones have always been a popular choice among Android enthusiasts for the ease with which they can be rooted and modded.
This is still true of the Nexus 6P and Nexus 5X, especially thanks to a new systemless root process from renowned developer Chainfire. Systemless root is cleaner and less invasive, makes unrooting or installing OS updates easier, and is even reported to not break security-reliant services like Android Pay.
It's a relatively straightforward process and works on Windows, Mac and Linux. But, as always, you should back up everything before you begin, just in case.
Let's get started.
What You Need to Know Before You Start
When Android 6.0 Marshmallow was first launched, it was a little more difficult to root than previous versions and required you to flash a modified boot image to your phone. This is no longer the case, and rooting has now been streamlined into a two-step process.
Ironically, it does mean that the preliminary steps before you root are now the most complicated parts. These steps are:
- Download and setup Fastboot
- Install Windows drivers
- Unlock your phone's bootloader
If you have rooted an Android phone before -- a Nexus phone in particular -- then you might be able to skip these steps. You might already have Fastboot on your PC and be familiar with how it works.
And you might have pre-emptively unlocked your phone's bootloader. You will have saved yourself a lot of hassle if you have, as unlocking the bootloader wipes your phone, including the internal storage.
But assuming you've done neither of these, here's what you need to know.
Step 1: Download Fastboot
Fastboot is a small utility that enables your PC to communicate with your phone over USB when the phone isn't booted into Android. It is a part of the Android SDK.

Go to the Android developer website and download SDK Tools for Windows (choose the zip version), Mac, or Linux.
- On Windows, unpack the zip file and launch SDK Manager.exe. When the Android SDK Manager opens, select the Android SDK Platform-tools option and click Install

- On Mac and Linux, unpack the download and navigate to the tools folder within it. Double click the android file to launch the Android SDK Manager. Now select the Android SDK Platform-tools option and click Install
Once the download has finished, you'll find a new platform-tools folder has appeared within your downloaded SDK folder. This contains Fastboot.
Fastboot is a command line tool, which means it is controlled via the command line on Windows, or the Terminal app on Mac and Linux.
This can be intimidating if you haven't used it before, but really, you just need to check for typos when copying the commands from this guide. Also, note that Mac and Linux commands are preceded by ./ (dot slash), and that this isn't used on Windows.
Step 2: Get the Windows Drivers
There's an extra step you need to perform if you're using Windows, which is to install the drivers for your phone. You can download and install this from the Android developer website.
Step 3: Unlock the Bootloader
To make any changes to your phone's system, it needs to have an unlocked bootloader.
To unlock the bootloader on your Nexus, you first need to enable it in the Developer options in Android. These are hidden by default. To make them appear go to Settings > About phone and scroll to the bottom of the screen. Now tap Build number seven times.

Hit the back button and you'll see that the Developer options have now appeared. Tap on this and enable the options labelled OEM unlocking and USB debugging.
Now's the time to check that you have backed up all of your data. And make sure you store your backups on your PC or in the cloud, not on the device. Completing the rest of this step will wipe your phone, including the internal storage.
You can now power down your phone.

Next, connect it to your PC with a USB cable, then boot into the bootloader (also referred to as Fastboot mode) by holding down the power and volume down keys at the same time.
First, we need to check that the phone and PC are communicating with each other.

On your computer, open the command line or terminal and type cd[space] then drag the platform-tools folder onto the command prompt. Hit Enter.
(This changes the directory the command line is looking at to the one where Fastboot is stored. Without this step, you'd need to type the full path to the Fastboot app every time.)
- On Windows, type fastboot devices and hit Enter
- On Mac or Linux, type ./fastboot devices and hit Enter
You should see a list of the devices connected to your PC. There'll only be one, and it will be indicated by a serial number. This means all is good.

To unlock the bootloader, go to the command line or terminal.
- On Windows, type fastboot oem unlock and hit Enter
- On Mac or Linux, type ./fastboot oem unlock and hit Enter
It only takes a second to complete. When you boot your phone now, you'll see a brief warning about the phone being unable to check for corruption, which you can ignore. When the Google logo appears on screen, there will be an unlocked padlock icon beneath it.

You're now ready to root your Nexus.
Root Your Nexus
Now that you've got everything else set up, rooting your Nexus 5X or Nexus 6P is a simple process. It involves downloading and flashing two files.
Step 4: Download the Files
The files you need are TWRP (a custom recovery) and SuperSU (the app that roots the phone). You need to download the correct version for your phone.

For the Nexus 6P:
- download the latest version of SuperSU (the one we used is 2.61)
- download TWRP for the 6P. Pick the latest version
For the Nexus 5X:
- download the latest version of SuperSU (the one we used is 2.62)
- download TWRP for the 5X . Pick the latest version
The version numbers will change in the future as the apps are updated. It's a good idea to use the latest version available, and SuperSU versions prior to 2.60 won't work with the instructions below. We've tested this rooting process with Android 6.0 and 6.0.1.
Step 5: Move the Files to the Right Location
Copy the TWRP image file into the platform-tools folder on your computer where the Fastboot app is also stored.

Copy the SuperSU zip file into the internal storage of your Android phone.
Step 6: Flash TWRP
The first step in rooting is to flash a custom recovery. This is the TWRP file that you downloaded.
A custom recovery is a small piece of software that enables you to carry out diagnostic and maintenance tasks on your phone without booting into Android. It's essential for all Android hacks, including rooting, and flashing custom ROMs.
Boot your phone into Fastboot mode by holding down the power and volume down keys together. Connect your phone to your PC with a USB cable.
Go to the command line or terminal on your PC and use the cd command to change the directory to point to the platform-tools folder, as we did when unlocking the bootloader.

- On Windows, type fastboot flash recovery [twrp-filename].img and hit Enter
- On Mac or Linux, type ./fastboot flash recovery [twrp-filename]twrp.img and hit Enter
Wait a couple of seconds for the job to finish. You'll now be able to boot into TWRP.
Step 7: Flash SuperSU
The next step is to flash the SuperSU zip file, which should be stored on your phone. This patches the boot image, roots the phone, and installs the SuperSU app that you can use to manage root access within Android.

To boot into TWRP from Fastboot mode, press the volume down button twice so that Recovery Mode appears on screen. Then tap the power button.
TWRP will now load. Tap Install, and locate the SuperSU zip file you copied to your phone's storage. Tap the file to select it.

To root your phone, swipe your finger along the slider labelled Swipe to confirm Flash.
Keep an eye on the screen for any additional instructions, although there shouldn't be any. Wait until the process is fully completed, then you can reboot your phone.
Your Nexus is now rooted.
And You're Done!
Once you reboot your phone, you should see that the SuperSU app has been installed. If you want to check that rooting worked, you can download an app like Root Check from the Play Store.
Alternatively, just dive straight in with some of the best root apps, like Greenify for longer battery life, or Xposed for a huge range of tweaks and mods.
Have you rooted your Nexus? What are your favorite root apps? Did you have any problems? Let us know in the comments below.