RocketDock has been one of the best choices for a Mac-like dock in Windows for years. That's why it's on our Best Of Windows Software page. In fact, you've probably heard of it. But there's more to it than just being a dock that is easy to use. It's also more customizable, perhaps even more than one of its most popular alternatives, ObjectDock. If you're unfamiliar with RocketDock, it is a dock that can be placed on any side of the screen and contains shortcuts to applications and folders.
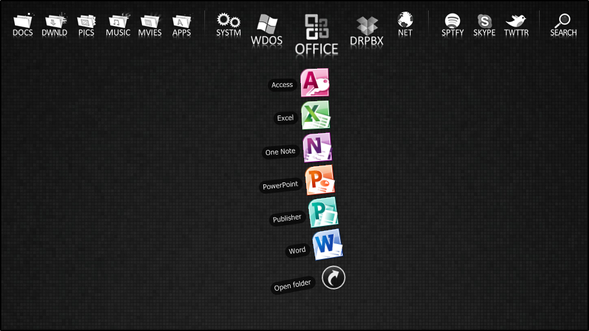
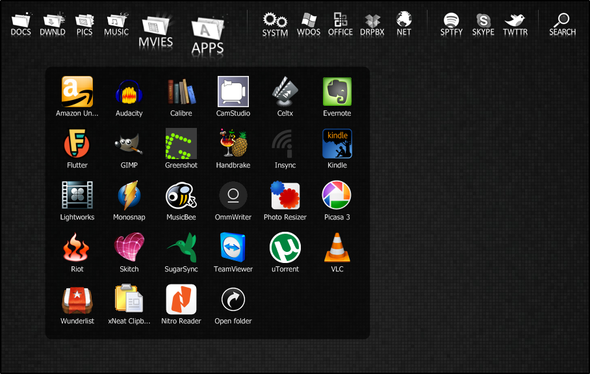
Like ObjectDock, RocketDock also supports docklets, which are small applications that run within the dock. There are a lot of docklets available, but one that I have found to be very useful is called Stacks Docklet, which allows you to access files and shortcuts to programs and applications within folders docked to RocketDock. In this article, I'll walk you through not only the features of RocketDock, but also how to customize it and make it even more useful than it is with its built-in features.
Setting Up RocketDock
Once you download RocketDock and follow the prompts through the installation, which are straight forward, you will see the dock at the top of your screen.
There are a lot of features though that I like to add and remove to improve it. All of these can be accessed through the settings, which is the icon with the hammer on the second from the right side (hovered over in the picture above), or by right clicking the dock and choosing "Dock Settings…".
There are five main sections in the Dock Settings window: General, Icons, Position, Style, and Behavior. All of these have settings which aren't too complicated to understand and are also a must to familiarize yourself with. For instance, the General section has options controlling whether RocketDock will start up or not, and if you want to minimize windows to the dock. I will spare you the boredom of reading through what all the settings do – instead, I encourage you to check these out on your own.
Finding The Right Theme
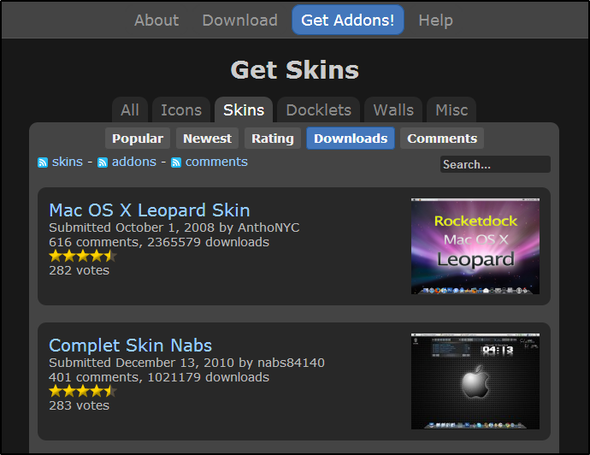
Creating a look that fits you is really fun to do, but it takes a lot of time. The look of your dock is comprised of two parts: the skin and the icons. RocketDock comes with a variety of skins, and perhaps one of them will appeal to you. However, there are places all over the Internet that have skins and icons you can download and install. There are plenty of these skins and icons on the RocketDock website, and that is a great place to start. However, another place that's worth looking into is DeviantArt.com. I mentioned this source in the ObjectDock article, as well. Both of these locations are great sources for wallpapers as well. Below is an image of the skins page on RocketDock.com.
NOTE: Don't start adding folders and custom icons before adding Stacks Docklet into your dock, otherwise you'll be making more work for yourself.
Adding In Stacks Docklet
Once you find the right theme and icons for your dock, it's time to add in Stacks Docklet for the final touch. You could say that Stacks Docklet has been around as long as the docks themselves, so there have been a few different locations online where it has been available for download. Now there are truly only two reliable sources. There are also two versions of Stack Docklet. Version one is considered to be more stable than version two, as version two is in beta, although I'm unsure if it's still being developed further. That said, my experience with both versions hasn't had any issues.
Step 1: Download
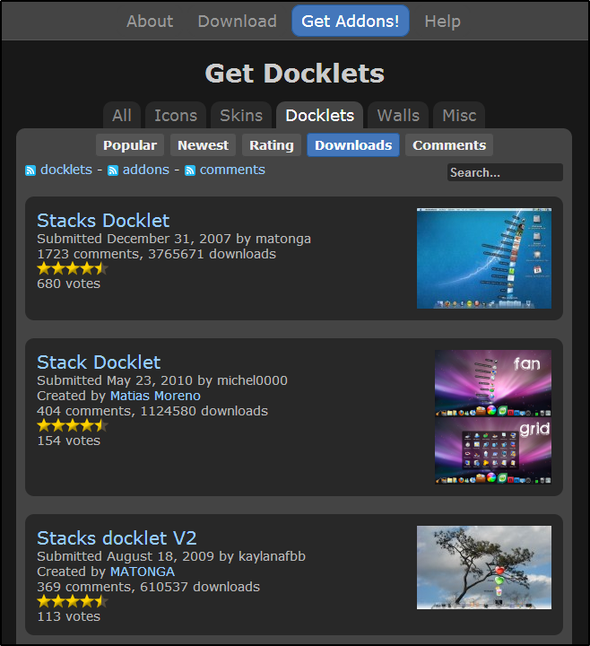
Stacks Docklet can be found on the RocketDock website, which contains multiple versions and downloads, or you can get it from the official website, which has only version two. There may be some of you who prefer the first version over the second, since it is said to be more stable. To my knowledge, RocketDock is the only place to acquire the first version.
Step 2: Install
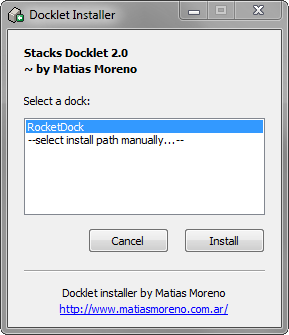
You have a couple options for installing the Stacks Docklet: the manual way or the automatic way. The manual way obviously has more steps, but if you like doing things yourself and you want control, you will probably prefer that method more. This is actually the only way to install version one. Version two via the official website includes both methods. The automatic installation is pretty simple. Just download the file and launch it, then follow the prompt (pictured below) to install it into RocketDock. It automatically detects which compatible docks you have installed, so all you have to do is select the dock you want to install it into (if you have others besides RocketDock) and click "Install".
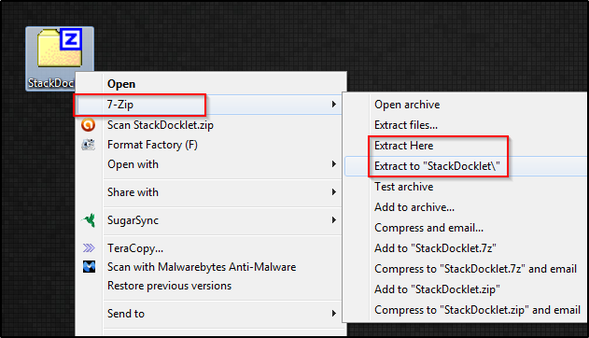
The manual installation is a bit more complicated. When you download the compressed file, you'll need to extract it with a program like 7Zip and then move the files to their designated places. Version one doesn't come with instructions to do this, but it isn't hard – just cut and paste.
For those who don't have experience in compressed files: If you choose the "extract here" the folder's contents will be put directly where ever the compressed file is. If you chose "Extract to Stacks Docklet" then the contents (which may or may not already be in a folder) will be put in a folder. My point in saying this is that before moving the folder, check to see what's inside it. If there's another "Stacks Docklet" folder inside, you'll need to move it out, otherwise RocketDock won't recognize it.
For version one:
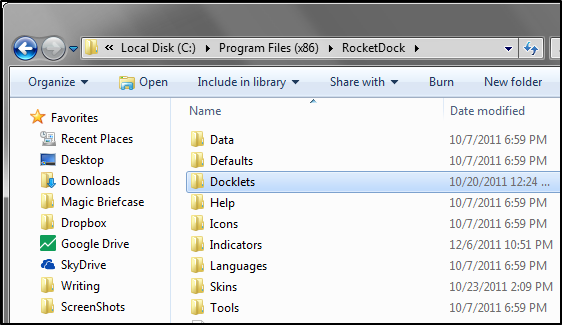
Open up the RocketDock folder, which will be in the Program Files programs, and open the folder called Docklets.
Cut the newly extracted Stacks Docklet folder and past it into the Docklets folder. RocketDock should automatically detect it and shouldn't need to be restarted.
For version two, the instructions are available once you extract them:
Step 3: Add Stacks To Your Dock
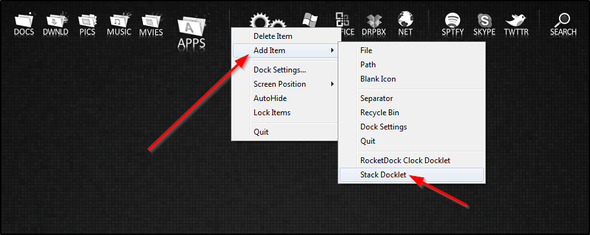
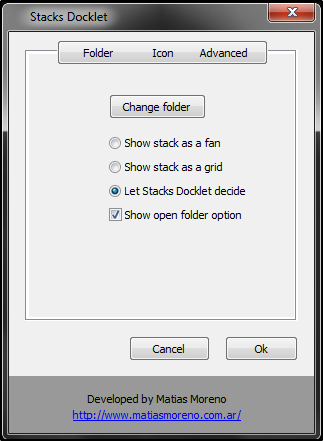
Now that you have Stacks Docklet installed, all you have to do is right click on the dock, go to Add Item and select Stacks Docklet. Then right click on the icon and select Icon Settings. Now depending on what version you are using, the window will look different.
Version one:
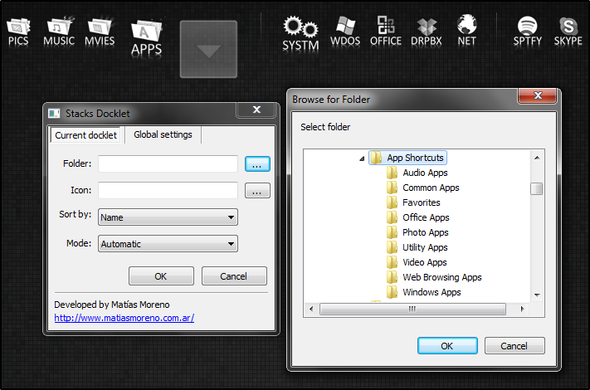
Version two:
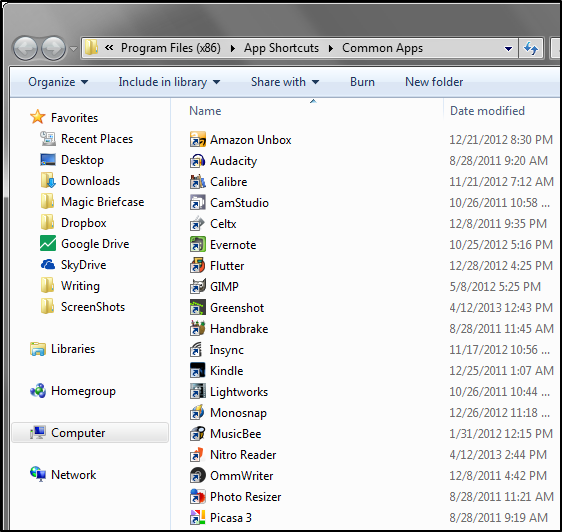
It's at this point that you should know what folder you want to use and the icon to go with it. If you want the stack to display shortcuts to your apps, such as Microsoft Office, Windows apps or any others, I recommend creating a folder and then creating folders within that one for each stack that you want to have. This can be made anywhere, but I put mine in the Program Files folder.
Once you choose your folder, then you choose your icon. Like I mentioned before, there are loads of icons available – some which come in a pack and others are individual – the choice is yours. Once you download them (if it's in a pack, you'll need to extract them) put them somewhere that you won't forget, and preferably will be easy to navigate to. Below is the icon window for RocketDock, which is what you use with the first version of Stacks Docklet. The second version just uses a normal "Browse for file" window that we're all used to.
Step 4: And Repeat!
I'll be honest, the process can be slightly tedious at first, but once you finish it's pretty rewarding. It looks nice and it's functional – a great combination for organization.
Conclusion
That brings me to one last point – organize. The more organized you are, the more useful this method will be. Plain and simple. I've covered this topic in an article about how to organize your computer files. I truly believe file organization is the only way to use a computer – otherwise, it really isn't that productive if you can't find things quickly, which is what this method in this article is all about.
Do you use RocketDock? If so, is Stacks Docklet something you use, or feel you would use? Or do you use something entirely different?


