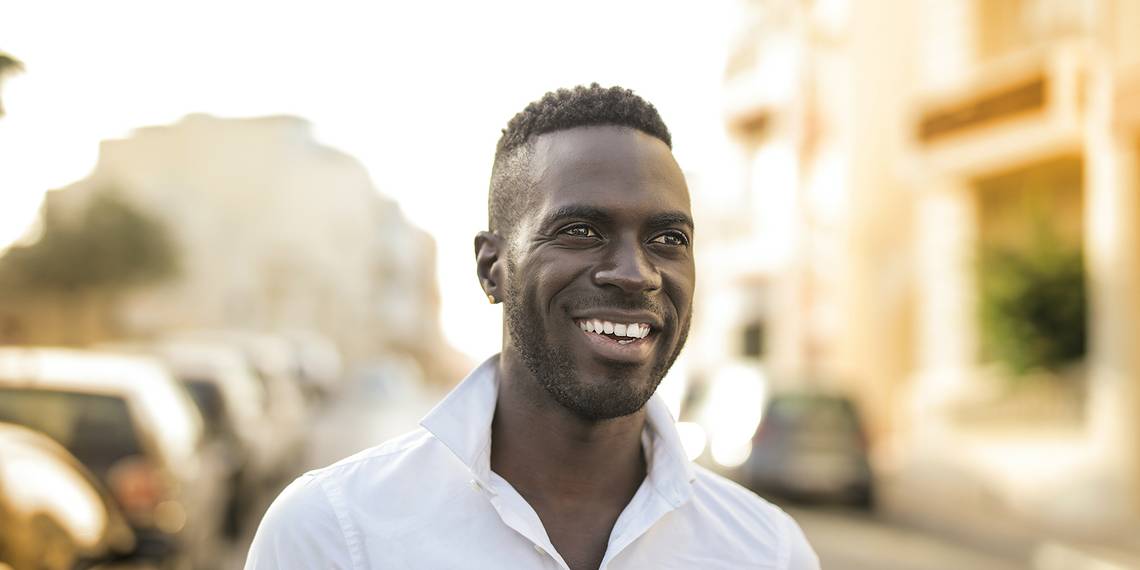
Our eyes get drawn to a cheery smile in any portrait photo. But most of us don't have a perfect set of dentures. A little yellow tinge on those pearly whites can be distracting enough to take something away from the look.
This is where Adobe Photoshop shines, as it enables you to edit photos in any way you want. You don't need to get an appointment with your dentist for your teeth to look whiter in photos. Instead, you can use a simple Photoshop technique to bring back the sparkle in your teeth.
How to Quickly Whiten Teeth in Photoshop

Like any other task in Photoshop, there are multiple techniques to whiten teeth in Photoshop. The simplest one is by altering vibrance and saturation.
Vibrance and saturation are two adjustments you can use to control color. While saturation enhances every color in a photo to the same degree, vibrance is subtler. It changes the intensity of the muted colors and doesn't change the already well-saturated colors.
For example, increasing saturation will cause skin tones to become over-saturated while increasing vibrance will only make the muted colors more pronounced.
In this method, you can create an adjustment layer to adjust vibrance and saturation. You can then create a mask to limit the adjustment to the teeth and exclude the rest of the photo. This method is an easy way to quickly whiten teeth in Photoshop, and it won't take any more than a couple of minutes of your time.
Step 1: Create a Vibrance Adjustment Layer

Go to the Layer menu on top, click on New Adjustment Layer, and then select Vibrance. Give your new layer a name and then click OK. This will create a new layer.

You can see the adjustment layer's Properties on the right side of your Photoshop workspace. Reduce Vibrance and Saturation until you're happy with how the teeth look. Don't mind the color change on the rest of the photo, we'll fix that in the next step by creating a mask.

It's best to only reduce vibrance to a negative value—in our case -90—and leave saturation as it is. Reducing saturation will make the teeth really white, but it will also give them a synthetic look. You can even increase saturation by a notch to make the color more realistic.
Step 2: Invert the Adjustment Mask
In the Layers window, click on the mask thumbnail to bring up the Layer Mask properties. The mask thumbnail is displayed as a rectangle with a chain link next to it. In the Layer Mask properties, scroll down and select Invert. This will invert the mask so that the color changes from white to black and as a result, the vibrance change will be ostensibly reverted.

When you invert a mask, you get the flexibility to apply an adjustment to only a specific part of an image—in this case, the teeth. Black hides the vibrance change, and painting the mask white in specific regions will apply the adjustment to that region.
Step 4: Whiten the Teeth
Zoom into the teeth at an optimum percentage (Ctrl + = on Windows, Cmd + = on Mac). Select a semi-soft brush (we used 50% hardness), set the color to white, and then paint the teeth on the adjustment layer. You'll notice the teeth getting whiter as you paint them. Try to not accidentally brush other parts of the photo.

Now zoom out and check out your photo! The teeth are white enough to make you jealous, huh? You can alter vibrance and saturation further in the adjustment layer to fine-tune the final look.
If you are finicky about your portraits and want to speed edit them, then this method to whiten teeth should serve you well. This short tutorial also demonstrates the subtle advantages of vibrance over saturation. You can use vibrance adjustment for color correction in Photoshop.
Say Goodbye to Yellow Smiles
Although there's nothing inherently wrong about not having shiny white teeth, you can whiten yellow teeth with a quick touch-up in Photoshop. With this technique, you can create a vibrance adjustment layer, invert it and brush the teeth region, and reduce the vibrance until the teeth look the way you want.
Adobe Photoshop is a powerful image editing and processing tool, and you can achieve lots of things with it. Whitening teeth is just a tiny fraction of what Photoshop is capable of. With the right technique, you can use Photoshop to turn mundane photos into captivating works of art.