Working hard on your Raspberry Pi but need to access your Windows computer? But wait, it's at the other end of your house, or even upstairs...
It isn't convenient to stop and switch to the main PC. Wouldn't it be great if you could access your PC while staying where you are? Well, you can! Just remote connect to your Windows PC from your Raspberry Pi instead.
Note: If instead you're looking to remotely control your Raspberry Pi from a PC, you should check our guide to SSH, VNC, and RDP with Raspberry Pi.)
How to Remote Connect From Raspbian to Windows
Perhaps you need to check an email, or some other application that you can only access on your PC. Whatever the case, you'll need to configure a remote connection from your Raspberry Pi.
While straightforward to do, the steps seem to be shrouded in mystery. We'll clear it up for you. Here's an overview:
- Configure windows to accept remote connections
- Find the IP address of your Windows PC
- Install Remote Desktop Protocol (RDP) software on Raspbian
- Install a remote desktop app on Raspbian
- Connect to your PC via your Raspberry Pi
In just five steps you can set up a remote desktop connection from your Raspberry Pi to your PC.
Step 1: Configure Windows for Remote Connections
The first step is to ensure Windows can accept incoming remote connections using the RDP protocol. To ensure this, you'll need to enable the Remote Assistance setting.
Open Windows Explorer, then find This PC. Right-click, then select Properties; in the System window, find Remote settings.

Here, you'll find the Allow Remote Assistance connections to this computer checkbox. Click to add a check, then Apply to confirm. Note that there is an Advanced button, which you should also click. Check the Allow this computer to be controlled remotely box, then OK.
Click OK to close the Properties box, then exit the System window.
Step 2: Find the Windows Device IP Address
Next, you need to find the IP address of your Windows computer. You have several options here.
Perhaps the easiest is to ask. Right-click the Start button and select Windows PowerShell. When the blue command line window opens, enter
ipconfig
Check the list for your current connection; Wi-Fi will be listed as a Wireless LAN Adapter, whereas Ethernet will be listed as such.

If this is too complicated, the alternative is to access your router through your web browser. You'll need to check the router documentation for how to do this, but once connected it's possible to see a list of devices connected to your home network.
Look for the hostname of your PC (via the System window that you opened earlier to enable Remote Assistance) and you'll find the IP address. It will typically be in the format 192.168.0.x or 192.168.1.x.
When you've found the IP address, jot it down for later.
Step 3: Install RDP Software on Raspberry Pi
It's time to turn your attention to your Raspberry Pi. With the little computer booted up (presumably with a keyboard and mouse attached) and connected to your local network, open the Terminal and update Raspbian:
        sudo apt update
sudo apt upgrade
Enter these commands in turn, and follow any prompts that are displayed. When done, your Raspbian system will be up-to-date. Once complete, restart the Pi with:
sudo reboot
When the little computer reboots, start a new Terminal session. This time, install xrdp with:
sudo apt install xrdp
Once again, follow the prompts until the software is installed.
Step 4: Find and Install a Remote Desktop App
Several remote desktop tools are available for Linux distributions. These can handle one or many of the various protocols that can be used to remote control another machine.
However, the best option---certainly for the Raspberry Pi---is probably Remmina, which supports RDP, VNC, SPICE, NX, XDMCP, SSH and EXEC.
To install Remmina, return to the Terminal and enter:
sudo apt install remmina
Follow the prompts, and wait for completion. You can find out more about Remmina at remmina.org.
Step 5: Connect to Your PC With Remmina
You're about ready to start accessing your Windows PC remotely from your Raspberry Pi. To do this, open Remmina via the single Terminal command:
remmina
You might even launch it from the Internet menu.

A new window will appear, so find the space to enter the IP address, ensuring that RDP is selected as the protocol.

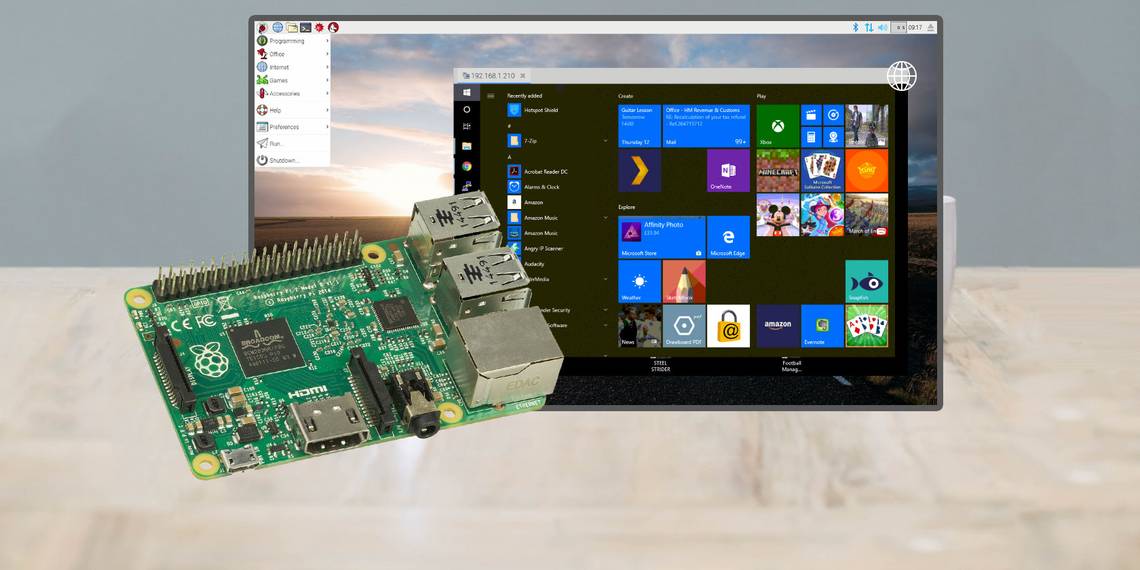
When you're ready, click Connect, and wait as the connection is established. A few moments later, you'll be accessing your Windows desktop from within Raspbian (or whatever your chosen Raspberry Pi operating system might be).
Tweaks to the connection (including adjusting quality) can be made via the Edit > Preferences window.
Remote Control a Windows PC With Raspberry Pi

With your Windows 10 computer now accessible from your Raspberry Pi, any number of options are available. You might check emails, or access the PowerShell command line remotely. You might need to access game settings if you're managing a game server on your Raspberry Pi.
Basically, any task that requires your presence in two places can be completed. However, it probably wouldn't be a good idea to attempt play video games on your PC via your Raspberry Pi in this way. The frame rate will prove a problem. (If you want to do that, try streaming from PC to TV via Raspberry Pi.)
Meanwhile, it's also possible to remote connect from Windows to other Linux computers.