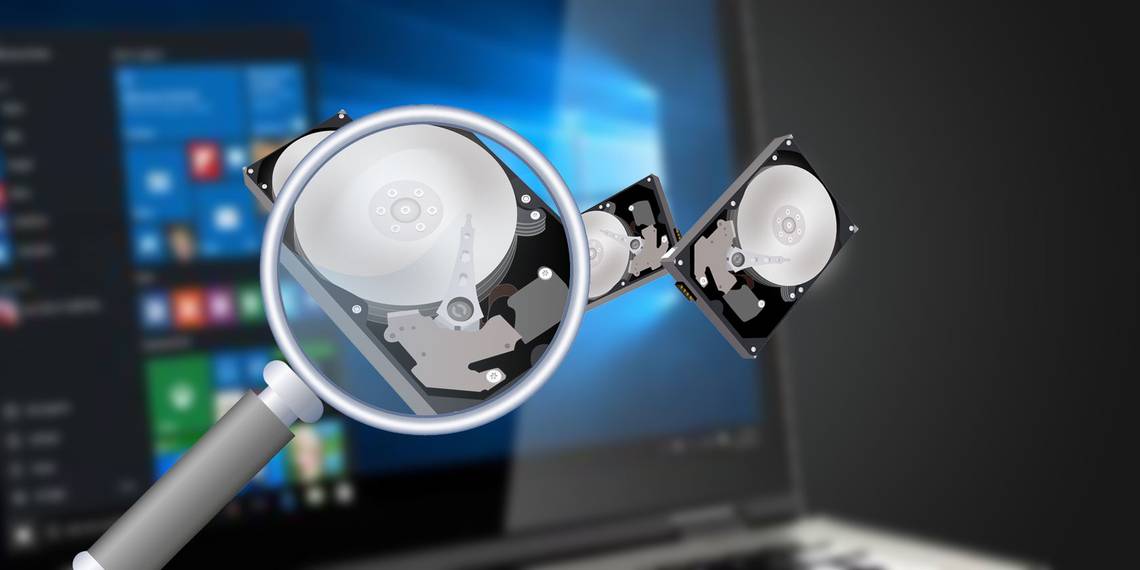
We've all experienced that feeling of dread when an important file or folder isn't where you expect it to be.
Normally, the problems are caused by user error. You've probably accidentally moved it or renamed it. But sometimes, the underlying issue is more serious. That feeling of dread can quickly turn to one of absolute panic.
The number of potential causes for missing or inaccessible files or folders is almost endless; it's impossible to cover them all in one article. Instead, in this piece, we're going to look at one specific example: lost partitions.
How Does a Partition Become "Lost"?
Broadly speaking, there are three primary ways for a partition to get lost.
For many users, the most common cause is malware. As viruses become increasingly complex, they can target parts of the operating system which were previously out of reach. One such example was the Rombertik virus in 2015. It attacked the Master Boot Record (MBR) and if successful, overwrote the partition data with null bytes.
The second cause is data corruption. If either your operating system or file system becomes corrupted, the hard drive may not be able to function correctly. In turn, this might make partitions inaccessible.
The final cause is disk management errors. Perhaps you made a mistake when resizing a partition, maybe you inadvertently damaged the Partition Table, or possibly you even deleted the partition without realizing.
How to Recover a Lost Partition in Windows
If you are confident in your technical ability, follow the step-by-step guide below. For a more detailed explanation, keep reading.
- Download and run TestDisk.
- Select Create a new log file.
- Choose your hard drive from the list.
- Set your drive's type of partition table.
- Select Analyse.
- Select Quick Search.
- Highlight the broken or missing partition.
- Press A.
- Choose Done.
Download and Install TestDisk
You can find lots of free partition recovery tools using Google, but we think TestDisk is the best tool for the job (though we've touched on a couple of alternatives later in the article).
TestDisk is primarily designed for recovering lost partitions, but it can also rebuild boot sectors, fix file allocation tables (FATs), create NTFS boot sector backups, and correct partition table errors.
The open-source app is free to download. Grab a copy from the software's website. The app is portable, meaning there is no installation process. Just unzip the contents of the file you download.
Download: TestDisk (Free)
How to Recover a Partition Using TestDesk
Run the file called testdisk_win.exe. The app will launch in a DOS window. You should see a screen like the one below.

Using your keyboard's arrow keys, highlight Create a new log file and press Enter. The next screen lets you choose the disk. If you're running a typical home computer setup, you'll probably only see one drive listed -- but the tool will also detect other attached media like CDs and USBs. Highlight the drive with the lost partition and press Enter.

On the third screen, highlight the type of partition table your machine is using. If you're running the app on Windows, you should choose Intel in most cases (though EFI GPT is also possible).

On the final screen, choose Analyze and press Enter. TestDisk will start scanning the drives and partitions you've selected. If you have a large drive, the process could take several minutes to complete.
Eventually, you will see a list of results. If the partition you're looking for is not listed, choose Quick Search at the bottom of the screen and press Enter. It will search for and list any broken or missing partitions.

To recover a broken partition, highlight the correct line in the results and press A on your keyboard. To complete the process, choose Done on the final screen.

How to Recover a File Using TestDesk
It's also possible to use TestDisk to recover files. Follow the above steps, but on the fourth screen, choose Advanced instead of Analyze.
Give the app a few minutes to complete the scan. When it's complete, it will show a list of file names. To recover a file, press C on your keyboard.

To complete the recovery process, choose the destination where you want the file to be saved.
Note: If you encounter difficulties, check the app's wiki page. It offers extensive documentation and screenshots.
Other Software
TestDisk is not the only way to recover lost partitions on Windows. There's lots of other free software that offers similar results. Indeed, many of the free partition managers we looked at in an article elsewhere on the site provide recovery tools.
If you're looking for an alternative, check out Active@ Partition Recovery and EaseUS Partition Recovery Wizard.
Active@ Partition Recovery: The app works in DOS, Windows, WinPE, and Linux environments. A quick scan feature can find recently deleted partitions, while the SuperScan function can discover partitions that are much older. It can even salvage data from formatted and overwritten partitions.
EaseUS Partition Recovery Wizard: The free EaseUS app works with FAT, NTFS, HFS, HFS+, HFSX, Ext2, and Ext3 partitions on the Windows operating system. It lets you recover deleted and lost partitions, complete with all the data intact. EaseUS also offers a Pro version for $69.95. It can work with external hard drives, NAS drives, and other non-PC storage media.
Have You Recovered a Lost Partition on Windows?
If you follow our step-by-step guide precisely, you stand a good chance of recovering the partition along with its data. As with any data recovery process, the sooner you attempt to recover your partition, the better chance you have of success.
Have you used any of the three tools we discussed? Did they work? Or do you know about another great app that we didn't mention? And share this article with your friends on social media -– you might help save someone's day.