From product reviews on YouTube to tutorial videos and Hollywood films, voiceovers are a common video production technique. If you want to record voiceovers in Adobe Premiere Pro, but don't know where to start, here's everything you need to know.
Configuring Your Microphone
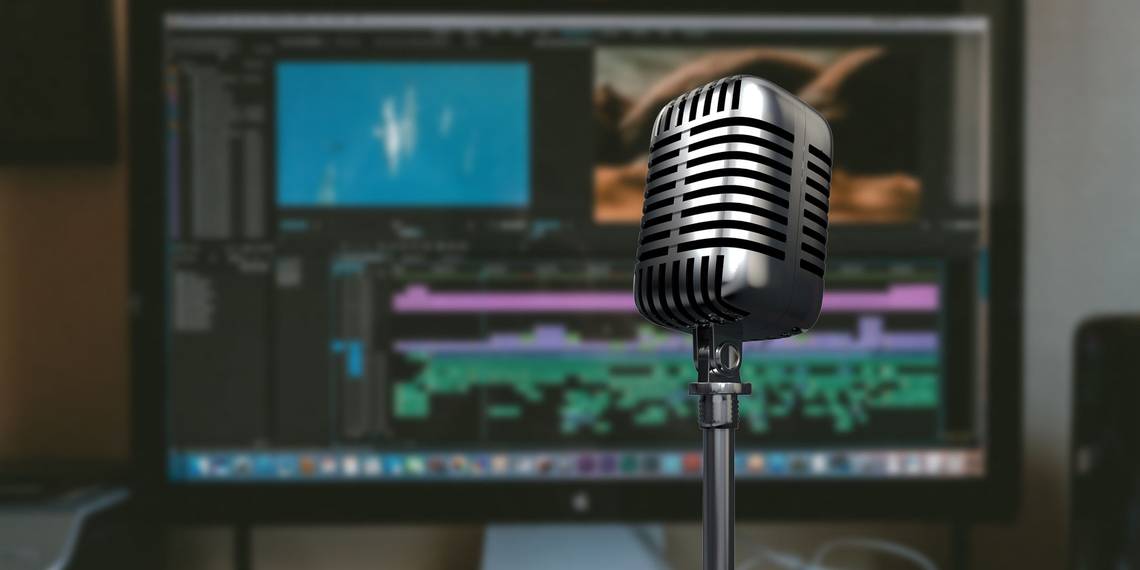
Before recording your voiceover, you need to connect your microphone to your computer and then configure Premiere Pro.
Open the Audio Hardware options by going to Premiere Pro > Preferences > Audio Hardware.

This menu allows you to configure all things audio hardware related. It may look confusing, but there's only one setting to change. Underneath Default Input, use the drop-down menu to select your microphone.
There may be other options here such as "Built-in Microphone", or "No input". As I'm using a "Blue Yeti" microphone, this shows up in the list as "Yeti Stereo Microphone".

Once you've chosen a default input, press OK to exit the Audio Hardware preferences panel.
Recording Your Voiceover
On your timeline, you should now see the Voice-Over Record button. This is a small microphone, which is to the right of the Mute and Solo buttons on your audio tracks.

Once you press the voice-over record button, you won't be able to talk immediately. Premiere Pro will count down from three, and then begin recording at zero. This gives you a little time to prepare after pressing record.

You can see this countdown inside your Program Monitor, accessible through the Window > Program Monitor > Sequence Name menu.

Once recording, Premiere Pro will show the words "Recording", underneath the program monitor.

When recording, take note of your Audio Meters. These are found in the Window > Audio Meters menu.
When playing back an edit, or recording a voiceover, these audio meters show the status of your audio. Measured in Decibels (dB), they start at minus 60, and peak at zero. When recording, you should ensure that your audio does not "clip". Clipping happens when the audio source is too loud for your microphone. The sound will distort, and generally sound bad.
By using the audio meters, you can ensure clipping does not occur. Any signal which starts clipping will turn red at the top of your audio meters. Yellow on the audio meters means the signal is not clipping yet but is close to doing so.

You should aim to have your voice reach -9 to -12 dB on the meters. This should be green and will provide a good balance. It's not too quiet, but it's not clipping. It gives you a little room to get louder before you encounter any problems with clipping.
If you hover your mouse over the edge of the audio meters, you can click and drag to enlarge them. If you enlarge too far, the meters will switch from vertical (loudest sounds at the top) to horizontal (loudest sounds at the right).
If you'd like to listen to yourself speaking, connect a pair of headphones. You can use speakers, but the sound being recording will get picked up by your microphone, and cause feedback.
When you've finished speaking, press the spacebar to stop recording. Your new recording will then appear in the timeline, ready for editing.
Editing Your Voiceover
Once you're finished recording, you can begin editing. Use the Ripple Edit tool (covered in these Premiere Pro speed tips) to save yourself a lot of time when cutting and removing any unnecessary "umms", background noises, or unwanted sounds.
When you've finished editing, you may find that your whole voiceover is now split into hundreds of smaller clips. This isn't a big problem, but it may be inconvenient when adjusting the volume or adding effects later on.
To remedy this, select all of your clips in the timeline. Once selected, they will turn light gray:

Right-click, and choose Nest. Enter a suitable name and then choose OK.

Premiere Pro has now nested your voiceover. Instead of multiple individual clips, you have one larger clip. If you want to access the original clips again, double-click on the master clip in your timeline or Project Browser.
If you need to increase or reduce the volume of your voiceover (providing it's not clipping), you can do so in the Effect Controls section. Accessed through the Window > Effect Controls menu.

Under the Audio Effects > Volume > Level control, you can increase or decrease the volume. You will only be able to increase a maximum of 6dB, but you can reduce the volume by an almost unlimited amount.
Using Audio Effects in Premiere Pro
After recording, performing a basic edit, and adjusting the volume (if required), you can move on to applying effects. Here are two easy effects, which you can start using immediately.
Get started by opening the Effects panel, found in the Window > Effects menu.
Search for Multiband Compressor, and drag it into your voiceover. The Effect Controls section will now show the multiband compressor effect. Choose the Edit button next to Custom Setup, and the multiband compressor will appear. You can increase or reduce the volume here, but a compressor serves to even out your voice. It will reduce the volume of louder phrases, and increase the volume of quieter phrases. The default preset of Broadcast is suitable for most applications.

The second effect to use is the Parametric Equalizer. This alters the sound of certain frequencies. Search for it in the effects panel, and then drag it onto your voiceover. Press the Edit button, and change the preset to Vocal Enhancer. This preset will increase the high end, and reduce the low end. This will help to reduce any low rumblings from passing traffic, or excessive sibilance from your voice.

Once you're confident, you may wish to play around with audio effects. See what happens if you push sliders to their maximum.
If you've played around to find some good effects for your voice, then you can save them into a custom Premiere Pro preset by following our guide to Premiere Pro presets.
More Tips for Recording Voiceovers
If you're recording your own voiceovers, it's worth understanding how microphones work, and learning the differences between condenser vs. dynamic mics. Knowing how microphones work is something which can help to further improve your recording quality.
And when you feel confident that you're up to speed with everything involved, why not use the tricks learnt here to start your own podcast?