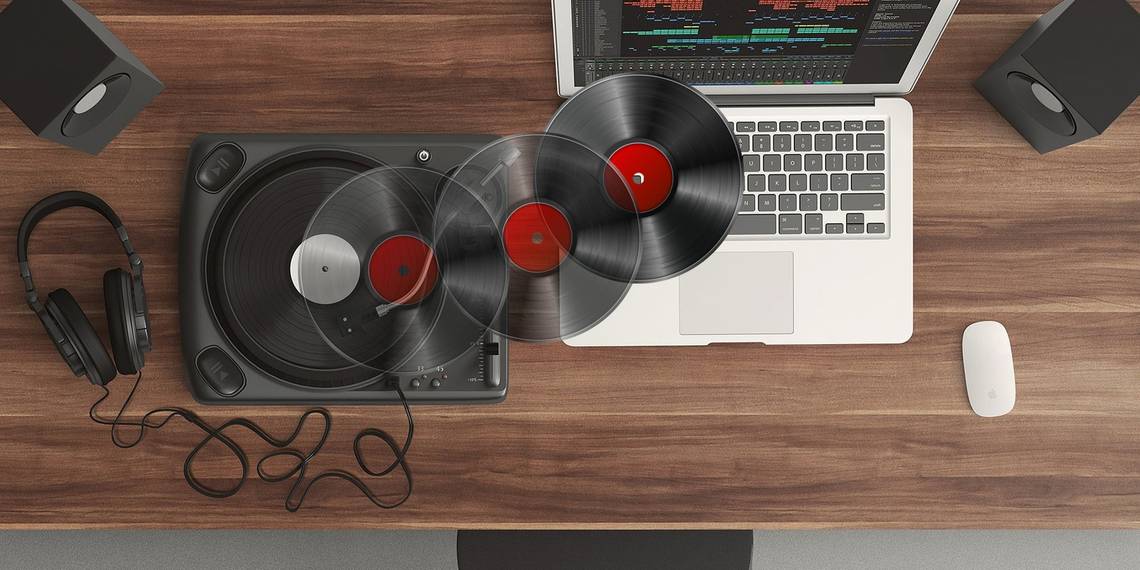
Creating digital copies of cherished analog recordings is a useful skill to have. Not only does it make listening to your collection easier, but you're preserving the original medium by causing less wear over time.
Many modern turntables are already equipped with digital interfaces for this precise reason. Other setups will require some additional hardware, but none of it is beyond the reach of the vinyl hobbyist.
So let's run through the process of recording and cleaning up your vinyl recordings.
Before You Begin: Getting Audacity
The first thing you'll need to do is download Audacity for your operating system. Audacity is free, open source audio recording and editing software. You could use another app, but we chose Audacity since it comes with everything you need in one package.
We'll be running through this process on a Mac, but instructions for Windows and Linux users are virtually identical. Keep in mind most USB turntables and audio interfaces are designed for use with Windows and Mac machines only, so Linux users may encounter some driver issues.

Once you've downloaded and installed Audacity, turn your attention to your vinyl collection. Whichever record you choose, be sure to give it a quick clean before you start. You can use cleaning solutions designed specifically for vinyl, but at the least a vinyl brush will help dislodge dust from within the grooves.
Audio Hardware Needed to Record Vinyl
In order to record vinyl to your computer, you're going to need one of the following:
- A USB turntable: This is surprisingly common these days, as many entry-level turntables are equipped with USB outputs. Most name brand models from companies like Stanton and Numark and most of our record player recommendations also feature USB outputs.
- A USB audio interface: Ideally you'll want one with a phono preamp and a grounding pin, unless you're routing your turntable through an existing amplifier.

If you're opting for the USB turntable option, you'll simply need to plug it into your computer and enable the built-in preamp. Many turntables have a switch on the back next to the USB output that toggles the preamp on or off. If possible, get one with a preamp volume control.
If you're in the market for a USB interface, something like the Behringer U-PHONO UFO202 provides everything you need in one package: a preamp, appropriate stereo inputs, and a grounding pin. It draws its power from your computer, so you don't need to plug anything in aside from the turntable.
Other USB audio interfaces will do just fine too. Since your turntable is likely already running into a regular amplifier, you can take this already-amplified stereo signal and route it through any old USB interface.
Whichever option you choose, Audacity will likely recognize the input as something generic like USB Audio CODEC or USB PnP Audio Device. Once you've connected your turntable to your computer correctly, the instructions for capturing that audio are the same regardless of the method you're using.
Setting Up Audacity for Vinyl Recordings
Before you start recording, it's a good idea to spend a few minutes setting up Audacity.
Open Audacity and access Preferences, then click on Devices in the left side menu. From the Recording dropdown, choose your turntable or USB audio device (if it doesn't show up, make sure it's connected and powered up, then restart Audacity).

Next, click on Recording in the left sidebar. Here you can check the Software Playthrough option, which allows you to listen to your recordings while you make them.

Finally, click on Quality in the menu. It's recommended that you use the default Audacity settings for new recordings. Make sure Default Sample Rate is set to 44100 Hz, and Default Sample Format is set to 32-bit float.

Before you hit record, it's a good idea to monitor your recording to avoid clipping. Clipping occurs when the source audio is too loud, causing distortion and audio loss. If the waveform reaches the top of the scale, clipping will occur.

To check your levels:
- Click the record meter at the top of the screen, where it says Click to start monitoring.
- Start playing the record you want to record.
- Observe the meter for clipping. You want to aim for a maximum peak of about -6dB (0.5 if you've chosen a linear meter).
- Adjust the recording levels using the slider just below the meter to avoid clipping, while ensuring the source is loud enough.
- Skip through the record to any especially loud sections to make sure your settings will work for the whole recording.
Mac Users: Can't Adjust USB Volume Control?
Some USB devices won't allow you to change the volume of an incoming signal. In this instance, the signal you get is the signal you're stuck with. This is why turntable preamps with volume controls are most useful.
The only application we found that can help in this regard (we tried many, including Soundflower, Sound Control, and Sound Siphon) is Loopback. It's not cheap at $99, but it gets the job done. Create a virtual audio device with your USB audio device, then use that as your recording input in Audacity. You'll have full control over input volume.

Your other option is to invest in a USB audio interface and connect your turntable that way instead. This is almost certainly cheaper than the $99 you'll pay for Loopback, but adds more cables to worry about. However, you may find other uses for recording system audio with Loopback in the future.
Know another app that can route USB device audio to a virtual device, and restore volume control? Let us know in the comments!
Recording Your Vinyl With Audacity
Once you've set up Audacity, hit the Record button to create a new track, then start playing the vinyl on your connected turntable. If you enabled Software Playthrough you'll hear the recording in real time. Sit back and wait for the recording to complete.

Turntables are especially sensitive to vibrations, so make sure there's no external interference while recording. You can buy vinyl shelves and shock-absorbing stands to mitigate vibrations and shocks.
Hit the Pause button when it's time to turn the record over, then Resume the recording once you've done so. It's best to record the whole record (or multiple discs, where applicable) before you start processing audio and labelling tracks.
Labeling and Audio Cleanup
In Audacity click Tracks > Add New > Label Track to create a track below your audio recording. Zoom out so that you can see the full recording (or a decent chunk of it). On the label track, click and drag the entire length of a track, then press Cmd + B (or Ctrl + B) to create a label.
Enter a track name, ideally with the track number at the beginning to make exporting your record easier. Repeat until you've labeled all tracks.

At this stage it's possible to clean up your audio if you want, using a variety of Audacity's built-in tools. This includes removing pops and cracks from audio, reducing hiss, or increasing the overall volume if you think it's too quiet.
Click removal removes pops and clicks from the audio, which is a common issue with vinyl recordings. To use it, find a click in your track (they look like vertical lines) and listen to confirm that it's something you want to remove. Now with the audio selected, head to Effects > Click Removal. Play around with the settings until you're happy with the results.
Hiss removal is another tool at your disposal. First select a few seconds of audio made between tracks, when only the background hiss is audible. Then head to Effects > Noise Reduction and click Get Noise Profile.
Now, select your whole track with Cmd + A (or Ctrl + A). Finally, go back to Effects > Noise Reduction then hit Preview to see what the results sound like. Tweak the settings, then hit OK to apply.

Finally, Effects > Amplify will let you boost the volume if you think your recording is a little too quiet.
Finishing Up: Exporting Your Audio
With your tracks labeled and your audio cleaned up, head to File > Export > Export Multiple. Choose a format in which to save your audio. Uncompressed WAV files are lossless and therefore the closest to "master" quality, but they take up a lot of space.
You might want to keep a WAV copy on an external drive, then export an MP3 or M4A version for listening on your portable devices. FLAC is another good choice; despite being lossy, it's a high-quality compressed audio format that results in no discernible loss in sound.