Want to run Windows on your Raspberry Pi?
It's not likely to happen any time soon, but that doesn't make it completely impossible. With a Windows computer configured as a server, it's possible to create a virtual desktop session and access this with your Raspberry Pi.
This is known as a thin client, and the Raspberry Pi is perfect for the job. Here's how to access a remote Windows desktop using a Raspberry Pi thin client.
What Is a Thin Client?
Optimized for remote access to a central server hosting virtual desktops, a thin client is a low-spec machine. It might be an old PC, or a modern device running the minimum hardware.
Whereas a standard desktop does all the work of running an operating system and running software, a thin client relies on a server for the heavy lifting. All the lifting, in fact.
There's a good chance that you've used a thin client without realising it. If you've ever worked with computers that connect to a Citrix server, then you've used a thin client (or a standard desktop acting as a thin client). You may also have used a thin client PC in your local library, or at college.
You'll have noticed that a session on the remote server's virtual desktop retains your settings and files between logons. It's also a useful tool for hotdesking.
This project demonstrates how a Raspberry Pi can take the place of that "low-spec machine" and run as a thin client with a Windows PC as the server.
Raspberry Pi Windows Thin Client: What You'll Need
To create a Raspberry Pi thin client that you can use to regularly access your Windows PC and run the apps on it, we're going to show you how to install and use WTWare.
To get started, make sure you have the following:
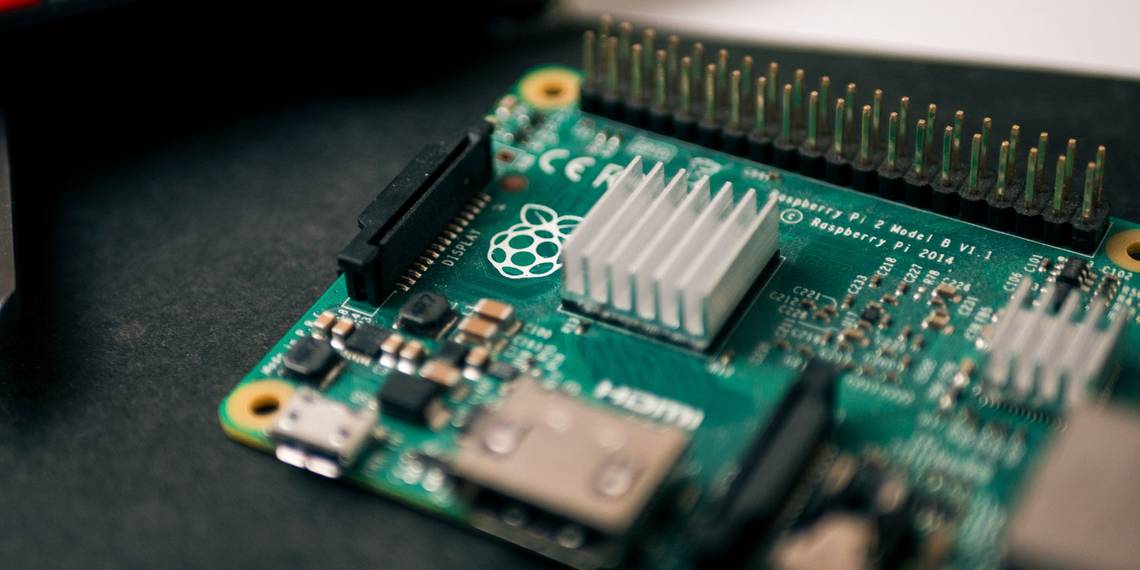
- Raspberry Pi 2 or later (we've used a Raspberry Pi 3B+ for the best results)
- A formatted, blank microSD card
- Windows computer
- A monitor, keyboard, and mouse for your Raspberry Pi
- Reliable power supply
- A computer running Windows 10 Pro (or earlier version supporting terminal services) or Windows Server 2016
You'll also need the WTWare software, which you should download from winterminal.com. This is an evaluation copy (the full version will set you back $40) and as such the "Evaluation Copy" legend will appear along the side of the screen.
More About WTWare
WTWare is a thin client operating system for the Raspberry Pi. Once installed, you should be able to enjoy a Windows Terminal Server experience, with desktop apps running in a persistent session.
Optimized for network boot, WTWare supports booting from local media for Raspberry Pi, and works with common RDP servers. WTWare also offers support to local hardware, such as printers, and smartcard authenticators.
The key to this (and any thin client/server setup) is the storing of user data on the Windows server. Settings, programs, and saved data is stored on the server, ready to be accessed in subsequent sessions.
WTWare can be configured to boot your Raspberry Pi from the microSD card, or by the network, thanks to the Raspberry Pi's Preboot Execution Environment (PXE) support.
Installing WTWare in Windows and on Raspberry Pi
Once the WTWare installer has been downloaded, double-click to install on Windows. Once this is done, insert your Raspberry Pi's microSD card into your Windows PC. This should have been formatted already using the SD Card Formatter from the SD Foundation.
To do this, download and run the SD Card Formatter. Select the microSD card (it should be automatically detected) under Select card, then ensure Quick format is selected.
Additionally, check the CHS format size adjustment box. When you've done this click Format and wait for the process to complete.

Next, run the WTWare Configurator from the Start menu, selecting the SD boot card for Raspberry Pi menu option. Ensure the correct disk letter for the SD card is selected, then click Next.

In the following screen, select the type of thin client you want your Raspberry Pi to be. Two choices are available:
Local boot: The thin client operating system files are booted from the SD card.
Network boot: This configures the SD card for network boot on the Raspberry Pi 2 and Raspberry Pi 3. There is also an option for configuring a single boot from SD card to program the Raspberry Pi 3 to subsequently boot without it.

The simplest option at this stage is to use Local boot. Once you're more familiar with the setup, progress to Network boot.
Configure Your Thin Client's Network Settings
Click Next to move to the Network tab and choose between a DHCP server-assigned IP address, or specifying a static IP for the Raspberry Pi. If you're planning to use Wi-Fi, select the Work over WiFi check box.
Progress once more by clicking Next, then select the preferred configuration. The default option here is fine for the first run. Click Next again, then check the box to Save parameters into config.txt file. This means you'll be able to edit the configuration of your thin client later. You should use this screen to set the preferred display resolution.
A final click of Next will let you set a Password to enter terminal setup menu. Once this is done, click Write to commence installation.

Click Yes to agree to the warning and wait while the data is written to SD.
Configuring Your Raspberry Pi Thin Client
Once the image is written to your microSD card, it will be safe to eject the media and insert it in your powered-off Raspberry Pi. Powering up will boot the Raspberry Pi into the Terminal management screen.
Here, use the Network media option to choose between WiFi Wireless and Ethernet, then set the credentials as appropriate. You'll need the network's SSID and passkey.
If the Configuration files are set to be correctly received, you can move onto the Connect for configurating option. Here, set the wireless network again then confirm the configuration file is set. If not, switch back to the Configurator, select the correct terminal by MAC address (as displayed in the Terminal management screen) and click Create empty individual configuration file.

From this point, simply log into the RDP virtual desktop session and start using Windows and any installed apps on your Raspberry Pi.
Note that any existing Windows account can be signed into this way; if you use the same account currently signed into Windows, you will be logged out. If you need new accounts, create them on the Windows machine.
It's the Best Way to Run Windows on a Raspberry Pi
Many operating systems are available for the Raspberry Pi, but Windows is not one of them. This is the best way to get current Windows functionality on your Raspberry Pi, short of connecting via VNC or RDP.
Want to get more productivity out of your Raspberry Pi, but not keen on setting it up as a thin client? It could be more productive than you think. Here's what happened when I used a Raspberry Pi as my main PC for a week.