Your Raspberry Pi is awesome, so it would be wrong to not give it the chance it deserves to change your life. Whether this is through the convenience of a compact desktop computer, or low-cost media center, or perhaps some more outlandish project, is up to you.
But if you get it wrong, you'll miss out on the Raspberry Pi experience. That tiny computer will fail to set your world alight with possibilities, with the magic of a low-cost, flexible device.
There are several ways that people misuse their Raspberry Pi and fail to embrace its potential. If you're new to the Raspberry Pi, or considering buying one, make sure you don't make these Raspberry Pi beginner mistakes.
Buying Low-Quality Cables and Cards
A brand new Raspberry Pi costs around $35, and a Raspberry Pi Zero far less. But if you're buying just the device, you'll also need to splash out on cables and a microSD card. This can prove a stumbling block for many Raspberry Pi beginners.
In short, low-grade microSD cards are a waste of time. Cheap microSD cards are often buggy, prone to corruption, and rarely offer the capacity for storage that they claim. In short, they're a disaster as a medium for installing a reliable operating system.
Similarly, low-quality HDMI cables, Bluetooth and Wi-Fi dongles, and Ethernet cables can all prove troublesome. Your best option, therefore, is to seek out and buy good quality gear. You might also opt for a full Raspberry Pi kit, such as this one found on Amazon.
External hardware that you connect to the Pi should be of similar good quality. Things like HATs and peripherals connecting to the GPIO, for instance, should be purchased from reputable suppliers. Check the reviews to make sure you're getting reliable kit!
Choosing the Wrong Distro
Installing a Linux operating system (or "distro", short for "distribution") on your microSD card is straightforward, and simpler even than doing the same on a desktop or laptop computer.
But it can be baffling. The sheer scale of options mean that you can easily find yourself installing a distro that is unsuitable for your purposes. Worse still, if you're using some sort of starter guide, the chances are that this will refer to Raspbian, the main Raspberry Pi Linux distribution.
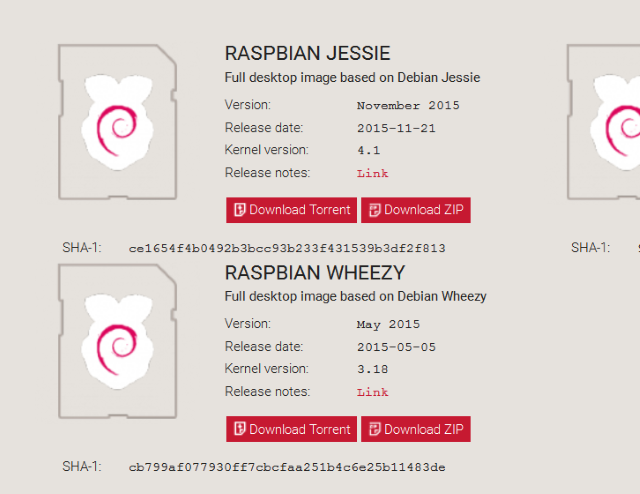
While there are many Linux versions for the Raspberry Pi, we recommend you stick to Raspbian Jessie with the slick PIXEL desktop environment. This can be downloaded free from the Raspberry Pi website. Note that most of our tutorials can be done remotely over an SSH connection. However, the latest Raspbian now disables SSH by default, so you either need to boot with a keyboard and monitor first, then use the config utility to enable it, or after you've burnt the image to the microSD card, simply add a blank file called "ssh" to the boot partition.
However, if you do wish to consider an alternative, look at one of those on offer via the NOOBS installer. This is a tool that simplifies installation considerably, but again, we'd recommend you start off with Raspbian Jessie.
Get Out of Your Depth
On a similar note, you shouldn't rush into a project that you're not equipped for, or confident of completing. You'll need the right operating system version first of all -- using the wrong Linux version while following some instructions will lead you down a blind alley. Make sure the OS you're using matches the one in the guide.
Most importantly, stay within your limitations, at least within the first few days of using a Raspberry Pi. Pick projects that let you expand and develop your abilities, that you can digest and learn from. Once you have the experience you need, then you should feel comfortable moving onto other more advanced projects.
Use Any Old Power Supply
Harking back to the earlier point about cables and peripherals, it is very important to use a power supply with the correct specification.
Though the Raspberry Pi itself won't draw more than 1 amp while under load, it's recommended to use a quality 2.5 amp power supply, especially when using USB peripherals. If the USB cable you're using isn't capable of carrying this reliably, or the mains adaptor is insufficient (or poorly constructed and therefore inefficient), then your Pi may not run correctly. Perhaps it won't even boot. Corrupt SD cards are likely, as is slow, sluggish or non-existent performance.
Whether you're using a mains electricity supply or one provided by a battery or other portable power solution, ensure that it -- and the cable -- meets the requirement for your Raspberry Pi model. This way you can be confident that your Pi will be stable throughout the current project.
If you're going to use power hungry USB peripherals, you may also need to connect them via a powered USB hub, rather than powering them through the Pi's ports.
Attack It With a Soldering Iron
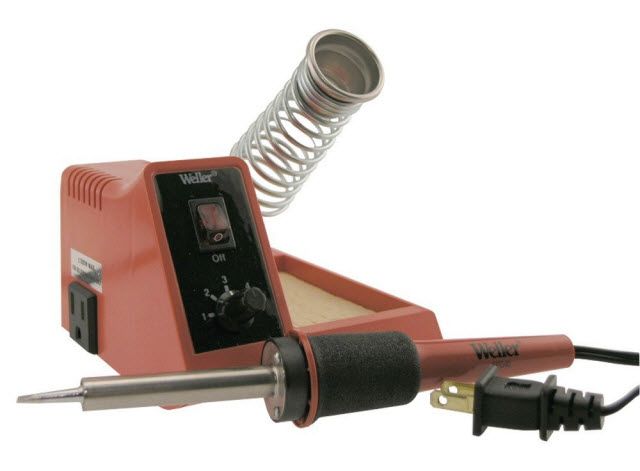
Speaking of knowing your limits, there's really no reason to solder anything directly to the larger Pi models (the Pi zero is another story though). Instead, use HAT expansions that sit on the GPIO array, or a breakout cable that allows you to work with a breadboard instead. For more permanent projects, a perma-proto board lets you solder components into place, then snaps onto the GPIO pins.
As with any computer, shorting the wrong GPIO pins can render your Raspberry Pi a credit card-sized piece of rubbish. Sure, it might be an inexpensive computer, but its innate charm would make this a tragic moment.
An understanding of soldering and electronics would be vital before proceeding with any project that requires a soldering iron!
Get the Most From Your Raspberry Pi
As you can see, there are a few steps you need to take to ensure successful operation on your Raspberry Pi. Just remember that while this is a low cost computer, it should not be treated as such. Don't buy cheap hardware, make sure it has the power it needs, and treat it with respect.
Have you run into any beginner issues with your Raspberry Pi? Here's how to fix a Raspberry Pi that won't boot.
Image Credit: studiovin via Shutterstock.com, Multicherry via Wikimedia Commons

