A Google Chromecast is an inexpensive piece of streaming kit. The Chromecast Ultra is more expensive, but at under $100 it remains affordable. But some parts of the world are restricted from buying Chromecasts.
The solution? A DIY alternative based on the Raspberry Pi. Costing under $50, you can configure this credit card-sized computer to receive media streamed from an Android app.
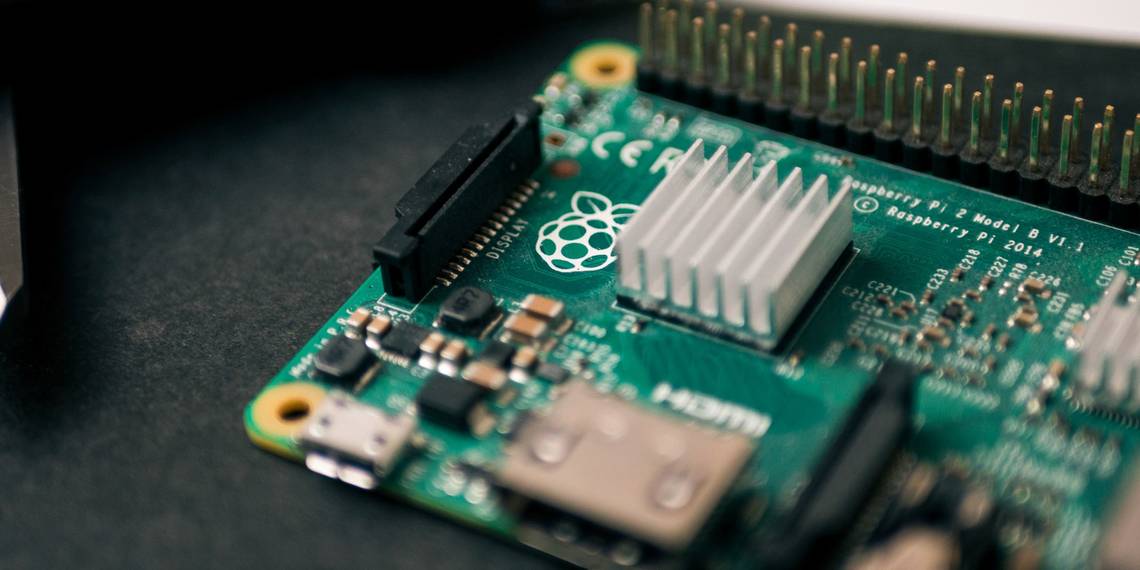
Let me explain how to use your Raspberry Pi like a DIY Chromecast with Raspicast.
Install the Raspicast App
Start by installing Raspicast on your Android device. This is a free app that connects to your Raspberry Pi and streams data to it. You'll find Raspicast in the Google Play app store. Unfortunately, there is no reliable iPhone alternative for this.
Download: Raspicast for Android
It's important to note that the Android phone and Raspberry Pi need to be on the same network for this. You can't, for example, stream video from your phone to your TV if you're sat on the bus. If you're trying to share a video with someone sat at home, simply message them the link!
Configure Raspbian for Casting
With the app installed, turn your attention to the Raspberry Pi. This should be already connected to your TV via HDMI and powered up. Note that the Pi will require an individual power source---you can't power it from your TV's USB port. Even if the power rating was adequate, the Pi should not be shut down without the correct command. Ignoring this will result in the Pi's SD card corrupting, so use the right power source.
We tested this on a Raspberry Pi 4 running Raspbian Buster Lite. However, you should find it works with other Raspberry Pi models and distributions (although some of the commands may differ).
Before proceeding, ensure omxplayer is installed on your Pi:
sudo apt install omxplayer
As you'll need SSH enabled, here's a quick primer. You have three options to enable it:
-
Via raspi-config. You can run this from the command line using
sudo raspi-config - Use the Raspberry Pi Configuration tool. From the Raspbian desktop, open Menu > Preferences > Raspberry Pi Configuration. In the Interfaces tab, find SSH and set it to Enabled.
- Finally, if you prefer simplicity, you can enable SSH before you boot up your Pi. Insert the microSD card into your computer, browse to the boot partition, and create a new file. This should be called ssh and have no file extension. Once you replace the SD card and reboot, SSH should be enabled.
The following can be done via a keyboard connected to your Pi or using SSH. You'll need the Pi's IP address to connect---open a terminal window and enter
ifconfig
Make note of the IP address that correspond's with your Pi's connection. For example, use the IP address that corresponds to the
eth0
entry if you use an Ethernet connection;
wlan0
for Wi-Fi.
Once the SSH connection is established, run some updates. Open a terminal window on your Pi and enter:
        sudo apt update

sudo apt upgrade
These commands will update your Raspberry Pi's operating system and find and install any software updates.
Install and Build OpenMax
With the updates installed, we need some prerequisite packages:
sudo apt install libjpeg9-dev libpng12-dev
The packages
libjpeg9-dev
and
libpng12-dev
are necessary for programs that can handle JPG and PNG images. This will enable images media to be cast to your Raspberry Pi via the Raspicast app on Android!
Now, install OpenMax. This tool is the best option for casting video, audio, and images from Android to a TV-connected Raspberry Pi. It's available via GitHub, and you can install it by "cloning" the data repository to your Pi. Don't have
git
? Install it with
sudo apt install git
Then clone the repository with:
git clone https://github.com/HaarigerHarald/omxiv
This shouldn't take long.
You're nearly done; it's time to build the OpenMax software. Begin by switching to the omxiv directory and using the make command.
        cd omxiv
make ilclient
make
This will take a while. Once it's done, install with:
sudo make install
A few moments later, OpenMax will be ready to use.
Get Ready to Cast to Your Raspberry Pi
Everything you need to cast from your Android device to your Raspberry Pi is now in place. Some configuration of Raspicast is still required, however.
- Run the Raspicast app.
- In the SSH settings input your Pi's Hostname or IP address.
- Input the username and password for your Pi.
- Click OK to finish.


To cast to your Raspberry Pi, you have two options:
- Browse for the content within the Raspicast app and hit play.
- Cast from YouTube, find the video in the app and tap Share > Cast (Raspicast).
Meanwhile, to send videos, music and photos to your Raspberry Pi display, simply use the main Raspicast screen and select Cast. This will open a screen listing all videos on your Android device.


Selecting a media file on any of the corresponding tabs will prompt its immediate playback on your Raspberry Pi.
Need to change the IP address within the app (e.g. to cast to a different Pi)? Open the "three dots" menu and select SSH Settings. Simply input the new IP address and credentials.
More Raspicast Options
Also in the Raspicast menu, you'll find a check box to Repeat the currently playing file. Further down the list, Audio output can be customized, using HDMI (default), local, both, or alsa. This will prove useful for anyone using an external audio solution with their Pi.


You should also check the Advanced options screen. Here, manage a queue of files, volume (audio volume offset), and specify custom commands. You can also switch to using HTTP if necessary (HTTPS is the default), and more.
Meanwhile, on the main Raspicast screen, use the Files button to navigate and play media stored on your Raspberry Pi. This includes streaming audio, thereby turning your Raspberry Pi into a Chromecast audio device!
You Can Also Cast With Kodi!
While you can't run Raspicast with a Raspberry Pi running Kodi, don't worry, there is an alternative. With the Kore remote control app for Android you can also cast media to a Raspberry Pi with Kodi installed.
Download: Kore, Official Remote for Kodi
Simply install the app, set it up with the IP address of your Raspberry Pi, and then head to YouTube. As with Raspicast, tap the Share button on the video you want to cast, then Play on Kodi.
This will immediately stream the video to your TV via Kodi!
Other Chromecast Alternatives
The Raspberry Pi isn't the only alternative to a Chromecast. You might already have a solution that you were unaware of. Your smart TV, game console, or set-top box might have a YouTube app, enabling easy streaming.
In this situation, casting videos from the YouTube app to the TV is usually possible as long as the receiver is on the same network.
While other HDMI streaming solutions exist, if you have a device with an official YouTube app (like the Apple TV), you'll probably be able to cast to it. And if you don't own any of these devices or a Raspberry Pi, Miracast is a smart alternative.
Want to go further with media streaming and your Raspberry Pi? Here are the best ways to use a Raspberry Pi as a media server.