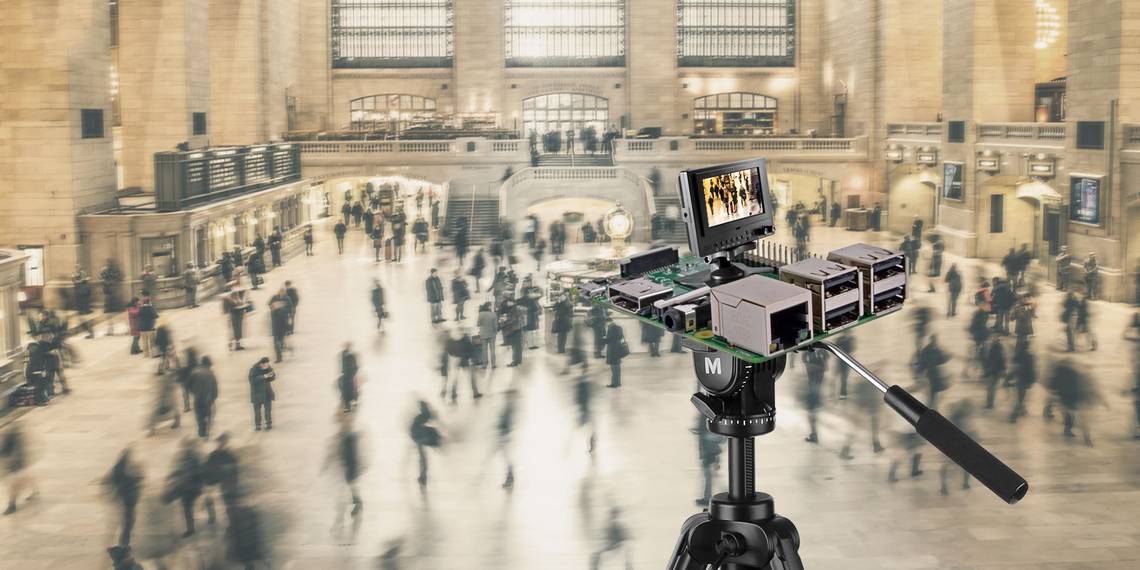
The light, compact properties of a Raspberry Pi mean that when paired with the popular camera module and portable battery, it can be used as a surreptitious camera. With this in mind, I recently captured five stunning time lapse videos. You can too.
What You Will Need
To get started with time-lapse photography on the Raspberry Pi, it's a good idea to prepare your device by finding a waterproof, all-weather and perhaps even ruggedized Raspberry Pi case. You'll be able to find something suitable on Amazon. Make sure it has space for the camera, as well as a gap for the lens. If such a case isn't available at present, consider a closed case without slots for GPIO access, etc.
Next, you'll need a battery option to make the Pi portable. You might make one yourself, or purchase a compact rechargeable battery. I've used this one from RAVPower (UK), which gives you 36--48 hours of power on a full charge.
In addition, you'll need a tripod (the type designed for smartphones should be ideal) and optional duct tape for securing the Pi in certain circumstances.
Time Lapse and the Raspberry Pi on Location
We've looked at the various ways in which you can use the Raspberry Pi camera module in the past and setting up time lapse is remarkably straightforward.
Things have moved on somewhat since then, however. For this project, we'll use the raspistill command, which is included in recent versions of Raspbian Jessie:
raspistill -t 30000 -tl 2000 -o image%04d.jpg
The parameters specify a timeout (-t) after 30 seconds (30000 milliseconds) and an interval (-tl) of 2 seconds between each shot (2000 ms). It will save each image into the current folder with filenames in the format image000x.jpg, as specified with the image%04d.jpg condition. This calculator can help you get the figures right.
By default, the camera takes photos at 2592 x 1944 resolution, which will end up with images of around 2.5 MB each. Over the course of several hours of time lapse snapping, this can prove a bit of a load on your Pi. It's a good idea, therefore, to specify a slightly lower resolution. As such, the command might read
raspistill -t 30000 -tl 2000 -o image%04d.jpg -w 1280 -h 960
All I did -- and all you will need to do too -- is adjust the script's timeout and time interval conditions to suit the particular scenario.
Remote Connect to Your Raspberry Pi
If you're using the Raspberry Pi outside, and away from your home network, you'll need to create an ad hoc network in order to connect to your Pi from your smartphone via SSH. This is the best way to remotely initiate the capture of time lapse images; you can use an ad hoc network with your laptop PC too, if you prefer, but a smartphone or tablet is more portable.
Several options are available here, but the most reliable is using an Ethernet cable and SSH.
You should now be able to connect directly to your Raspberry Pi via SSH, which will make capturing time lapse photos a far more straightforward activity. Alternatively, you might use a Python script and button, along the lines of what is explained in our Raspberry Pi stop-motion studio tutorial.
If either of these seem like too much hard work, you could always rely on a standard SSH connection over your wireless network to commence the time lapse capture, then take the Pi to its intended location. As long as your battery pack has sufficient life, and you've entered a suitable duration in your raspistill script, all should go well. Before compiling the images as a video (see below) just discard the irrelevant ones!
At this stage, you can go out and start setting up and capturing time lapse footage. Read on if you're short of ideas, but first we'll outline the process to fix the images and turn it all into a video.
Reviewing the Time Lapse Snaps
If you're creating images every five or ten seconds for an hour or more, you're obviously going to end up with a lot of them. Consider that by default these are in high definition. This means that they're going to eat up the storage space on your Raspberry Pi very quickly. As such, it's a good idea to limit yourself to a single movie project at any one time. Once you've finished the capture, create the movie (see below) and delete the original snaps.
So far, you only have photos. You'll need to edit these together into a video file.
Begin by reviewing the images and ensuring they're orientated the right way. If not, you can use the ImageMagick software to rotate them as necessary.
        sudo apt-get install imagemagick
for file in *.png; do convert $file -rotate 90 rotated-$file; done
This will rotate every image in the current directory 90 degrees clockwise. In some cases, I had to rotate .JPG files anti-clockwise by 90 degrees:
for file in *.jpg; do convert $file -rotate -90 rotated-$file; done
Create the Time Lapse Video
Once this was done, I deleted the original files and used the avconv software to create a video file compiling each snap into a video. You'll find avconv as part of the libav-tools suite.
        sudo apt-get install libav-tools

avconv -r 10 -i rotated-image%04d.jpg -r 10 -vcodec libx264 -crf 20 -g 15 -s 1280x720 timelapse.avi
The command above specifies a filename format for the images (image%04d.jpg), a codec (-vcodec), a compression quality (-crf) and of course, a filename for the created video. It will also resize to 1280 x 720 resolution -- pretty important if you're compiling the video on a Raspberry Pi, as retaining the default HD resolution will take a long time. You'll also find this is resource-heavy, so take the lighter option. Alternatively, copy the images to a PC and create the AVI file there.
(For instance, FFMPEG is available for Windows. After copying your images across and installing FFMPEG, you should copy open a command line window in the image folder (in Windows Explorer, click File > Open Command Prompt) and enter something along the lines of:
ffmpeg -r 15 -start_number 0001 -i image%04d.jpg -s 1280x720 -vcodec libx264 outputfilename.mpg
Doug's World will give you a great explanation of all that.)
With the output movie created, use something like omxplayer to play the finished file. VLC Player should also work fine, especially if you're creating the videos on Windows.
Time Lapse Ideas
1. Watching Clouds
To start, I opted to take advantage of my immediate surroundings. This meant heading to the end of the garden and mounting my Raspberry Pi to observe the constant activity above a nearby industrial installation. Clouds, flames, steam and more, this is a site of industrial reprocessing and waste disposal.
And ducks.
I used an interval of 10 seconds for this capture, and left the time lapse running for six hours.
2. Driving in My Car
It's amazing how many miles we chalk up driving, and how humdrum the whole process can seem to become. I mounted the Raspberry Pi on a smartphone tripod and then hung it beneath my rear-view mirror to get the following effect.
This was my first mobile attempt, and isn't as long as I would have liked. The interval needed to be shorter, and the total length longer, for a smoother result. Here, I used a 3 minute time out, and captures every 10 seconds.
3. Shadows, Breaking Bad Style (or Not)
This time, I opted to capture the movement of shadows on a (reasonably) sunny day. For this, I mounted the Pi and its battery on a post in the garden, and pointed it at the decking. This captured the movement of the shadows, despite the interruptions from clouds.
Unhappy with the orientation on the previous videos (stuck in portrait mode) I found that I needed to add the -rot 90 parameter to the raspistill command in order to get a landscape picture.
Keep an eye on the end of the video, where you'll spot rainwater accumulating on the table. The perils of living in North Yorkshire and expecting the weather to do what you want!
This intended to run for several hours, from morning to mid-afternoon. I set a 10-second interval to match the camera's fixed position... and then I pulled the project when the rain came!
4. Time Lapse Baby
Just what do babies get up to when they're not observed? Obviously, there isn't much in the way of walking, but how much do they move their limbs, or battle with a pacifier?
To find out, I made my baby daughter the subject of this time lapse video, making good use of a smartphone tripod to safely mount the Pi on the back of our sofa.
This ran for 35 minutes with a five-second delay with the shutter speed set to 30000 (-ss 30000) due to the low light.
5. Everyday People Drink Coffee
Ever wondered just how animated (or not) you are in a coffee shop? I decided to take my trusty Raspberry Pi out to the local coffee chain and spend some time observing the behavior of the patrons. How much tea and coffee would they drink?
Did they spend long sitting down, or was doing the shopping more important? The answer is right here. We ran this time lapse for just under an hour with an interval of 10 seconds.
I found five obvious time lapse photography projects. I'm sure you can do better. Show us what you can do in the comments!