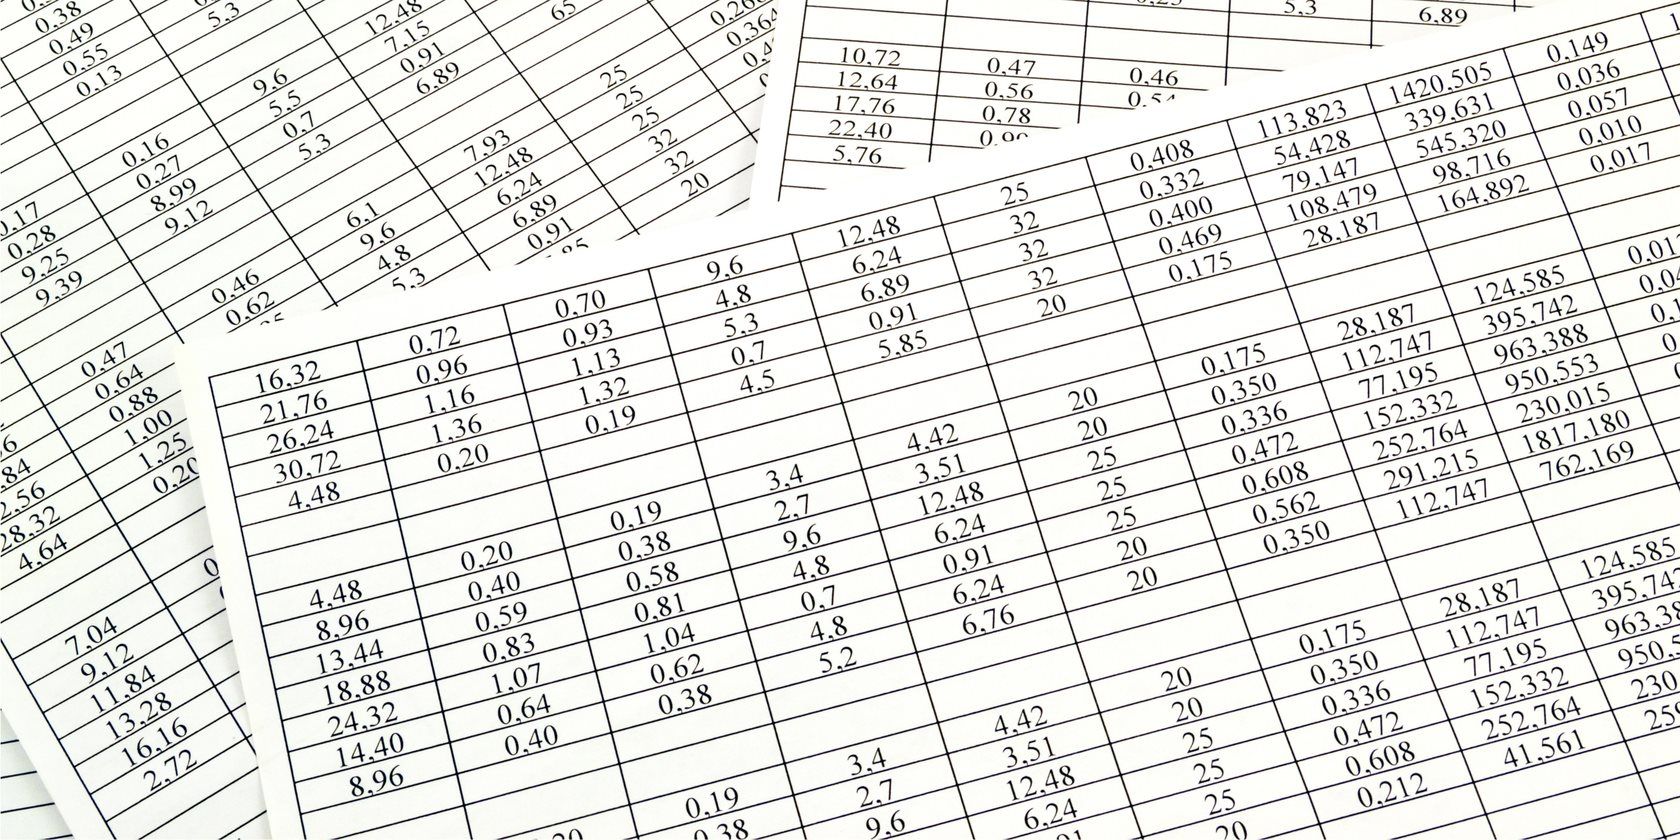
Have you ever ended up with an Excel spreadsheet that contains a bunch of blank cells? Maybe you assembled the sheet by pasting in text from other sheets, or deleted a lot of rows. You could go through the list and individually delete every blank row, but this is a huge waste of time.
There's a better way.
First, open the spreadsheet you need to edit and select every cell. You can do this quickly by clicking the little triangle in between the A column and the 1 row. Next, press F5 and click the Special button to open the Go To Special menu. Select Blanks from the list here and hit OK. This will select all the blank cells in the spreadsheet.
Now you can delete them. Make sure you select the Home tab on the Ribbon, then look for the Cells section on the right side. Click Delete here, then Delete Cells. You can try Delete Sheet Rows or Delete Sheet Columns, but those didn't work properly in our testing. After you click Delete Cells, Excel will ask you how to process the deletion. If you're deleting rows, leave it at Shift cells up. For column deletion, choose Shift cells left.
After this, Excel will delete the blanks out of your spreadsheet and leave you with just the text. Have a quick look to ensure that nothing was deleted in the process -- sometimes the selection you make has strange effects on the deletion.
If you have a Google Sheets spreadsheet that's full of blanks, you can paste it into Excel, then apply this method to remove them. Keep the formatting when you do so and you won't lose anything. For more on Excel, check out some fun things you can create inside it.
Do you often run into blank rows in Excel sheets? Let us know if you have a different method in the comments!
Image Credit: GEORGII MIRONOV via Shutterstock

