Access Forms can make data entry tasks more convenient for you and your database users. Create a user-friendly database environment without exposing the internal database workings and grant yourself peace of mind that your data is safe.
Following up our Access Queries tutorial way back in 2010, after a request from reader Jeanne Thelwell, this tutorial will cover Access Form creation, modification, design control and form properties to give you power over your database design.
For the purpose of this tutorial, we will be using the open-source US Senators Contact Information Sheet. Once you've downloaded the file, you'll need to unzip it to a memorable place – we're going to need it in just a second.
Let's Begin
Before we can create our Access Form, we will have to import our database. If you are playing along at home, that's the link above, though this tutorial will work with your own dataset.
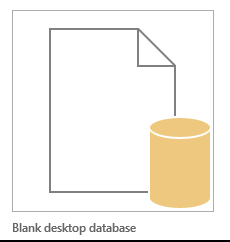
Start off by selecting "Blank desktop database" as seen below:
We can now import data using the "External Data" tab, found in the top right of your screen:
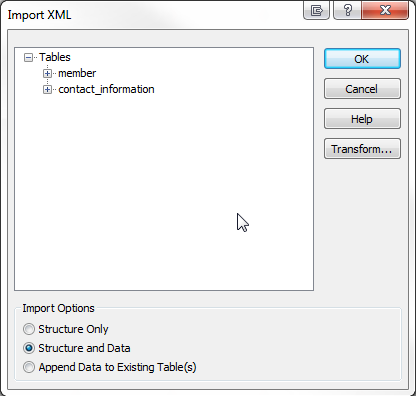
Today we'll be using an .xml file. Select XML File on the External Data tab. Browse to the location you unzipped the file and select, where upon you'll be met with the Import XML menu. It should mirror the screenshot below. Press OK to import to our new database.
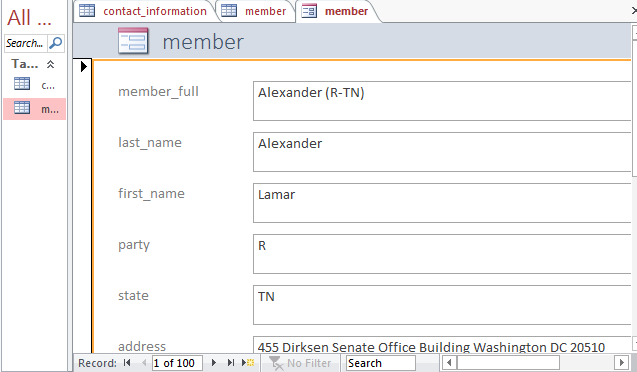
The left hand column indicates your available database objects and if everything has worked so far, you should now see our imported data objects contact_information and member. Double-click to open member. Your database fields should now be populated with glorious US Senator Contact Information.
Our Quick Access Forms Tutorial
Access Forms are customisable design objects allowing you to provide an accessible database experience for yourself and your database users. A well designed form can aide efficiency and improve data entry accuracy, so it is worth learning the essentials like tables to save yourself time, editing costly errors.
Let's move onto the fun bits. Our database is full. Our fingers are nimble. Select the Create tab followed by Form. Outlook will default to a basic form for our selected table, displayed in the aptly named layout view.
Hit quick save in the top-right of the screen and voilà! You have created a very basic, visually unappealing form – but this forms the basis of our customisable database interface. Whilst we are here, feel free to drag and drop form fields to suit your database, or right-click for deletion options.
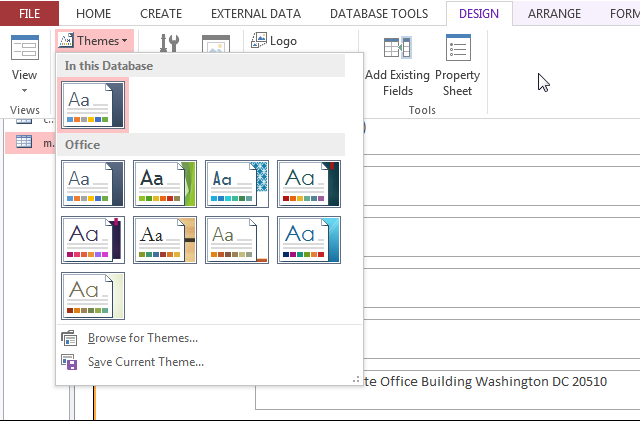
It is also worth taking note of the range of design options available in the Form Layout Tools context tab. This is where the design power tools are kept, ranging from:
- Instant theme changes
- Colour and font selections
- Header and footer options
- Additional field creation
- Form controls: buttons, navigation tools, lists, menus and subforms
Some of these outrageously exciting tools will come into play in a moment. First, lets play around with the formatting of our Senators Contact Information Form.
Formatting
Our Form Layout Tools tab contains the form customisation fields. Selecting it will deliver you to a similar screen to ours. At this point, feel free to play around with some of the settings to understand their role in form design and the aesthetic options available to you.
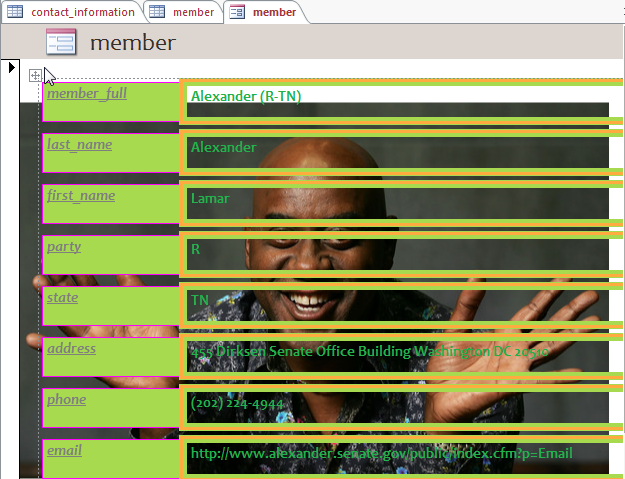
You may also want an Ainsley Harriot background with green fill, bold italic underlined green text and green outlines. Something very MySpace/MSN Messenger about this, but perhaps not for everyone...
If that isn't the visually appealing, engaging design you were interested in, you could choose some sensible options, too.
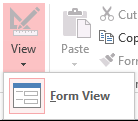
Head back up to the Home tab where you can find the view option. Here you can cycle through the available Form views. Congratulations, you have just made your first customised Access Form. Your database users will rush to thank you!
Form Wizard Makes Form Creation Easy
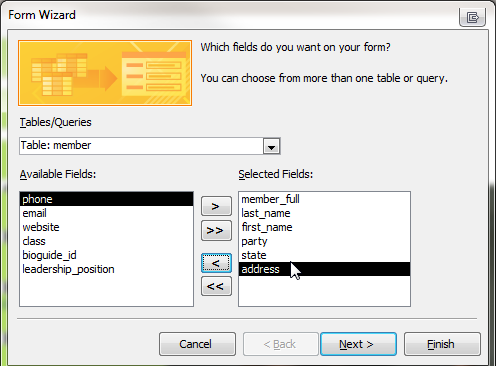
Microsoft have been exceptionally kind in their 2013 Office release. Understanding our societal desires to continually improve efficiency, they have included a rather handy Form Wizard to enable the skipping of the grubby, hands-on detail.
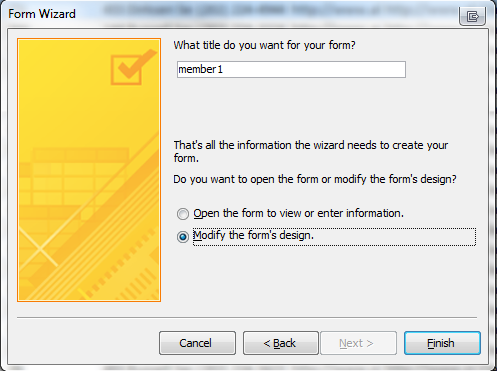
The Access Form Wizard is a useful, rapid form development tool that puts you in the driving seat for design, whilst speeding you through the nomenclature, providing you with presets for columns, rows, table sizes, styles and themes.
You can use the wizard to quickly decide which form style suits your database and user requirements.
Varieties of Access Forms
Of course you might not always need to import a database and set up a basic form. There are several other form formats, depending on your data, as well as design controls to aid user navigation. Let's examine some of these now.
The Four Form Formats
- Single Table Form. It's as it sounds: a single form, corresponding to a single database table. It is functional, basic and can be used to accomplish a number of tasks.
- Single Table Form with Lookup Field: Still using just a single form, single database setup, the lookup field allows us to display data from another table or database, or project the summarised values of a data range. The data is 'looked up' as required.
- Master/Detail Form: Master to Subform relationship i.e. one master form directs many subforms
- Master/Detail Form with Lookup Field: The same master/subform relationship, but with additional lookup fields in either the master or subforms.
One of these four form formats will be found in almost every Access database form you encounter, so take some time to familiarise yourself with their appearance, strengths, weaknesses and where they should be applied.
Use the Properties Sheet
The Properties Sheet is a jolly useful sidebar, found in the Form Layout Tools tab:
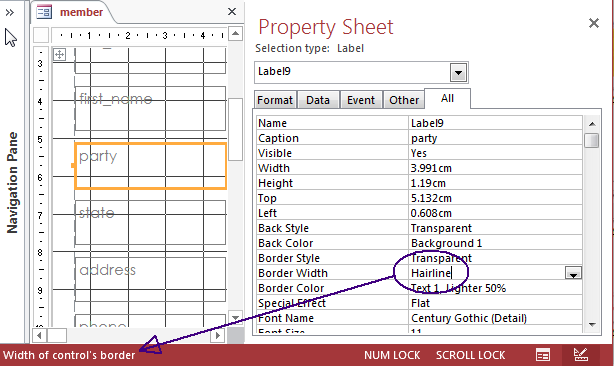
It contains reams of useful information about your Form and you can use it to quickly edit, modify and toggle numerous options. Not sure what an option does? Access provides a handy tooltip in the bottom left of your screen.
We cannot stress how useful the properties sheet can be for making changes on the fly. However, the options are too numerous to detail each one, so we'll cover two you might require immediately:
Hide a Field
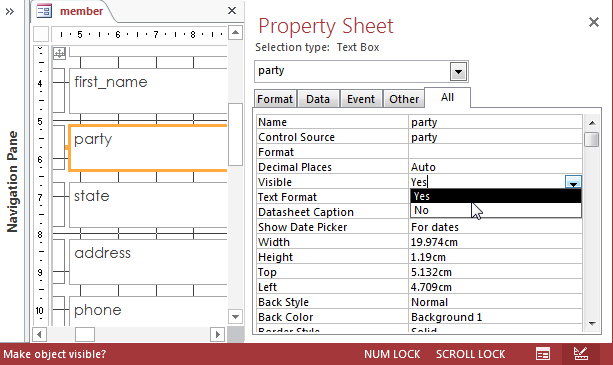
Want to ensure your users don't access a certain field? Access allows you to hide individual field entries.
Select the field you want to hide. We've chosen party, from our existing database form. When you select the field, the properties sheet should update and you'll be able to toggle field visibility through a drop-down box.
Lock Your Form Up
Your database may well need to be accessed by other users – but you don't want them to meddle with the finely tuned inner-workings of your tables and queries, and especially not any of your VBA code.
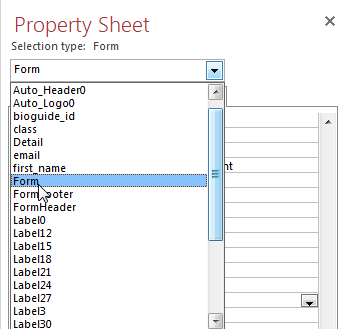
Head back to the properties sheet. Scroll through the pictured drop-box to find Form – the properties we'll be editing will apply to the entire form, as opposed to the single field isolation we covered above.
Roughly halfway down the properties sheet you should see the following options:
Change each property to no. Your properties sheet should now match this:
Next, switch to design view and in the properties sheet drop-down box, find Form once again. Toggle Allow Layout View to no. This stops any additional users accessing the layout view, where they could directly edit the Form.
Distribution
We've made our Form, we've meddled with formatting, we've played with properties and we've restricted editorial access. Now we need to save our Form for distribution. Before distributing our database, we need to convert the file from .accdb to .accde, restricting any further design changes or field editing.
Save the current database to a memorable location. Before converting our file in Access make sure you make a copy (or two!) of the original database file, in case of a database corruption. This will act as our master copy. We can update the form design or records available through this file, save, and redistribute.
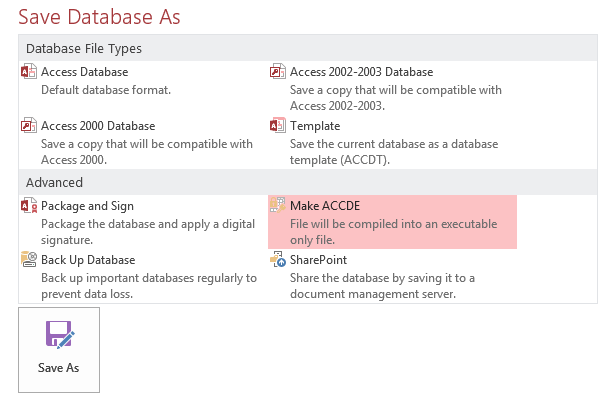
Head to File>Save As. You should be presented with these options:
Choose ACCDE File and hit save as.
Your database is now restricted to Form View only:
There will now be two files in your save location: our master copy - .accdb – and our distribution version - .accde. Distribute the file with the massive padlock to your users.
Come Back Next Time
This tutorial should have illuminated the world of Access Forms for you, giving you an understanding of basic design, formatting, properties and distribution. We'll be back in the near future detailing the range of Access Design Control features to enable you to build more detailed Forms to suit your needs.
Have you enjoyed this tutorial? Do you have any Access Form tricks to pass onto other readers? Share your knowledge below!

