Want to see what a file contains without opening its associated app on your Mac? All you have to do is press the Space bar. This shortcut triggers the handy Quick Look feature on your Mac.
While it's simple to use, we'll explore five essential tips for getting more out of it.
1. Preview Files With a Shortcut
After you have revealed the contents of a Finder file by pressing Space, you can make the preview disappear by tapping Space again. Pressing the Escape key is another option for this.
The shortcut Cmd + Y also works as a Quick Look trigger. There's a corresponding menu option too: File > Quick Look.
Feel free to drag the edges of the preview window to scale it up and down. You can also zoom and pan within Quick Look previews as you would in any Mac app. Use a double-tap gesture or pinch with two fingers to zoom. Plus, you can use the shortcuts Cmd + Plus and Cmd + Minus to zoom in and out of previews.
To pan across a preview, swipe left and right with two fingers. Of course, if you use this gesture in a video preview, you'll scrub through the video instead.
If you want a Quick Look preview window to expand to fill the screen, hold down the Option key while you tap Space. This toggles a full-screen preview. By the way, holding down the Option key triggers many useful actions across macOS.
Clicking on the Full Screen button next to the Close button in the preview window is another way to switch to a full-screen preview.
2. Open, Mark Up, and Share Files
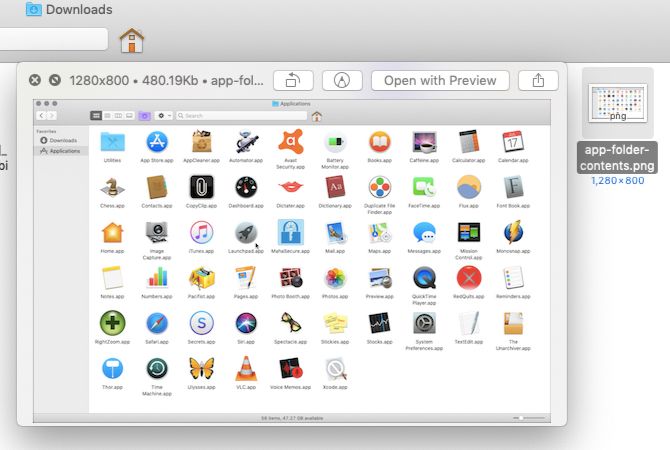
Quick Look lets you preview everything from text files, PDFs, and images to spreadsheets, presentations, and videos.
You'll find a couple of common buttons in all previews:
- Open with [App]: Use this to open the file you're previewing in its corresponding or default app. You won't see this button in full-screen previews.
- Share: This button is for sharing the file via the Share sheet that's standard across macOS.
Depending on the type of file you're previewing, you'll also find a few extra options if you have upgraded to macOS Mojave.
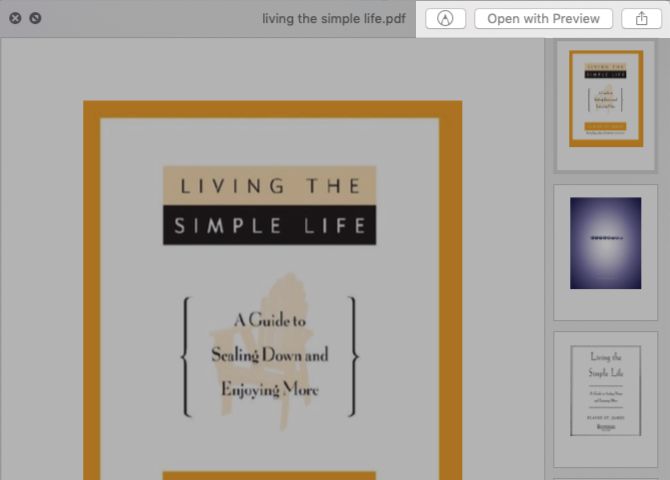
For example, when you're previewing a PDF, you'll get access to one of the best new features of Mojave---markup tools embedded in Finder.
Look for the Markup button that gives you tools to annotate the PDF right from the preview window. You can also navigate to different pages in the PDF using the page thumbnails in the sidebar. Similarly, in spreadsheet previews, you can navigate between sheets.
Also, you can rotate images/videos from their previews with the Rotate Left button. Change the button to a Rotate Right button temporarily by holding down the Option key. In audio/video previews, you'll find a Trim button. If it's missing, you'll have to enable it from System Preferences > Extensions > Finder.
Remember, you can find the right macOS setting faster with a few tips.
3. Preview Multiple Items
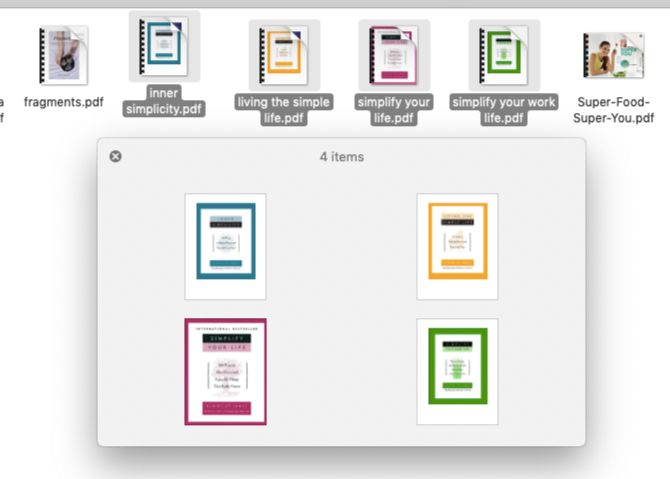
You don't have to select Finder items one at a time to preview them. You can select multiple items and Quick Look will display their previews as a collection that you can browse through. Use the right and left arrow keys to move between file previews.
(If you hit the arrow keys when you have a single file selected, Quick Look will still walk you through the previews of the remaining items in that folder.)
It doesn't matter if the items you select are in different formats; Quick Look will work just the same.
When you're previewing multiple items, look for the Index Sheet button in the left section of the title bar. This button gives you a grid-based display of the selected files, making it easier for you to preview them in random order.
In full-screen previews, you'll find the Index Sheet button in the toolbar at the bottom of the screen. Here, you'll also find a Play/Pause button that comes in handy when you want to preview selected images as a slideshow.
4. Preview Items in Spotlight, Dock, Notes, and More
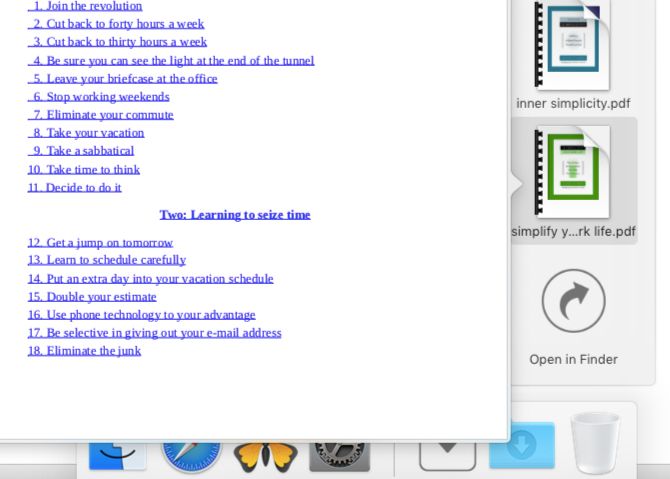
Spotlight (your Mac's search mechanism) and folders added to the Dock also give you file previews. With these, you can browse through PDFs, play videos, switch sheets in spreadsheets, and so on. But you won't find advanced Quick Look features like the share menu and the index sheet.
In Spotlight, you'll automatically see the preview for a file when you select it in the search results.
In the case of folders added to the Dock, you can preview the contents of their files only when you have displayed the folder contents as a fan or as a grid. (To switch between different views for the folder contents, select the correct view from the context menu of the folder's Dock shortcut.)
It's quite convenient that macOS also allows you to use Quick Look in a few other Mac apps. This comes in handy when you want to, say, preview attachments in Apple Mail or Apple Notes, or preview files in Time Machine before restoring them.
5. Install Quick Look Plugins
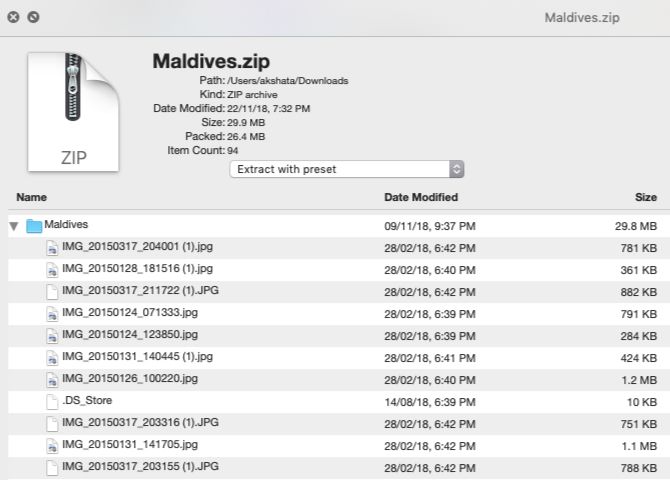
You'll find that you can't preview certain types of files---such as archives and EPUBs---with Quick Look. But you can get around this restriction with third-party plugins. Here are a few:
- BetterZip Quick Look Generator or BetterZip: To preview the contents of compressed archives
- QLMobi: To preview Kindle-based ebook formats
QLImage is another useful QuickLook plugin. It displays the image dimensions and file size in image previews.
You'll find a useful compilation of various other plugins at quicklookplugins.com. To install a QuickLook plugin, here's what you need to do:
- Click on Go > Go to Folder.
-
In the popup box that shows up, paste this location and hit the Go button:
~/Library/QuickLook - Drag the plugin file (with the QLGENERATOR extension) to the folder that opens up.
If the plugin doesn't activate quickly, you can speed it up by executing this Terminal command:
qlmanage -r
Use Quick Look on Mac More Often
Quick Look is one of most subtle features of macOS and it's an important one on our list of Finder tips for Mac newbies. Sometimes people go years without knowing about Quick Look. Have you similarly missed out on any tiny, but useful macOS features?


