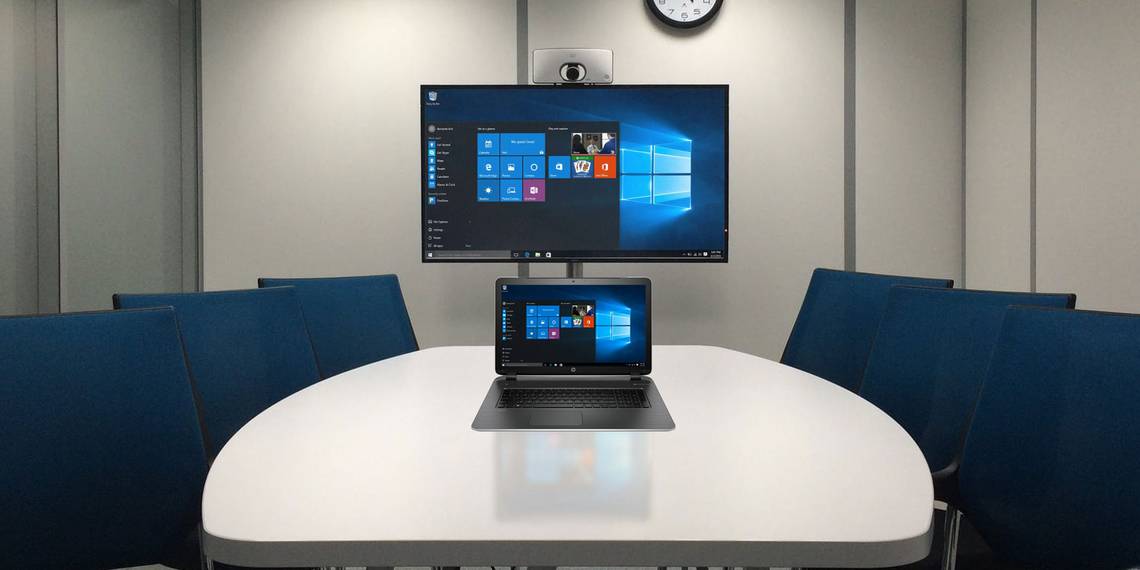
Windows 10 has built-in abilities to mirror its screen on your TV. And you don't even need a Chromecast. Here's how to project your Windows 10 computer to a TV with Miracast.
Miracast is different from Chromecast in several ways. It's built upon the Wi-Di protocol (i.e. Wi-Fi Direct) to let one screen project itself to another. In essence, it acts like wireless HDMI.
What You Will Need
- A Wi-Fi router connected to both your computer and TV.
- A Windows 10 computer that supports Miracast.
- A TV that supports Miracast, or a Miracast adapter.
Do You Need an Adapter?

Miracast is essentially wireless HDMI. Several smart TVs come with Miracast built-in. To see if your TV supports that, check this list.
Apart from smart TVs, some smart dongles also support Miracast. For example, the Amazon Fire Stick has Miracast to mirror your PC or mobile screen. Before you buy a new adapter, check if any of your TV-connected devices supports Miracast.
If you are sure you don't have Miracast on your TV through any current means, then you'll need an adapter. For the primary purpose of casting your Windows PC, you should buy Microsoft's Wireless Display Adapter. But if that's too expensive, other Miracast devices like AnyCast will also work for this.
How to Check If Your Computer Supports Miracast
Most computers that shipped with Windows 8.1 or Windows 10 pre-loaded on them will support Miracast out of the box. If you are using an older PC where you upgraded from Windows 7 to Windows 10, it should still work but you can check to be doubly sure.
There are two simple ways to check if your PC can project its screen wirelessly via Miracast.
Method 1: The Easy Way

- Go to Start > Settings > Devices.
- Click Bluetooth and Devices > Add Bluetooth or Other Device.
- In the "Add a device" window that pops up, if you see "Wireless display or dock", then your PC supports Miracast.
Method 2: The Complicated but More Reliable Way

- Click Start and press Win+R.
- Type "dxdiag" without the quotes and press Enter.
- Click the Save All Information button and save it in a text file.
- Open the text file in Notepad, and search (Ctrl+F) for "Miracast" without the quotes.
- It should say "Available" or "Available, with HDCP" next to it.
How to Project Your Windows PC Screen to TV

Once your hardware is all set up correctly, it's time to cast your Windows screen to your TV. Here's how to do it:
- Click Start to bring up the Start Menu, or click the Cortana search box.
- Type Project to a second screen and click it when the Settings result shows.
- In the right sidebar, choose how you want to project by clicking on one of the options: Duplicate (both your PC and the TV will show the screen), Extend (the TV will act as a dual-monitor setup), or Second Screen Only (the PC monitor is deactivated and only the TV is used as a screen).
- Once you've made your choice, click Connect to a wireless display.
- Windows will now search for compatible Miracast devices and show them here. Double-click the desired device to begin your projection.

If Windows Can't Find Your Device

After Step 4 above, some users face a situation where Windows can't find any Miracast-compatible devices. What do you do then?
Click "Where is my device?" and add your device's name manually.
OR
Go to Start > Settings > Devices > Bluetooth and Devices > Add Bluetooth or Other Device > Wireless Display or Dock and choose or manually input your device.
Error? What to Do If the Above Methods Don't Work
This is the only method to project your Windows screen to a TV via Miracast. If it doesn't work, then check the following:
- Update all device drivers to ensure your PC's Miracast driver and your TV-connected device are both updated.
- Check if you have an active internet connection. Wi-Di and Miracast don't need an internet connection, but some of the devices that support Miracast (like the Amazon Fire Stick) need internet connectivity to be functional.
- If your PC continues to play audio while the screen has the video, there's an easy fix. Go to Start > Settings > Sound > Playback and choose the Miracast TV/adapter as the default device.
- Identify if either your Windows PC or your Miracast TV/adapter is the problem. Use your smartphone to cast its screen via Miracast to the TV, and via Miracast to your Windows PC. For the Windows PC, go to Start > Connect to open the Miracast screen receiver function.
Disconnect Windows Screen Mirroring via Miracast

Once you are done with your projection, it's advisable to disconnect the screen. The process is exactly the same as connecting, with the last step being the opposite.
Go back to the Project to a Second Screen menu and click Disconnect.
Now You Can Cast Windows 10 to Your TV
Miracast has some advantages over Chromecast. You can use it while offline and it has less stutter and lag. This lets you get rid of HDMI cables for good and even watch Netflix on your TV.
For more, see how to connect your Android device to your TV using Miracast.