Color correction and color grading can have a dramatic impact on the quality of your videos. From white balance correction to contrast, saturation, mid tones, and more, there's a lot to learn.
Fortunately for our sanity, Adobe Premiere Pro has an automatic color match tool built in. And in this article we'll explain how to use this tool to color grade your video footage.
What You'll Need to Get Started
Before you can begin working with Premiere Pro's color match tool, you need to ensure you're able to use it.
To start with, you need the Premiere Pro CC April 2018 12.1 release. This update added the color match tool, so you won't be able to use it on older versions such as CS6.
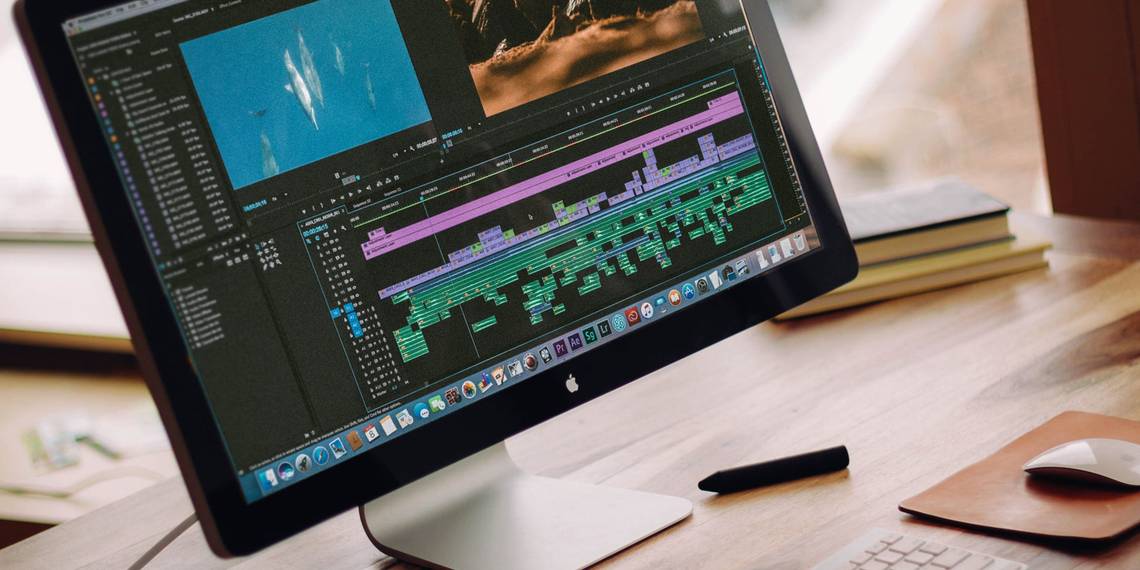
You'll also need a powerful computer to start color correcting and grading with Premiere Pro. Adobe Premiere isn't always very efficient, and color correction is very demanding on a system. You may want to consider building a budget 4K editing computer. Alternatively, you can generate optimized proxies, or perform these Premiere Pro performance tips.
Once you have the correct version of Premiere Pro and a suitably powerful computer, import your footage, and get your initial edit ready to go.
Prepare Your References
The color match tool works by studying a reference image or video and applying changes to the source footage. In order to use it, you will need to import a reference image or video, and put it on your timeline. You can delete it once your color matching is complete.
You can use your own videos or images for reference. One way to get started quickly with color grading is by using images from a Hollywood movie. If you find a scene you would like to replicate, then take a screenshot and import it.
Using the Color Match Tool
Once you're ready to go, using the color match tool is a simple process. Get started by opening the Lumetri Color panel from the Window > Lumetri Color menu.

Alternatively, open the Color workspace, by going to Window > Workspaces > Color.

Here's the footage I'm starting with:

This is a shot from our BenQ TK800 4K projector review. While it's OK, the colors are a bit dull, and it's lacking in contrast.
From inside the Lumetri Color panel, scroll down to and expand Color Wheels & Match.

Choose the Comparison View button. This will change your program monitor into a split screen. The right half shows your current clip and timeline position. The left half shows your reference image. Underneath this is a mini timeline. Here you can scrub left or right to locate your reference material in the timeline.

Position this mini timeline playhead at your reference material. As this clip is from Big Buck Bunny, a screenshot of the original source material is a good choice for the reference. As you can see, the original is a much better image. The colors are better, the image is brighter, and there's more contrast:

Once you've lined up your source material, press the Apply Match button. Premiere may take a few seconds to show any changes (depending on your computer), but it will eventually update.
Providing you're happy with the match, select Comparison View again, to exit the comparison view.
Here's the result. While it does not look exactly like the reference, it's a lot better than it was:

Color Match Tool: Additional Options
Once you're comfortable with color matching shots, there are some additional options available.
At the bottom of the program monitor (with the comparison view on), there are five buttons. From left to right, these are:
Shot or Frame Comparison. This will toggle the left image between your reference material, and a "before" preview---what your footage looked like before color matching:

After pressing:

The Side by Side button shows the source and reference views next to each other. This is the default view:

The Vertical Split button will change from side by side view, to an amalgamated view, with both the reference and source footage combining to make one image. You can click and drag on the vertical line to see more or less of the source or reference material.

Here's what it looks like:

The Horizontal Split is similar to the vertical split, only this time the view is split horizontally:

Here's what it looks like:

Finally, the Swap Sides button simply swaps the source and reference views:

Here's what it looks like:

All of these buttons exist to make things easier for you as a filmmaker. By exactly lining up your before and after shots, and closely comparing your source and reference material, you can be confident that your new image looks how you imagined it in your source material.
Adobe Premiere Color Matching in 5 Easy Steps
The color match tool isn't perfect. It doesn't always get things right, and it's not a substitute for true color grading and correction. Simple changes to exposure, contrast, and white balance can make a big difference. However, the color matching tool is an excellent way to start color grading your footage, especially if you have never color graded before.
In summary, here are the steps required to use the Adobe Premiere Pro color match tool:
- Choose your source material: Anything will do for source material, even shots from big budget productions.
- Enter the Color Wheels & Match area: This is inside the Lumetri Color panel.
- Select Comparison View: This shows the differences between your reference and source material.
- Scroll to your source material: Use the playhead underneath the reference view.
- Apply Match: Premiere will adjust the colors to match with one click.
Now that you know how to use the color match tool, why not discover how to use LUTs in Adobe Premiere Pro?