An under-rated aspect of building a PC is finding a practical and attractive way to organize the many cables connecting all your components. Managing cables well will make it easier to work on your PC in the future and will also give it a polished look.
If you're wanting to spruce up your PC build, we've got tips on how to manage cables for both function and aesthetics.
How to Approach Cable Management
The aim of cable management is threefold: Firstly, you want to ensure that you have adequate airflow in your case and your cables are not blocking fans or other key components to prevent your computer from overheating.
Secondly, you want to make it easy to find the cables you need to adjust when you add or remove components from your system. And thirdly, you want to make your build look good!
The best way to approach cable management is to be patient and methodical:
- Plan out where you want your cables to run to and from before you start securing them.
- Group cables into runs to manage them more easily.
- Start with the largest and bulkiest cables so you don't run out of room to get the side panel back onto your case.
Once you have your cables laid out as you want them you can start securing them in place.
Tools for Cable Management
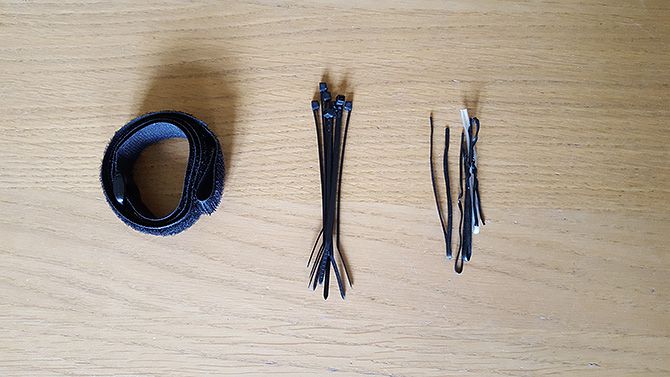
The classic tool for cable management is the humble zip tie. Extremely cheap and easily available, you can use zip ties to bundle cables together and secure them in place. Once secured, you can trim the excess of the zip tie for a neater look.
One disadvantage of zip ties, however, is that they are permanent. If you need to add or remove a cable from a bundle, you will have to cut the zip tie and replace it when you are done. If you frequently add or remove components from your system, for example for testing, you might want a more flexible solution.
In this case you can use velcro straps. These are generally a bit bigger and bulkier than zip ties, but they're easy to open and close again.
Another option is to use twist ties. These are very cheap and easy to reuse, but they can look scruffy unless they are carefully trimmed. They are a good option for cable bundles you need to frequently adjust but which are out of sight, such as on the back side of a case. Don't overtighten a twist tie though as they have wire inside and you could cut into a softer cable.
Case Features for Cable Management
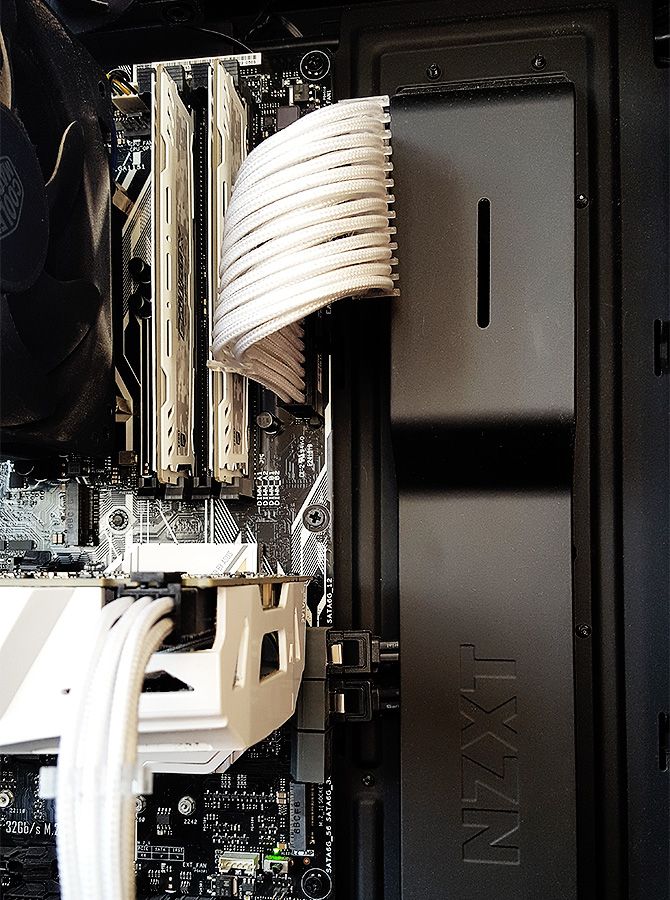
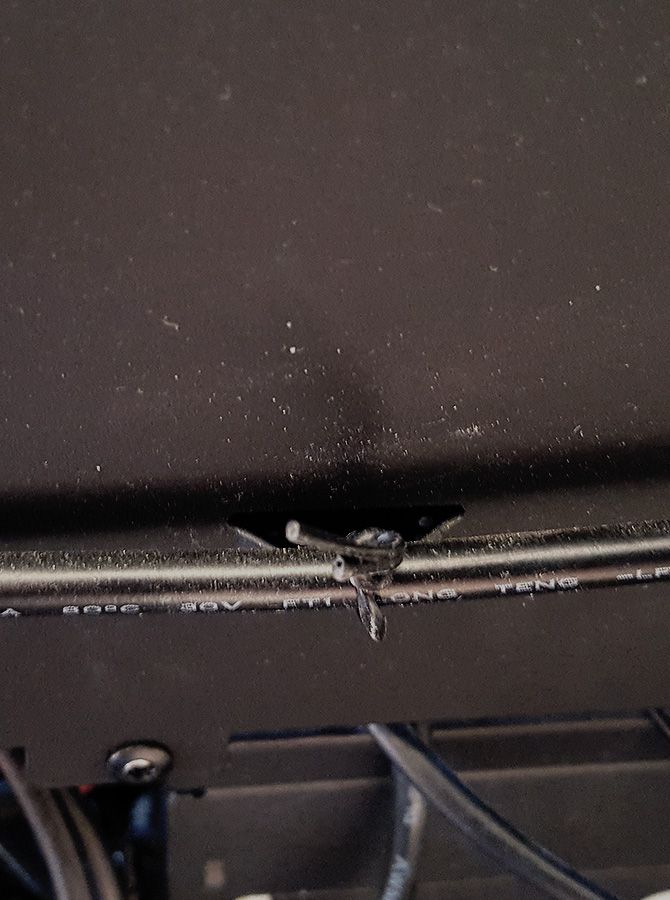
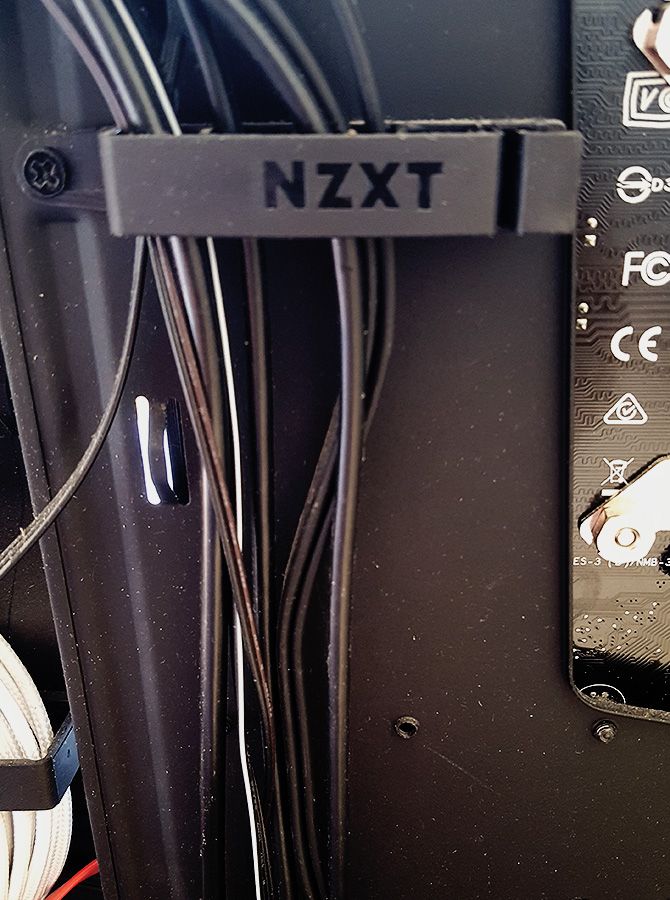
Most modern cases will have some features inside to help you manage your cables. The simplest but most useful of these features are tie-down points. These are small raised arches in the metal of the case to which you can tie cables with zip ties or twist ties. The more of these tie-down points you use, the neater your cabling can be.
Some cases have clips, which are great for managing larger bundles of cables. They're also easy to open and close so you can add or remove cables while you work.
Newer cases with a focus on aesthetics are often designed to help manage cables as well. They will have cutouts through which you can pass cables and space behind the motherboard tray to hide cables. Many cases have a basement or shroud which hides the power supply and the rat's nest of cables coming out of it, along with hard disk drives and other components you might not want to show off.
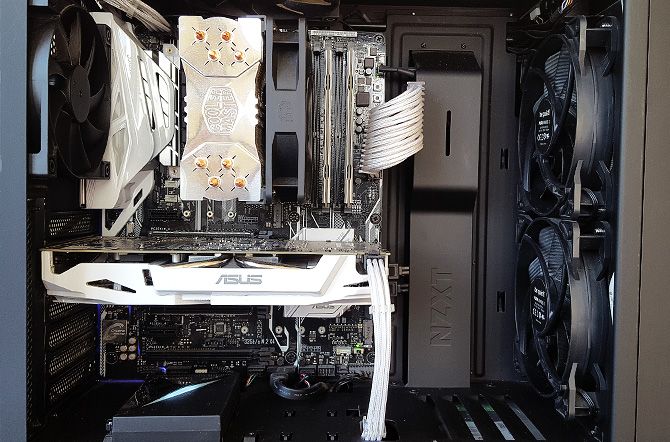
Other case features are more unique. The NZXT S340 Elite case shown above, for example, has a cable management bar at the back of the case. This can be used for routing motherboard cables and hides a multitude of sins.
Glass Panels and Cable Management
Consider the layout of your case when working on cable management. Any case with a window or glass side panel will require cable management at the front to look sleek. But if no one is going to see the back, you can be more relaxed about managing cables behind the motherboard tray.
As long as you can find and add or remove cables when you need to, you needn't worry about getting everything perfectly neat.
Other cases have glass panels on both sides, necessitating you do a clean job of managing cables throughout the whole case. This is a lot more work but it allows you to show off your cabling. Alternatively, you'll find other cases that have glass on the front and side, meaning you need to be careful managing your front panel connector cables.
Custom Cables for a Professional Look
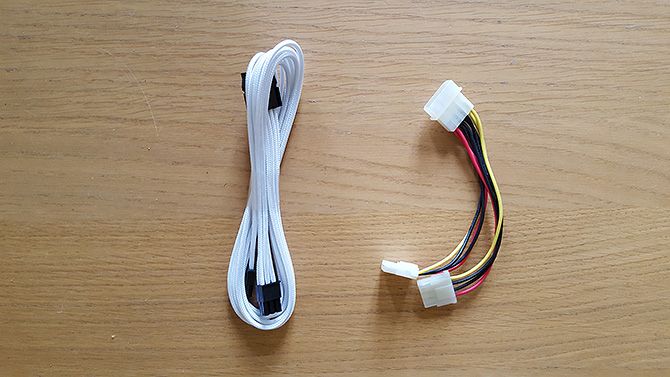
Many PC components have plain black cables which are unobtrusive and will fit with virtually any color scheme. But some components come with the dreaded "ketchup and mustard" cables in bright red and yellow. These colored cables are visually distracting and may clash with your color scheme.
To give your PC a cleaner, more coherent look, you can use custom cables in a complementary color instead.
Custom Cable Options
There are three options for custom cables. Firstly, you can get cable extensions. These are inexpensive, usually around $20 to $30 for a set. You plug the extensions into your components like your graphics card and motherboard, then channel them to the back of the case. Then you plug the other end of the extension into the cable coming from your power supply.
The advantage of cable extensions, as well as their low price, is that they can be used with virtually any power supply and case. The disadvantage is that you end up with a lot of extra cabling at the rear of your case, so this method is less suitable for those with glass on both sides of their cases.
The second option is to order custom cables that fit your case's dimensions and color scheme exactly. You can order these from sites like CableMod. Custom cables plug straight from your power supply to your components, so they need to be compatible with your specific power supply. You'll also find a selection of color-coordinated custom cables on Amazon.
You can also choose from a wider range of cable sleeving materials and colors. Custom cables need to be made by hand and are expensive, but they give a really professional look to your build.
Thirdly, you could consider making and sleeving your own custom cables. This requires time and patience but lets you create exactly the look and length of cables that you want.
Clean Up Messy Computer Cables
Managing your cables takes your build from solid to awesome, so take some time to plan and patiently execute a cable management strategy. The finished look with be worth it, and you'll be glad you organized all the cables next time you need to swap a component.
Now that the cables inside your PC are organized, it's time to tackle the cables on and around your desk. Check out our guide on how to clean up computer cable clutter under your desk for advice. We've also listed the best computer cases if you want something new to show off those cable management skills.

