<firstimage="https://www.makeuseof.com/wp-content/uploads/2011/06/00_otixo-logo.jpg">
Almost all the big names in technology believe that the future is in the cloud, and the great wars to conquer that new territory have begun. Amazon and Google started the war on online music services and Apple happily joined the battle by announcing iCloud.
But music is not the only thing that people put in the cloud. There are documents, photos, and movies also there, with lots of cloud locations to put those files, including Dropbox, Amazon S3, Google Docs, Apple iCloud, and personal FTP accounts. But one of the biggest problems of using cloud servers to save your files is that you have to manage them one by one. If you have ten different cloud accounts, you have to log into ten different servers to manage your files.
But luckily, there's Otixo. This service will help you manage your cloud accounts from one place.
Collecting The Clouds
Start by signing up for the service. Don't use a fake email address because Otixo will send the activation link to that address, and you can't start before activating your account.
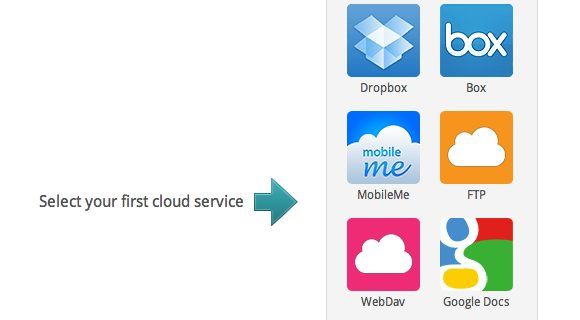
After logging in, you can start managing your cloud accounts by adding them one by one to Otixo. Currently the supported cloud services are: Dropbox, Box.net, MobileMe (which will last only for another year), Google Docs, and other online storage services which use the WebDav protocol or FTP. Hopefully there will be more services added to the list in the future.
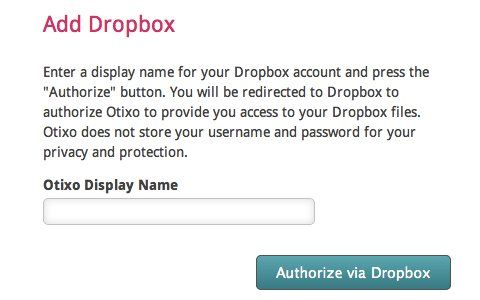
To add a cloud service, click on one of the icons on the list. Otixo will ask you to give a name for that account. You can give any name you want, but it's advisable to use a name related to the service, so that later on, you will have no trouble telling which account is which.
Adding WebDav and FTP accounts requires you to fill in more than just a "Display Name" field.
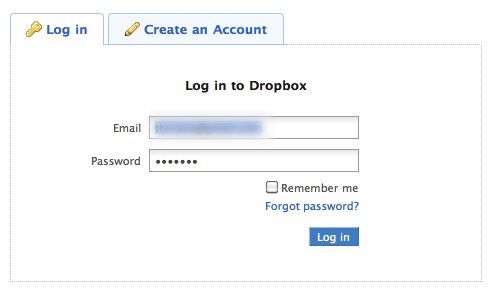
The next step is authorizing Otixo to access the account. Click the "Authorize" button and log into the account.
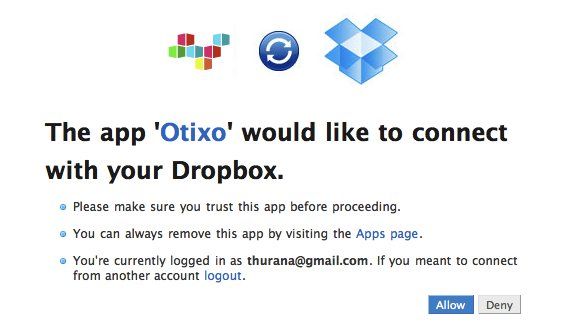
Then give Otixo permission to connect with the account.
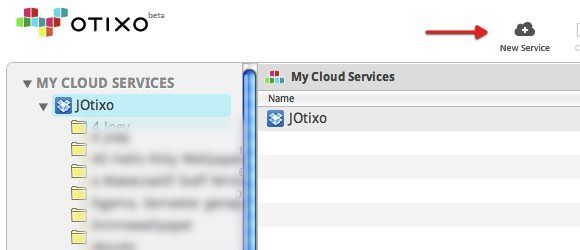
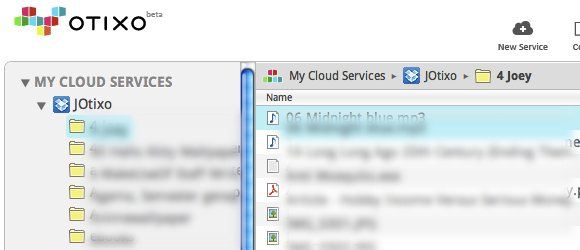
You will see your cloud service appear on Otixo's web-based file explorer. To add another cloud service, click the "New Service" icon above the file explorer and repeat the process.
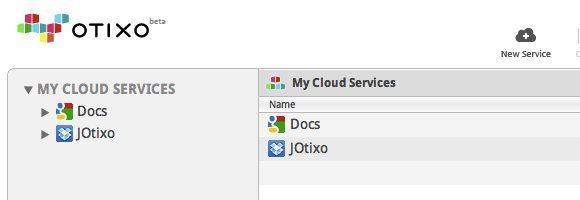
All the added cloud services are listed on the left pane of the explorer. I discovered that you can only add one Dropbox account to the list.
Otixo's file explorer acts similarly to a normal desktop file explorer. You can go inside a folder, open a file, copy and paste, and do other basic file/folder actions.
You can see all the available actions above the file explorer.
Bringing The Cloud To The Desktop
Another great feature of Otixo is the ability to access the account from your computer desktop. It means that you can add your cloud services to Otixo and access them from your computer's file explorer as if they were just another drive.
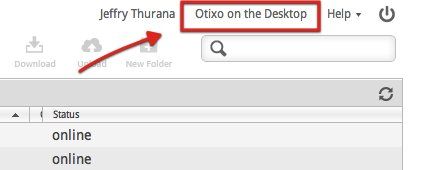
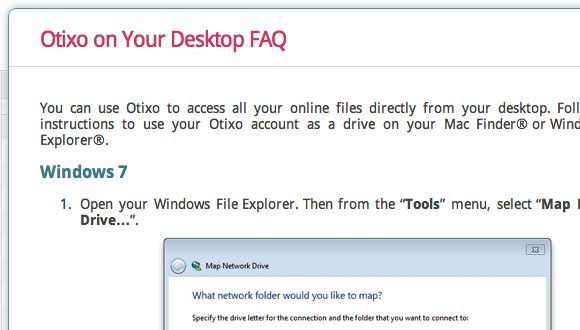
You can find detailed steps on how to set up Window Explorer to access Otixo by clicking the "Otixo on the Desktop" link above its file explorer.
Just follow the steps, make sure that your computer is connected to the net, and you are good to go.
Text documents on Otixo are also accessible (and editable) via Pages on the iPad. The detailed instructions can be found under the "Help - Otixo in Pages for iPad" link.
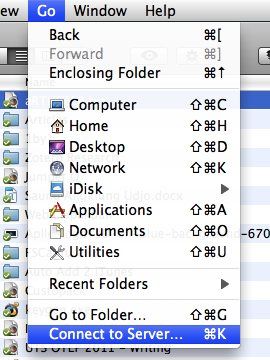
Mac support is currently "coming soon", But out of curiosity, I tried to follow the Windows version of the instructions to connect my Mac's Finder to Otixo. I succeeded. Here are the steps.
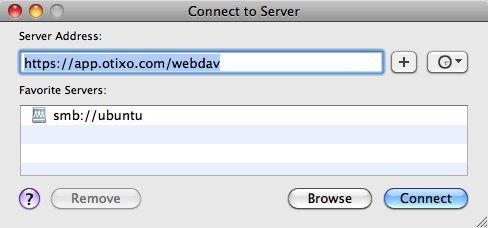
- Open the "Go - Connect to Server" menu (or use Command + K).
- Write down "https://app.otixo.com/webdav" (without quotes) in the server address and click "Connect".
- Then Finder will try to connect to the server.
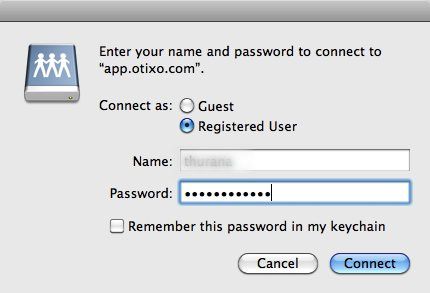
- After connecting, a window will appear asking for your credentials. Choose to connect as a "Registered User", fill in the "Name" field with the email address that you use for Otixo, write down your password, and click "Connect".
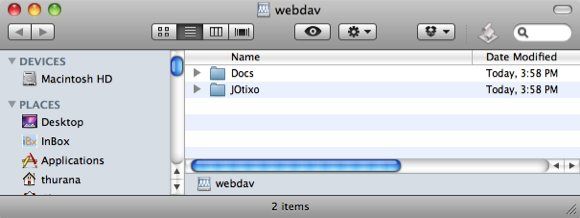
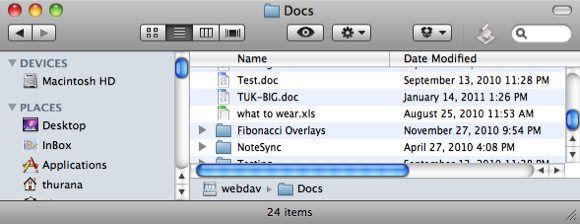
- If all the data you provide is correct, Finder will open a new window showing the contents of the "webdav" online drive. You can see all your cloud services there.
- As long as your computer is connected to the net, the webdav access will be available. But please note that the access to those files and folders inside webdav might not be as fast as the access to other items inside the local hard drive. It will depend on the speed of your Internet access.
Since both Mac and Linux are built around the Unix environment, I think the trick will also work for Linux machines. I can't confirm this but I'm sure one of the readers can. Please try the method and share your findings using the comments below.
If you happen to use similar services which are better, why not tell us all about it?

