If you need a simple, yet flexible note-taking app on macOS, you must consider Apple Notes as a top candidate for the post. That goes double if you're tied to the Apple ecosystem and love the convenience of iCloud.
Familiarize yourself with the basic features of Apple Notes and use the next five tips to turn the Notes app on your Mac into the ultimate organizer.
1. Keep Important Files Handy With File Attachments
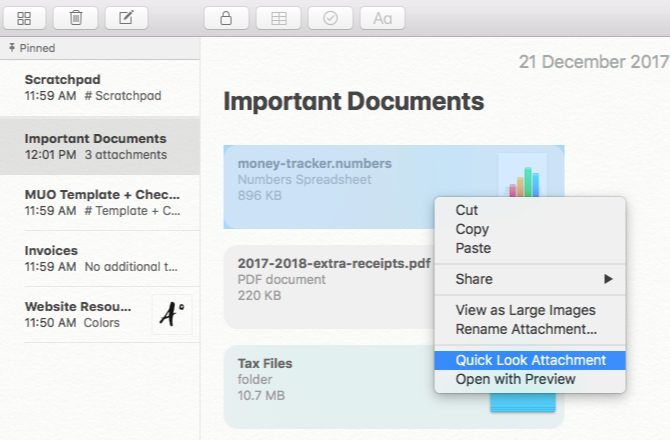
Notes allows you to attach files to individual notes; drag and drop the files into the desired location in the note. You can preview the attached files with Quick Look, rename them, and share them -- all from the Notes app.
I recommend using the file attachment feature to bring some of your most-used Finder files into Notes. Why? To add some context to them, which is sure to make finding the data in those files easier.
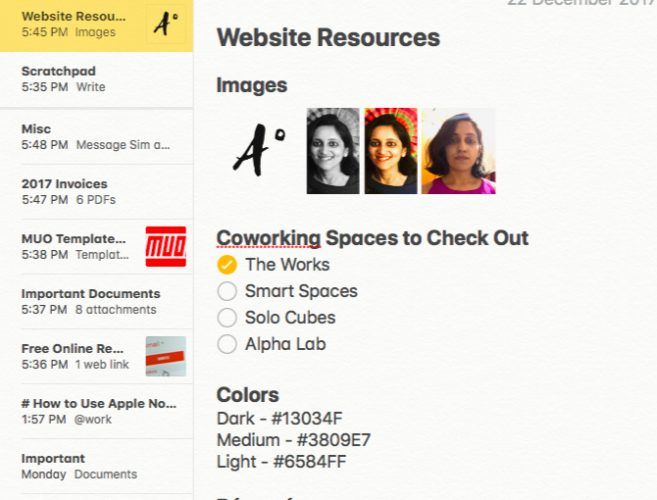
To see the benefits of this approach, let's consider, say, the resources related to your personal website. For starters, you probably have a folder for logo files and one for a handful of profile pictures to upload to various websites. Add a text file to store your website content and one to store testimonials you have gathered from past clients. You'll need to save details such as the colors in your website's logo, the fonts you use, and the website maintenance tasks you need to follow up on.
Yes, you can access all this data by digging through Finder folders or by sifting through tags. Wouldn't you rather get to it from a single note or from a folder of notes named, say, Website Resources?
If you're curious to know where those attached files go to roost, here's your answer:
~/Library/Group Containers/group.com.apple.notes/Media
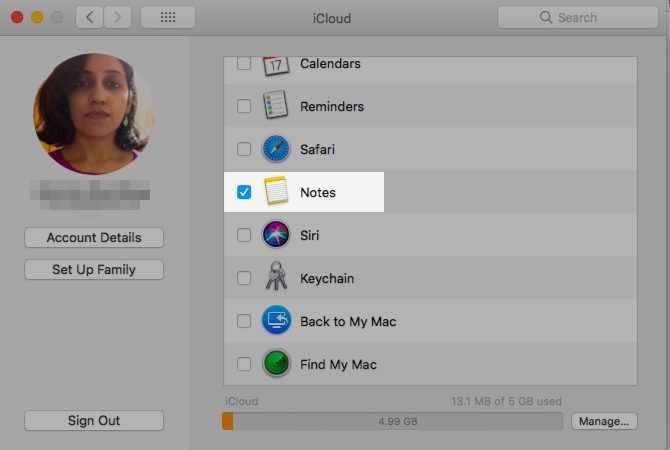
The attached files will get backed up to iCloud with the rest of your Notes data if you have set the Notes app to sync with iCloud. You can check whether you have enabled or disabled cloud sync from System Preferences > iCloud > Notes.
Thanks to the Attachment Browser, you can view files attached to all notes in one place with a click of a toolbar button (it's a grid with four squares). Based on the attachment type, Notes sorts files into documents, photos and videos, maps, and so on.
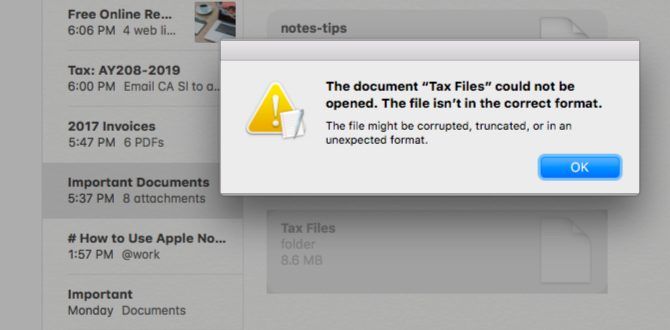
While you can drag folders to Notes, we wouldn't recommend doing so; they could get corrupted without warning.
2. Get Organized With Checklists
Are you a list love? Why not go crazy with the Checklist feature in Notes! It's perfect for tracking your progress on everything from the usual to-dos and bill payments, to reading lists and travel plans. Combine the Share feature of Notes with checklists and you have an easy way to send your birthday wish list to loved ones. You'll find note-sharing options under File > Share.
Click on the Make a checklist toolbar button (a check mark enclosed in a circle) within any note to create a checklist. Here are a handful of ways you can put checklists to use:
- Line up movies you want to watch over weekends, books you want to read this year, or local haunts you want to explore.
- Back up invoices as PDFs to notes, sorting them either by client or by month.
- Create a to-do list with tasks you need to take care of when you're dealing with taxes. Drop relevant documents and scans into the same note as and when you get your hands on them. Notes can't do your taxes for you, but it can take some of the stress away.
- Stay on top of maintenance tasks and payments that come only once a year.
- Keep a packing list handy to ensure that you don't leave important gear behind while travelling. To save time, you can get one off the web and tweak it in Notes to suit your needs.
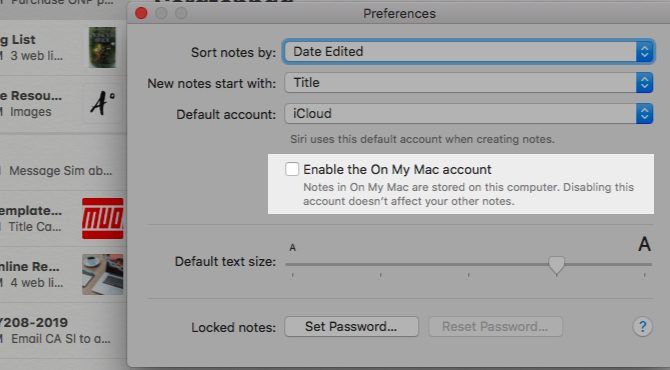
If you would rather not back up notes containing sensitive information to iCloud, put them in the On My Mac folder -- it stores notes locally. If the folder isn't visible in the sidebar, force it to show up by selecting the checkbox for Enable the On My Mac account under Notes > Preferences...
You can also protect notes with a password: select the Lock Note option in the note's right-click menu to set one. It's a pity password protection doesn't extend to notes with file attachments.
3. Scan Information Faster With Tables
If you hate spreadsheets, use the table feature in Notes to track what goes in and out of your pocket instead of using yet another app. Click on the Add a table toolbar button (sandwiched between the lock and checklist buttons) to create a new table.
Create tables for monthly and annual expenses, automatic and manual payments, and IOUs. You're less likely to miss important information about your money when you can take stock of it at a glance. When you can see:
- Where your discretionary funds go every month, which is helpful if you want to cut costs.
- How much money you need to keep in your checking account for that major expense that's coming up.
- What you owe someone for shared expenses.
Thanks to the Share sheet integration, you can even add reminders for specific expenses. For example, let's say your domain name comes up for renewal in the first week of August every year. Why not set a reminder for it to prompt you to pay in the last week of July? You don't have to leave the Notes app to do it!
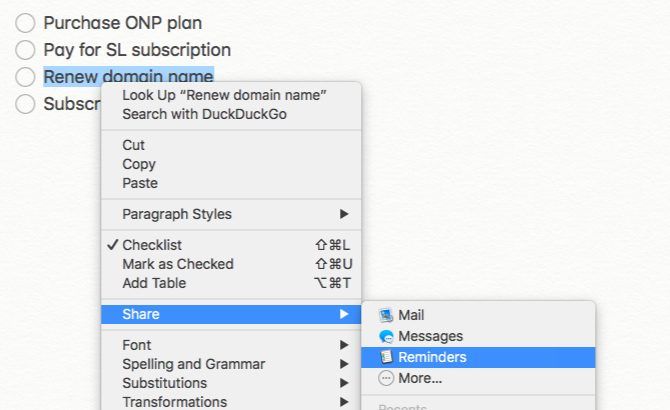
To create a reminder from Notes, select the text snippet you want to link to the reminder, and from its right-click menu select Share > Reminders.
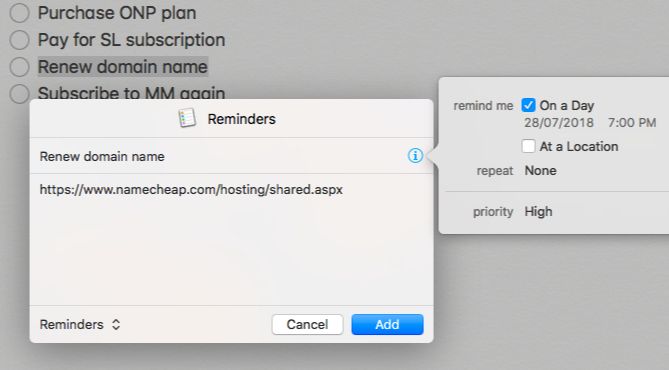
Feel free to tweak the reminder title and content in the dialog box that shows up. Paste in a link to the payment page to speed things up. Click on the tiny information "i" icon next to the reminder name to tell the Reminders app when and where you'd like to receive a notification. Once you hit the Add button you can rest assured that the Reminders app has taken note of your request.
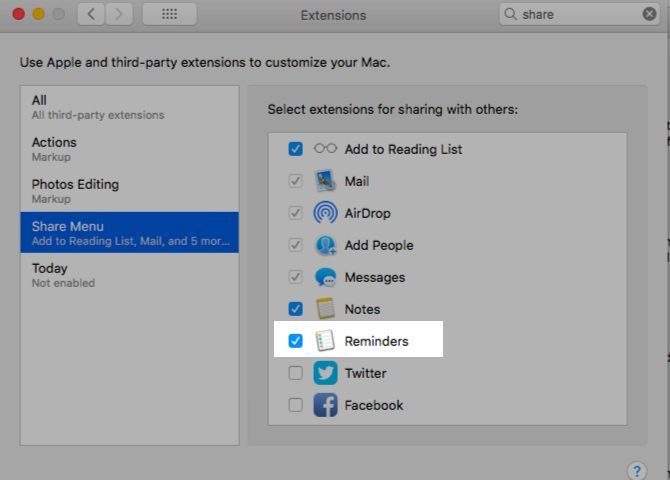
Can't see the Reminders app in the Share menu? You'll need to enable its extension first. To do this, first click on the More... button in the Share menu and then select the checkbox for Reminders in the extension list that shows up.
4. Access Web Content Fast With Link Attachments
When you're browsing the web with Safari, use the Share feature to save links to articles, videos, Amazon products, SoundCloud songs, and so on. It's a great way to create playlists and bookmark items without cluttering up your digital life with more user accounts.
Click on File > Share > Notes from any web page to add its link to an existing note or a new one on the fly. Links saved this way come with previews, unlike those you type in or paste into the Notes app. The previews make identifying information a whole lot easier. Their content depends on the dictates of the source website though.
Now, how about saving links to free online resources such as guides, templates, and planners in a separate note for future use? Start with our ultimate Mac security guide.
5. Use Custom Thumbnails to Find Notes With Ease
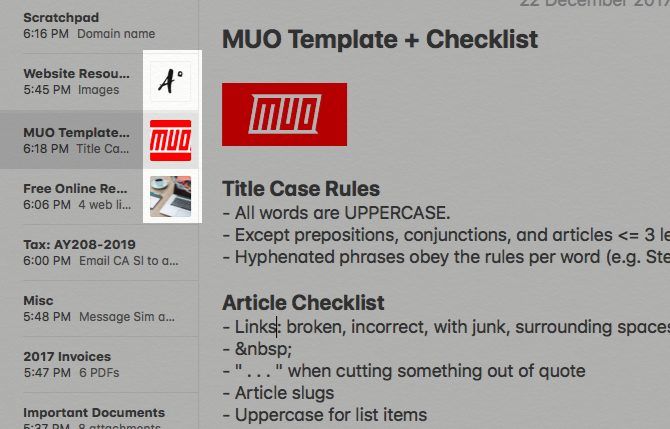
Images are powerful visual cues. With a simple trick, you can take advantage of them to jog your memory while searching for notes. For every note or at least the most important ones, attach an image right at the start of the note. (It can be anything: a logo, symbol, photograph, or an icon.) A thumbnail of the image then shows up next to the note's name in the note list, which makes for an easy way to find the right notes faster.
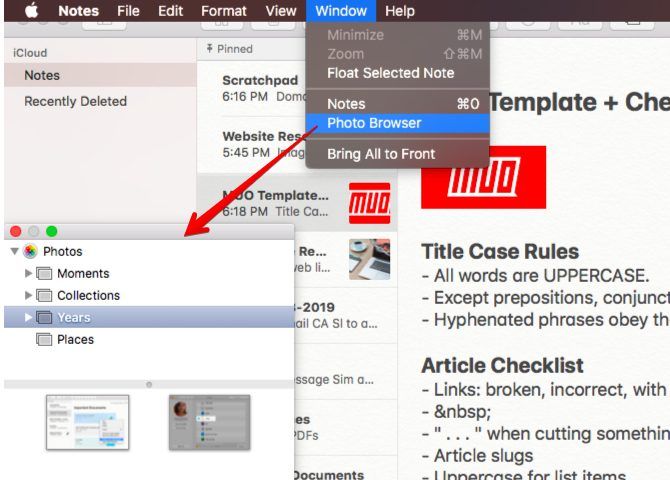
You'll find attaching images easier if you have them stored in the Photos app. If you have, you can pick the right ones within Notes with the Photo Browser feature hidden in the Window menu.
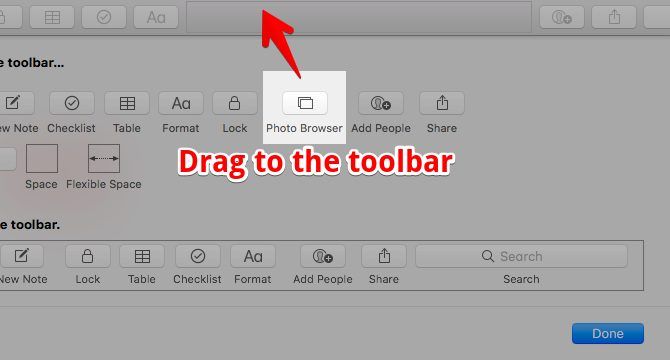
Plan to use the photo browser often? Access it in a single click with its toolbar button. You'll need to make the button visible first, here's how:
- Right-click on the toolbar.
- Select the Customize Toolbar... option.
- Drag the Photo Browser icon from the popup dialog box to the toolbar.
- Click on the Done button to wrap up.
One App Instead of Many
Track your school, college or personal projects and use Apple Notes as a research tool.
Save Maps locations to Notes and you can access them (even offline) from the Notes app itself. That's quite handy when you use an iPod Touch and have no Wi-Fi access on the go. You'll need to access the map at least once when you're connected to Wi-Fi to cache it (i.e. to make it available for offline use).
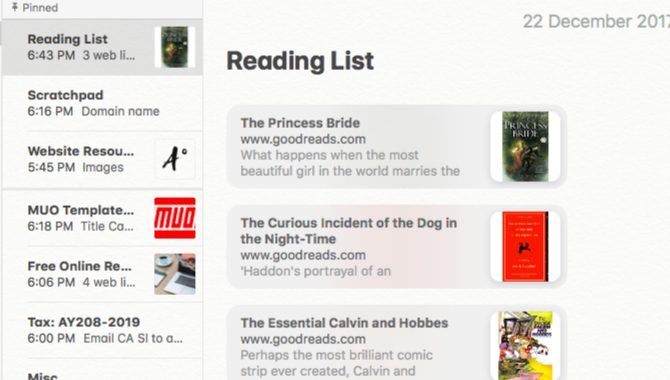
Bookmark Goodreads pages for books and you can pick stuff to read next from your new digital bookshelf aka Notes.
Notes has the potential to replace so many apps/services and adds much-needed context to your data based on how you wish to see it. That you can carry your notes in your pocket with an iOS device makes an already-great deal irresistible. The only fuel Notes needs is your creativity.
Is Apple Notes Your Top Choice Yet?
Apple's native note-taking app still lacks a few features that many of us would consider must-haves. For example, tags, Markdown support, and plaintext export. You can't deny that Notes has some serious potential though, and it is getting better with each iteration, don't you think?
I hope Apple doesn't pile on feature after feature and turn Notes into the kind of apps many of us are trying to dodge -- complex and cluttered. The simplicity of the app is after all a big part of its charm. With a little careful planning, you can turn Notes into your go-to data hub for managing various areas of your life.
Which other kind of data or information would you suggest saving in Notes? Share your best tips in the comments.


