We carry a lot of digital baggage around with us, most of it on our smartphones. When it's time to replace your old phone, you'll need to migrate your contacts, pictures, and even software to the new device.
Fortunately this is an easy, if time-consuming task. Moving from an old iPhone to a new iPhone is a breeze, but even moving from Android to iPhone is now considerably easier than it once was.
The following advice is also applicable to the iPad and Android tablet devices. If you're looking to switch from iOS to Android then we have a guide for that too.
iPhone to iPhone: How It Works
If you're replacing an old Apple device with a new one, the process is painless. If you're moving from Android, you can skip straight to the next section of this article.
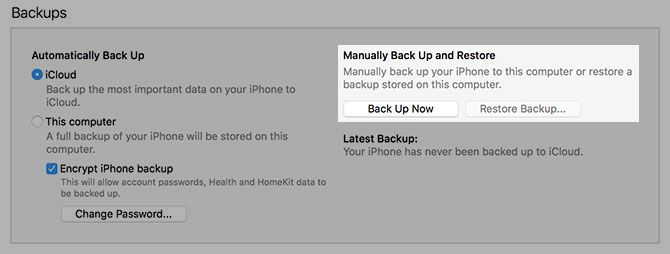
We'll be using iTunes to create a backup of your existing device, which can then be copied straight to your new iPhone. By the time you've finished, your new phone will resemble your old phone -- even if you're opting for a larger (or smaller) model this time round.
These instructions are identical whether you're using a Mac or a Windows PC. If you are using Windows you'll need to download and install iTunes if you haven't already got it.
1. Back Up Your Old iPhone
Simply plug your old iPhone into iTunes then click on the device icon in the top-left corner of the window. Choose the device from which you are migrating from the list.
Click Backup on the Summary page that appears and follow the prompts. You may be asked whether or not you want to transfer purchases and back up your apps -- both are a good idea.
Make sure you have enough space to complete the backup by clicking Apple > About This Mac > Storage at the top of the screen. iTunes will tell you what size your device is, including the amount of free space you have available -- simply subtract the free space from the total capacity to work out how much space you need.
Lost your old phone? If you don't have an old phone from which to backup, all may not be lost. First check whether you have any old device backups available by launching iTunes, then heading to Preferences > Devices.
If you have any old iTunes backups, they will be listed here along with the date. You'll need to decide whether or not the backup is too old to be useful to you. If you backed up to iCloud, you can choose to restore from iCloud in the next step.
2. Activate and Restore Your New iPhone
Once your old device has been backed up, open up your new iPhone and connect it to your computer. Launch iTunes and you should be greeted with a welcome notice inviting you to get started with your new iPhone.
When prompted, choose Restore Backup. You'll be invited to choose a recent backup based on the device name and when the backup was created. Hit Restore and wait for your data to be transferred -- it can take a while, so you might want to make a coffee or something.
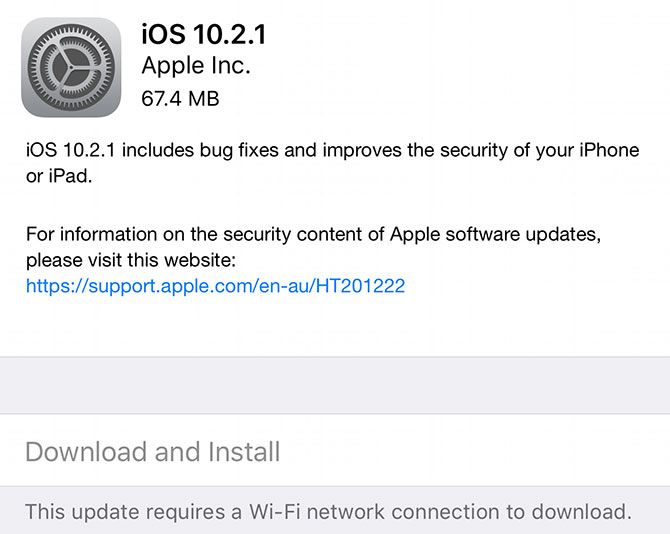
Note: If you are told that your device's software is outdated, you'll need to choose Set Up as New iPhone instead. Head to Settings > General > Software Update, update to the current new version of iOS, then erase your device again under Settings > General > Reset > Erase All Content and Settings. Finally reconnect to iTunes and choose Restore Backup again.
You can also choose Restore from iCloud Backup on the phone itself. If you haven't got an local backups and you had iCloud backup enabled, this is your best bet (but it really can take a while).
3. Start Using Your New iPhone
Once your backup has been restored your iPhone should look very familiar, though things might not be quite the way you left them. Some apps may still need to download, and you'll need to provide login details for some accounts. This is especially true when it comes to services that use two-factor authentication, as app-specific passwords can only be used once.
You're now ready to explore the new features of your device.
Android to iPhone: You Have Options
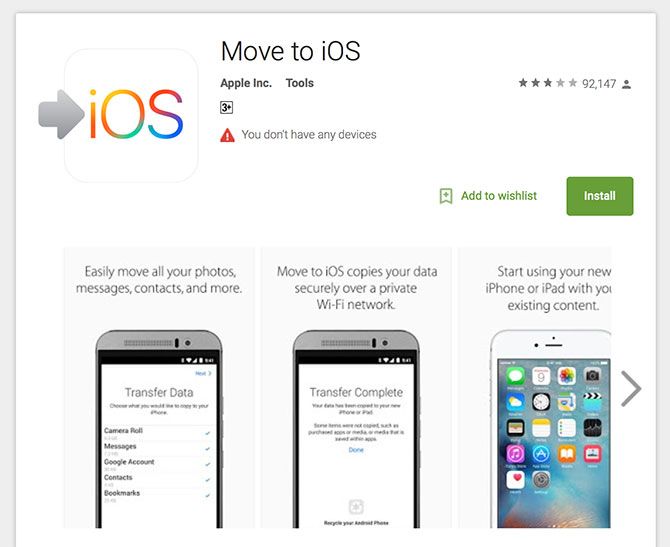
If you're switching to iOS from an Android device then it's also quite easy to transfer your old smartphone's data since Apple introduced an app that automates the process. Download the Move to iOS app from Google Play on your old Android device, then transfer your data wirelessly.
Note: As this process could take a while, it's worth ensuring both devices are connected to a power source while the transfer completes.
1. Prepare Your Android Device
Download and install the Move to iOS app on your old Android device, it works with all phones and tablets running Android 4.0 or later. With it you can transfer contacts, message history, photos and videos, bookmarks, email accounts, calendars, and some free applications.
Launch the Move to iOS app once installed to get the process started.
2. Choose Data to Transfer
Turn on your new iPhone and follow the setup procedure until you get to the "Apps and Data" screen. If you accidentally passed this point, you'll need to reset your phone to factory settings under Settings > General > Reset > Erase All Content and Settings and start again.
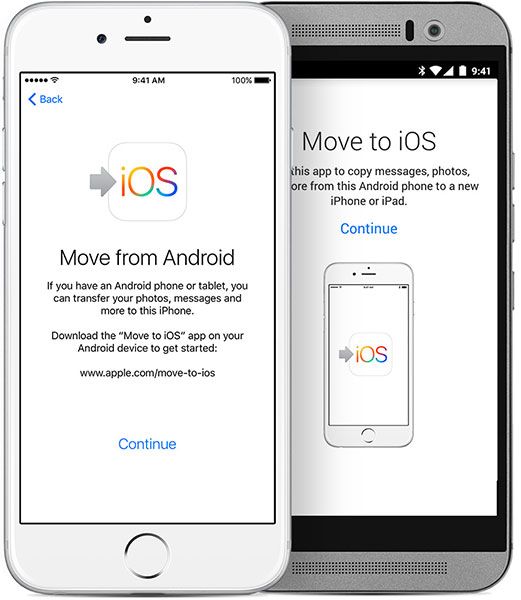
Choose the Move Data from Android option, and hit Continue until you see a 10-digit numerical code. Enter this code on your old Android device and hit Continue. At this point your iPhone will create an ad-hoc private wireless network, which your Android device will connect to in order to copy data.
Once the two devices are connected, you'll be asked to choose which data you want to transfer. Make your selection and hit Next and the transfer will begin.
3. Start Using Your New iPhone
Once the transfer is complete you can finish setting up your iOS device by logging into your Apple ID, and verifying details like email passwords. Your data should be sorted into the correct apps like Photos, Contacts, and Messages.
Unfortunately your applications won't be copied, and you'll need to find alternative iOS software for applications you were using on Android. Fortunately Google has a whole suite of apps that work great with their services, so head on over to the App Store to find them.
Also Consider Using the Cloud
If you're moving from iPhone to iPhone, there's no reason not to transfer data using the foolproof iTunes backup method. But if you're coming from Android or elsewhere, you may not need to transfer everything. If you're already using the cloud for much of your computing habits, you might be content to just "start afresh."
Maybe you're already organizing your media with Google Photos? The iOS version is free also. Most of us use a note-taking service like Evernote or OneNote, which are platform-agnostic. You can even carry on syncing notes to your Google account and use Apple's own Notes app to edit and access them.
The same is true for your Google contacts, bookmarks stored in third party browsers like Chrome, or message history in Facebook Messenger or WhatsApp. It's possible that you don't want to switch everything over to Apple's closed ecosystem, especially if you're still using an Android tablet, Chromebook, or not yet ready to commit to the device.
Have you just bought a new iPhone? Did you switch from Android? Was the process painless for you?

