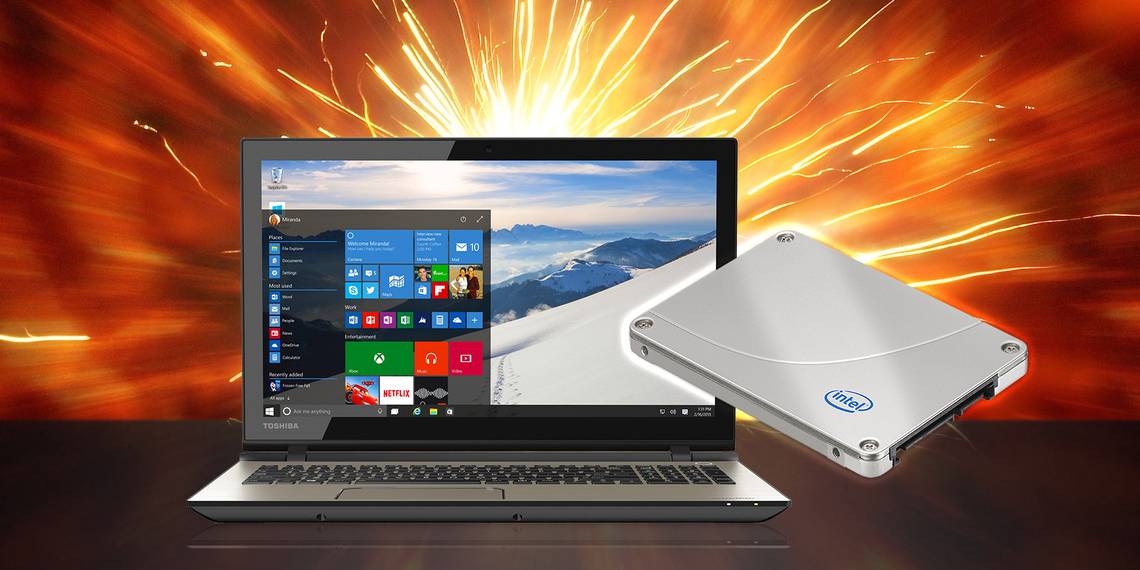
A Solid State Drive upgrade really improves performance. An SSD boosts snappiness, load times, and reduces power consumption (how an SSD works). The downside: smaller storage capacity. Even so, the trade-off more than compensates for the reduced capacity. But how can you squeeze a large Windows installation onto a tiny SSD?
It's easy. Windows users can migrate from an HDD to an SSD with just a few pieces of software and hardware. The entire process should take around 15 minutes of labor -- and a few hours of waiting around.
Stuff You Need
The migration process requires the following components:
- An SSD of at least 32 GB in storage capacity. 64 GB or larger recommended.
- A backup drive, preferably a USB external enclosure, larger in capacity than the host HDD.
- Macrium Reflect Free Edition -- download Macrium Reflect.
- A freshly formated flash USB drive or a blank CD/DVD.
What Solid State Drive Should You Buy?
As of 2016, there are three common kinds of SSD drives: SATA, M.2, and Mini-PCIe. That might sound confusing at first, but almost all laptops use the SATA standard. Most Ultrabooks (what's an Ultrabook?) use the M.2 standard. A small number of older netbooks (what's a netbook?) use the mini-PCIe form factor. For the most part, your laptop probably uses a SATA connector. Here's what it looks like:

SATA drives for laptops all come in a 2.5" form factor, meaning their width is 2.5 inches. Their thickness varies between 7mm and 9mm. What you need to know: All 7mm SSDs will fit in any SATA-compatible laptop, with a spacer. But a 9mm SSD will only fit a device with enough clearance to support 9mm.
There are two kinds of SSDs that I recommend buying right now: Samsung's 850 EVO series -- which provides performance and value -- or Silicon Power's S55 series, which runs around 20 cents per gigabyte.
Step One: Install Macrium Reflect
The SSD migration process once required three different pieces of software: One program made a backup, the other reduced partition sizes, and a third copied the data onto the SSD. The complexity of using three programs caused a high rate of error. Now, it takes one program: Macrium Reflect. Macrium's Reflect backup utility does it all. It creates a backup image of the host system and then shrinks it down, while copying it onto the target SSD. First, you need to install it.
The install process is straightforward. After downloading the installer, double-click on ReflectDL.exe. The executable then downloads and installs Macrium Reflect. Click through the next few menus and accept Macrium's licensing terms.
Use the default installation options and download the Windows PE files, which allow for the creation of bootable media. The download process should take around 10 minutes and requires around 530 MB of data. Reflect then creates a bootable Windows PE Image.

At this point, you must connect two devices to your computer: A USB flash drive, or CD/DVD, and an external drive. Then start Macrium Reflect.
On the first run, you'll see a prompt to create a bootable rescue medium, either on a USB flash drive or a CD/DVD. Just make sure to select the USB flash drive or CD/DVD as the target. Keep in mind that the recovery disc or USB will work only on the computer it was created on.

After you've created the bootable medium, take some precautions before copying your data to the SSD. Because SSDs often come in smaller sizes than HDDs, you'll need to remove unnecessary files. Windows 10 itself takes up 16 GBs for 32-bit systems and 20 GB for 64 GB systems (the difference between 32 and 64 bit,) so you might need to remove some files.
Step Two: Remove Unnecessary Files
At this point, you'll need to shrink down the amount of data inhabiting your HDD to match the size of your SSD. For example, if you purchase a 120 GB SSD and your HDD contains 200 GB of data, you'll need to remove at least 80 GB -- although I recommend removing as much data as possible.
We've written extensively on shrinking down Windows installations. The best Windows cleaning methods usually revolve around WinDirStat, CCleaner, and a few other tools. I suggest just using WinDirStat and Window's utility Disk Cleanup. WinDirStat helps determine where junk files exist on your hard drive. Disk Cleanup helps eliminate system files that WinDirStat might not help remove.
WinDirStat
WinDirStat visually displays the data stored on a drive. For example, on my own hard drive, it displays the following:

The colored squares and rectangles represent blocks of data. The colors reflect the kind of file type. The larger the block, the larger the storage space it consumes. Users should exercise extreme caution when deleting files. To delete a file, right-click on it and select Delete from the context menu.
Windows Disk Cleanup
Windows Disk Cleanup offers the most useful tool for cleaning up your hard drive. Aside from cleaning various caches, Disk Cleanup also eliminates remnants from previous installations of Windows (how to clean up Windows.old). Exercise caution: removing Windows.old eliminates the option of rolling back to an older installation.

Remove Restore Points
Windows creates frequent backups of the operating system. These can sometimes take up a great deal of space. If you have no other option, try removing some restore points. Here's how to use Windows 10's System Restore.
Enable Compact OS
This step is entirely optional. In Windows 10, Microsoft introduced a space-saving scheme called Compact OS . On average, Compact OS reduces the footprint of the operating system by between 1.6 and 2.6 GB (or more.) It also allows users to eliminate the Recovery partition entirely, which takes up at least 4 GB of disk space. To enable Compact OS, open an elevated command prompt by typing "cmd" into Windows Search. Then right-click on Command Prompt.

Using the command line, type in the following:
Compact /CompactOS:always
This activates Compact OS.
Step Three: Create the Backup Using Macrium Reflect
Now you can create a backup of Windows. Since you've already connected the external hard drive, you just need to start Macrium Reflect and select Create a backup from the center pane. Then choose Image this disk at the bottom.

First, make sure that you've selected (by checking a box) the necessary "partitions." A partition is a segment of data, which contains data. Each box represents a partition of your hard drive. All of the partitions should be selected by default, but if you spot a partition that shouldn't be there (anything to the right of C: might not be something you need,) you can choose to eliminate it by not checking its box.
Second, choose Folder. This option should be selected by default.
Third, click on the three dots to the right of Folder. Choose your external drive as the target destination for the backup.
Fourth, and finally, choose Finish to begin the backup process.

Step Four: Remove Your Hard Drive and Insert the SSD
For most users, this step should be the easiest. Simply remove your HDD and insert the SSD. Matt Smith wrote a great article on physically removing a hard drive and replacing it with an SSD.

Step Five: Restore the Backup
Now restart your computer. Choose to boot from the flash drive or CD/DVD. This loads Macrium Reflect recovery image -- instead of Windows. Select the Restore tab from the top and choose Browse for an image file to restore... Then select the external drive and choose the backed up image of your operating system.

Choose to copy all data to the target SSD by dragging-and-dropping each partition onto the SSD. After less than an hour, you should have a fully functioning version of Windows installed. If you're concerned about the hibernate file or the page file, don't worry. Macrium Reflect automatically deletes both files, and resizes all partitions so that they'll fit on the SSD. It's really well-designed software.
Anyone else love upgrading to SSDs? Let us know in the comments.