Say goodbye to pricey, restrictive store-bought planners. Why struggle with those when you can design your own daily journal based productivity system with a custom set of tools?
Let's explore one such hybrid system that’s easy to adapt. It combines a digital notebook, Evernote, with a system called the Bullet Journal. No coding experience required whatsoever!
What Is the Bullet Journal?
The Bullet Journal, described as an "analog system for the digital age," is the brainchild of Ryder Carroll, a digital product designer. It gives you a highly customizable way to organize your life or any part of it using pen and paper. (A bullet journal can work as a meal planner, editorial calendar, fitness tracker, and more.)
Essentially, with a bullet journal (aka bujo) you set up daily, weekly, and monthly calendars in a plain notebook. You’re free to alter or omit journal elements that don’t appeal to you. What's more, with a little creativity, you can digitize your bullet journal in any number of ways. The digital version will be neater, searchable, and convenient for capturing tasks. And you're less likely to forget it at home!
It's easy to digitize a bullet journal using an online notebook like Evernote. That’s precisely our focus below. We’ll introduce you to Bullet Journaling and explore how to create a bullet journal in Evernote.
How Does a Bullet Journal Work?
The Get Started section on the Bullet Journal site explains the whole process of creating a bullet journal, but let's look at it in brief here too.
BuJo Essentials: Modules
Any bullet journal has a simple organizational system. The basic framework contains four main sections or modules:
- Index
- Future Log
- Monthly Log
- Daily Log
Depending on your personal needs, you can use only certain modules, mix and match them, create custom modules, and get as creative as you want to!
The Index is your contents page. It tells you where in your journal you can find specific sections.
The Future Log is a list of tasks or events that you can schedule months in advance. The screenshot below shows the recommended layout for the Future Log. Note that there are various symbols used to categorize the items listed. We'll get to these symbols later.

The Monthly Log is a list of tasks or events tied to a specific date within that month or tied to the month as a whole. The suggested layout consists of two pages facing each other:
- One page lists the month's dates one after the other.
- The second page holds the list of tasks you have planned for that month.
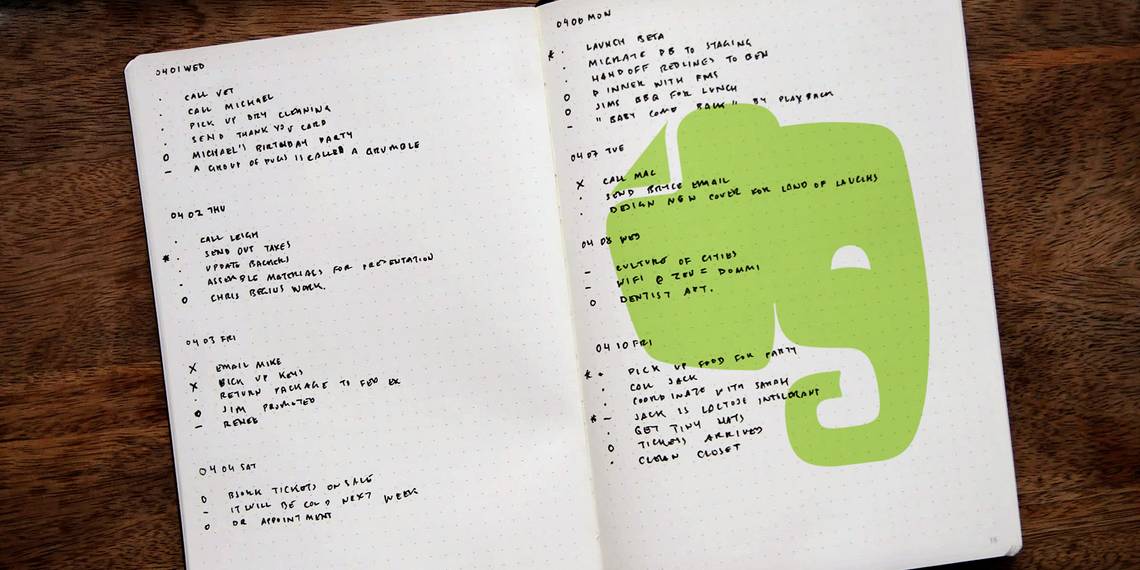
The Daily Log drills down even further. Here you can list tasks and events as they relate to specific days of the week. These are the items you are likely to list at the beginning of the week or at the start of each day. We recommend making these lists each evening before you go to bed, in preparation for the next day.
Adding Journal Entries
Once you have your bullet journal modules in place, it’s time to fill them up with rapid logging as you go about your day. Rapid logging consists of several components, that fall into a hierarchical structure:
Topics and Page Numbers: Think of the topic as your header. The header depends on the module you are using.
Bullets and Signifiers: Within each page, you can use short sentences to log tasks, events, and notes. The Bullet Journal uses a series of hand-drawn symbols or bullets to signify each type of logged item.
• = Task
X = Task Complete
> = Task Migrated (In other words, you moved the task to another day. At the end of each week or month, you can review your tasks, and see if there's anything that you haven't completed and move it to the next month. Using the "migrated" symbol is a good way to keep track of how much you're actually getting done compared to what you planned to do.)
< = Task Scheduled
O = Event
– = Notes (These indicate pieces of information you want to remember but ones don't have the urgency of a task or event.)
As the nature of your tasks changes (migrated, scheduled, done) you can change the symbol on the same list. If a task is no longer relevant, feel free to cross it out.
Add further context to your bullets with signifiers:
* = Priority
! = Inspiration
eye icon = Requires research or discovery
These are the basic building blocks of the Bullet Journal system. Feel free to tweak the system as you need. If you prefer a grid for your Monthly Log, there's no reason not to create one:
https://www.flickr.com/photos/29047966@N05/17801875544/
As you can see from the screenshot above by Taz + Belly, the Bullet Journal lends itself well to a blog post scheduling system.
Using Evernote as a Bullet Journal
Create a new notebook called Bullet Journal in Evernote.
Turn Modules Into Notes
We recommend setting up an individual note for each module listed above: Future Log, Monthly Log (one note per month), and Daily Log (one note per week.) The Index module is unnecessary since Evernote is well organized and has a good search mechanism.
The Future Log is easy to replicate by separating each month with a line.

With the Monthly Log, it would probably be easier to use the dates and leave out the days of the week. This way you can use Evernote templates in your bullet journal to create a new log for each month. You could also create a table to make it a little bit more organized. The first column would be for events and tasks tied to a specific date and the second column could be for overall planning for the entire month:

The Daily Log, like the Future Log, is easy to replicate. Be sure to include the date at the beginning of the week in your note title.

Replicate Bullets
It's no hardship to replicate the hand-drawn bullets used in the traditional Bullet Journal.
To begin with, copy and paste this symbol to use as the primary bullet: •. As the nature of the task or event changes, you can delete the original bullet and use the > and < symbols, or a capital O as required. When you want to cross out an item, use strikethrough, or delete the item itself.
The only symbol that will be impossible to match is the eye. We recommend using the letter i or any suitable easy-to-type special character as an alternative. Formatting with color "codes" is another option of course.
You could also use the checkbox feature on Evernote for new tasks if you prefer.
Add Tags and Saved Searches For Easy Filtering

Tags: Another organization tool that Evernote brings to the table is tags. With the tagging system, it's easy to search for specific types of notes.
You can tag items with, say, the name of the month they belong to in your journal. That way you can pull up all the notes from one specific month if you need to. Once you've finished all the tasks on a specific note, you can also tag that note as complete. Conversely, you can mark notes with unfinished or open tasks as incomplete.
With Evernote's advanced search feature, you could also limit your search to a certain range of dates. This can help you get an idea of your two-week forecast, for example.
Saved Searches: Once you've established your search parameters, save your searches for quick access. Just go to Edit > Find > Save Search (on desktop.)
Bullet Journaling on Your Phone
Do you want to stick to bullet journaling, but minus an Evernote journal? Consider switching to one of these alternative apps that make bullet journaling effortless. And remember, you don’t have to stick with your desktop or laptop to set up a bullet journal. You’ll find nice note-taking apps to create beautiful bullet journal spreads from your phone too!