
Every browser has a zoom feature that lets you decrease or increase the size of a webpage. Apply it in the right places and it can make your browsing life much easier. It can improve readability for all of us and also make the web senior-friendly.
Chrome also has the obligatory Zoom feature. But did you know that you can set custom zoom levels for each webpage with a bit of work?
How to Manage Custom Zoom Levels in Chrome
In Chrome, you can go to More > Zoom and change the size of text, images, and videos for one webpage or for all webpages. But you can also manage custom zoom levels that are specific to any site you visit. To manage them you will have to drill down into Chrome's Settings:
- Go to the website for which you want to set a custom zoom setting.
-
Use the above controls (More > Zoom) to increase or decrease the page size.

- Set up custom zoom with any level for your most frequented sites.
-
Now, go to Menu > Settings > Advanced Settings > Content settings > Zoom levels. This page will be displayed:
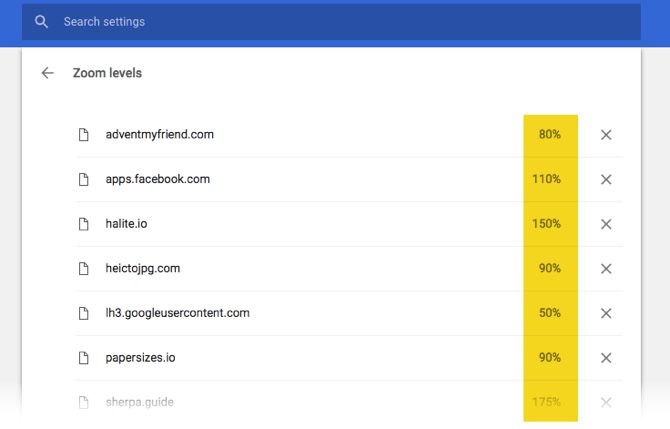
- Here, you will find all zoom levels and the domains they are applicable on. For now, you can delete a custom zoom level and set it from scratch again. There is still no control to help you manage the zoom levels from here. Also, you cannot add a webpage from here.


Even then, it is a handy spot to delete a zoom level if it isn't working for you and set it again from the Zoom control. Chrome remembers each zoom setting and will calibrate itself automatically when you land on that specific site. That is handy enough.