One of the most popular project ideas in the do-it-yourself (DIY) space is creating a retro arcade. Among the retro gaming software options, there are operating systems such as RetroPie and Recalbox, or roll-your-own solutions using EmulationStation or RetroArch.
Using the power of RetroArch, Lakka is a retro gaming solution with a Linux foundation that's easy to install and use, yet comprehensive and customizable. Learn how to make a retro arcade with Lakka for Linux, from installation to gaming!
What Is Lakka?
Lakka is an open-source gaming Linux distribution. It's based on the just-enough OpenELEC operating system. Among the many flavors of Lakka, you'll find installers for Windows, macOS, and Linux.
Notably, Lakka boasts a bevy of Linux releases tailored for specific hardware. Iterations for the Raspberry Pi Zero, original Pi, Pi 2, and Pi 3 are standard, allowing retro Raspberry Pi gaming.
Plus, there's support for single board computers such as the Odroid C1 and C2, and HummingBoard. Even dedicated streaming devices such the WeTek Play 2 Android TV box can run Lakka.
Moreover, you may install Lakka on Linux PCs.
How to Install Lakka on Linux
First, head to the official Lakka website and navigate to the Get Lakka page. From there, select Linux.
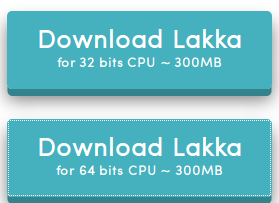
Now, locate your preferred device. For this install, select Lakka on a Linux PC. I installed Lakka on Ubuntu 16.04. You'll see a choice between 32-bit and 64-bit options. I picked the 64-bit installer. This downloads a ZIP folder. After that, extract the compressed file.
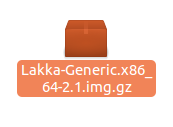
You're left with an IMG file, which must be mounted to a live CD.
Create a Live CD
Once that's complete, you'll need to make a live CD to run Lakka. Begin this by locating your preferred USB drive. To find this, run:
ls -l /dev/sd*
This command lists all of the partitions and drives. The drives which end in numbers are partitions, whereas drives without numbers are drives. After identifying your desired disk, flash the Lakka image to your target device. You can perform this action using the Disk Image Writer program.
Begin Installing and Using Lakka
When your live CD is properly created, you've got a few options. The easiest option is merely running Lakka from the live disk. With your Lakka live CD inserted, reboot your PC.
A boot screen will load, and if you take no action, Lakka will start in persistent live mode. This is an excellent way to test that Lakka is compatible with your hardware, or merely benefit from a portable retro gaming operating system. Your live disk keeps ROMs and save states.
If you'd like to install Lakka on your hard drive, type:
installer
Doing so initiates the installation process, first bringing up a splash screen. Then, the OpenELEC.tv installer pops up. You'll see a message warning that Lakka is in beta. If you'd like to continue, press OK.
After that, pick your installation option. You'll see:
- Quick installation
- Custom installation
- Setup OpenELEC
- BIOS update
- Show logfile
After Installing Lakka on Linux
When you've completed creating your live CD or installing to a hard drive, you're ready to begin using Lakka. It's fairly simple, and boots into RetroArch. It's best to start by adding games.
Adding Games to Lakka Over a Network Share
Scroll to Settings > Services and toggle SSH enable to On, or SAMBA enable to On. This depends on how you plan to transfer ROMs, using Samba (via your desktop browser) or SSH (using a secure connection via SSH or SFTP).
For Samba, the simplest option, use another PC. Open the network browser and find the entry for Lakka. Opening this, you'll see a set of folders. Among them, you'll see a ROMs folder. Drop your ROMs here. Note that certain game systems require BIOs which you'll need to add.
Adding Games to Lakka by Scanning
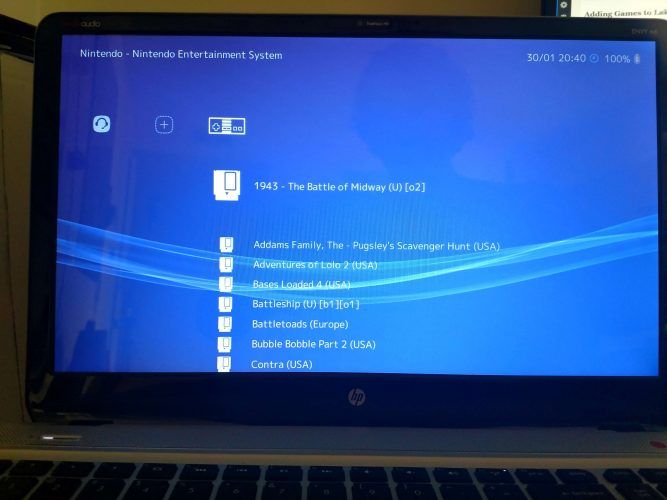
Alternatively, you may add games by scanning a directory. First, I added a folder of ROMs to a flash drive, then plugged that into my PC running Lakka. Then, I added to the tab with a plus sign icon and selected the option Scan Directory. This brought up a list of devices, and I picked the flash drive, before choosing my specific folder of ROMs.
When complete, you'll see a new tab to the far right which resembles a controller. It's a list of all the games added to Lakka. Selecting a game gives several options including the ability to run or start a game, view information, and add it to your favorites.
Lakka Hands-On and First Impressions
Overall, Lakka on Linux is incredibly easy to use. It's a solid retro gaming OS that played any ROM I threw at it. Plus, it's incredibly intuitive to set up and use. I found navigation simple to figure out using a keyboard, as well as with a gamepad.
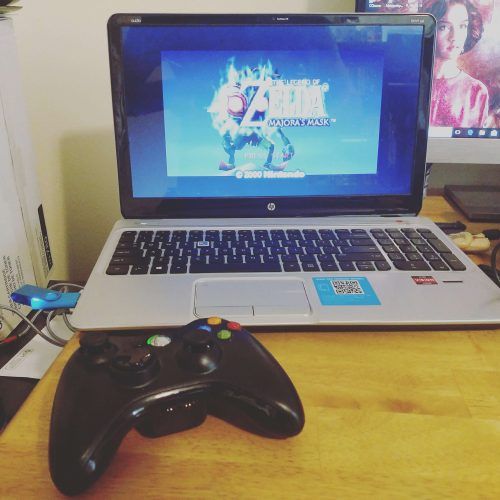
For my controller, I used a wireless Xbox 360 gamepad. Pressing the Home button on my controller brought up an in-game menu with options to make on-the-fly adjustments. As a gaming operating system, Lakka feels modern and polished.
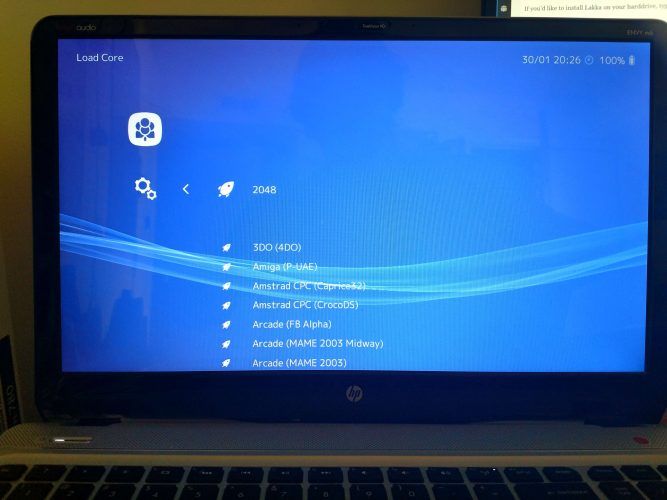
Emulation depends on hardware, but I found games ran quite well. This includes the Nintendo 64 and Dreamcast ROMs I threw at Lakka. I really enjoyed the user interface which appears similar to the PlayStation 3 XrossMediaBar (XMB).
You'll even find options for netplay, an excellent touch. Since Lakka is based on RetroArch, it's packed with capabilities. Under the settings tab, you can tweak video and audio options, Wi-Fi, input devices, and more. You can even enable achievements.
Should You Use Lakka?
Ultimately, I'd highly recommend Lakka for anyone seeking a portable retro gaming device. It's simple to set up and use, and I like how it's capable of running off of a live CD, too.
You can install Lakka on a SBC such as a Raspberry Pi, Odroid C2, or HummingBoard. However, running from a PC (whether off of the hard drive directly or from a USB live CD) affords greater computing power and therefore better emulation. Moreover, documentation is thorough.
Alternatives include RetroPie, Recalbox, and RetroArch. Unlike RetroPie and Recalbox, Lakka eschews the EmulationStation frontend. Instead, Lakka's frontend is coded from RetroArch. As such, the experience is slightly more cohesive.
I appreciated capabilities such as screenshoting games and switching discs from a paused menu overlay rather than exiting a game completely. Since it's built on OpenELEC, the entire filesystem is pretty small and runs on a multitude of hardware configurations and devices. You don't even need to configure your controller.
Still, EmulationStation-based OSes are fantastic, so much of the decision comes down to personal preference. Lakka provides an experience that's intuitive yet robust in its customization options.
Interested in more DIY gaming projects? Try these RetroPie game stations you can build yourself. Or snag an awesome NES Classic alternative. Got a few hours of spare time one weekend? Cobble together a RetroPie arcade cabinet complete with removable screen.

