Given the amount of content on offer, Netflix offers phenomenal value for money.
However, if you've already got an extensive library of locally saved TV shows and movies (perhaps because you spent time ripping your old DVDs to digitize your collection), you might not want to pay for Netflix.
So, why not use Google Drive, OneDrive, or Dropbox in conjunction with Kodi to make your own private Netflix?
Warning: Don't download TV shows and movies illegally. This process should only use content that you legally own. Watching pirated material could land you in trouble with the law.
What You'll Need to Get Started
There are two ways to make your own private Netflix. You can either use the cloud storage providers' desktop apps and point your Kodi library at the synced folder, or you can use the companies' official Kodi plugins.
We'll explain both methods. But first, there are some steps you need to take regardless of which process you decide to use.
Firstly, download and install Kodi. It's available for all the major operating systems (yes, you can even install Kodi on iOS). The app is also available on most streaming boxes. You might even decide to buy a dedicated Kodi box.
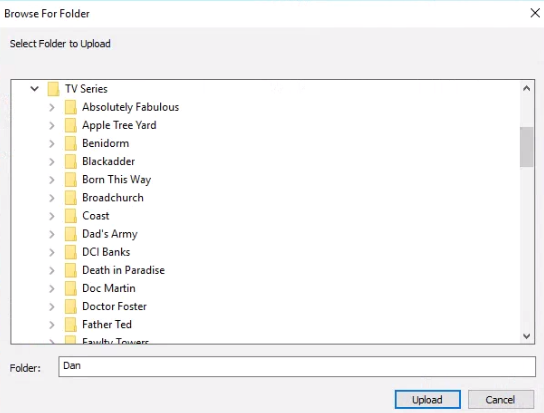
Secondly, you'll need to upload all your TV shows and movies to your preferred cloud storage provider. Put your TV shows and movies into separate folders within the cloud. Depending on the size of your videos and the speed of your internet connection, this process could take a considerable amount of time.
If you're not sure which cloud provider to use, you should consider each service's storage limits. From the standpoint of making your own private Netflix, it's the most important feature.
Google Drive gives you 15GB for free, OneDrive provides 5GB, and Dropbox offers 2GB. However, all three have ways to increase their storage without spending a dime. Google sometimes offers free storage for undertaking a privacy health check, while OneDrive and Dropbox both provide more space when you refer friends to the services.
Of course, you can also pay for more space. For example, if you subscribe to Office 365, Microsoft will boost your OneDrive space to 1TB.
When all your content has successfully uploaded, you're ready to move on to the next step.
Method 1: Use Desktop Apps
All three cloud services offer official desktop apps. The apps will create a directory on your machine which allows you to access your content through your computer's file system. You can then point Kodi at the apps' folders and pull the videos into your library.
You should use this method if there's a chance you might watch your TV shows and movies through other apps on your computer in addition to Kodi; the videos will always be available on your machine.
It's also a great way to keep your content up-to-date on multiple instances of Kodi without needing to add new videos to each one of your Kodi apps on a case-by-case basis.
If you plan to use Kodi on a streaming box (such as the Amazon Fire TV), you will need to learn how to set up Kodi as a server to make this process work. It might be better to use the second method which we will explain shortly.
To get started with this method, you need to download and install the app for the provider you have chosen:
- Download: Google Drive (Free)
- Download: OneDrive (Free)
- Download: Dropbox (Free)
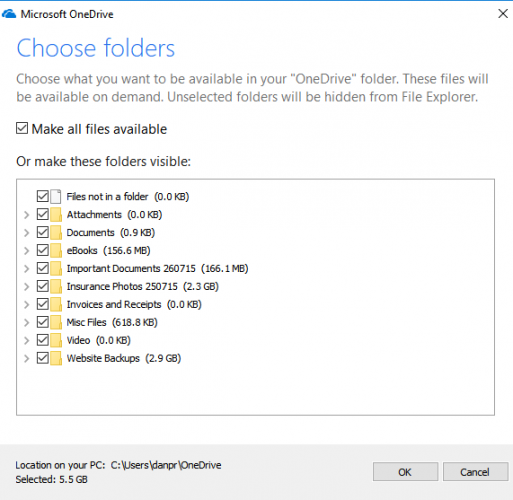
During the initial setup phase, all three apps will prompt you to choose which cloud folders you want to be available on your computer.
Make sure you select the folder where you uploaded your videos. Furthermore, ensure you choose the setting which keeps a copy of the videos on your hard drive. The next steps will not work if you merely enable a link to the cloud version of the file.
Create a Library
Now we need to turn our attention to Kodi. You need to create a new library and point it at the synchronized folder on your hard drive.
It's a straightforward process, just follow the instructions below:
- Open Kodi.
- In the menu on the left-hand side of the screen, select either Movies or TV shows.
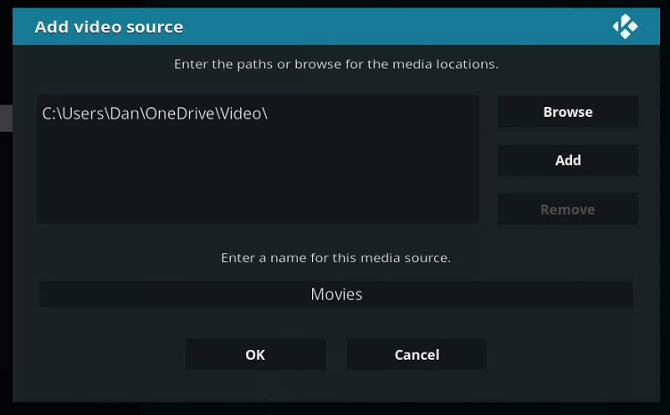
- Click on Add videos.
- The Add video source window will open. Click on Browse and choose the synced folder on your hard drive. Its location will vary depending on which cloud service you use.
- Choose a name for your new library.
- Click OK.
- Tell Kodi what type of media is in the library and select your metadata agents.
- Click OK.
Your media will appear in your Kodi library (though it might take some time for all the associated metadata to download). You can now browse your media like a regular local Kodi library.
Method 2: Use Official Kodi Add-Ons
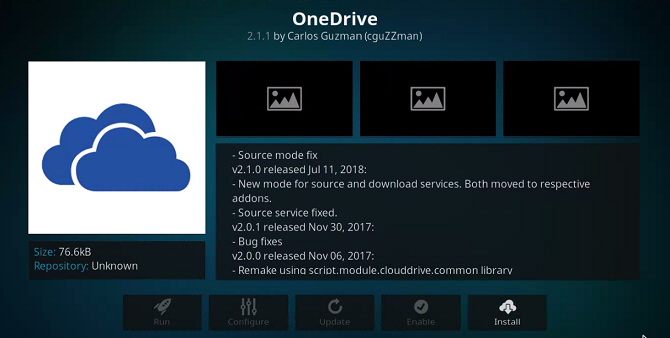
There is an add-on in the official Kodi repo for each of Google Drive, OneDrive, and Dropbox. You can use them to display videos from your cloud storage drives directly in the Kodi app.
You should use this method if you want to make your own private Netflix on Kodi on a Fire TV device, Android TV device, or another set-top streaming box.
To begin, you need to install the add-ons from the repo:
- Open Kodi.
- In the left-hand panel, select Add-ons.
- At the top of the page, click on Install from repository.
- Choose Kodi Add-on Repository.
- Select Picture Add-ons.
- Click on your preferred cloud storage provider. The Dropbox add-on is called Dbmc.
- Select Install.
Note: For more information about working with add-ons, check out our beginner's guide to Kodi.
To run the add-on, return to the Kodi homescreen and click Add-ons in the left-hand panel. You will see your new add-on in the main panel.
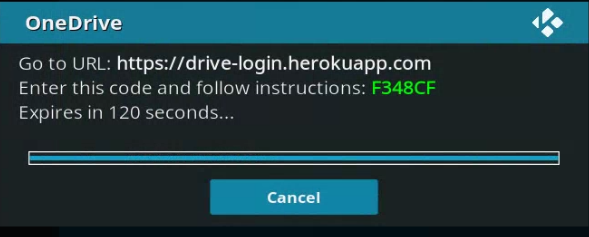
Click on the app's thumbnail and enter your credentials when prompted. You can add as many accounts as you want, meaning each member of your household can make their own private Netflix.
Add the Source
When you've completed the login process, you will be able to use your cloud storage as a source when you create a new library.
The source address varies depending on which add-on you're using:
- Google Drive: http://localhost:8587/source/
- OneDrive: http://localhost:8586/source/
Unfortunately, you cannot use Dropbox as a source. You can only browse the TV shows and movies within your Dropbox account through Kodi's Videos menu. Therefore, if you have a choice, it's preferable to use the desktop version of Dropbox as described in "Method 1".
The other downside to this method is the potential security implications. Third-party developers make all the add-ons; some people might not feel comfortable granting the add-ons access to their accounts.
Other Ways to Watch Content on Kodi
Using cloud storage providers to make your own private Netflix is just one of the many ways you can watch content on Kodi.
Some of the best Kodi add-ons let you watch live TV and on-demand content for free, and there are also plenty of Kodi add-ons that let you watch live news.

