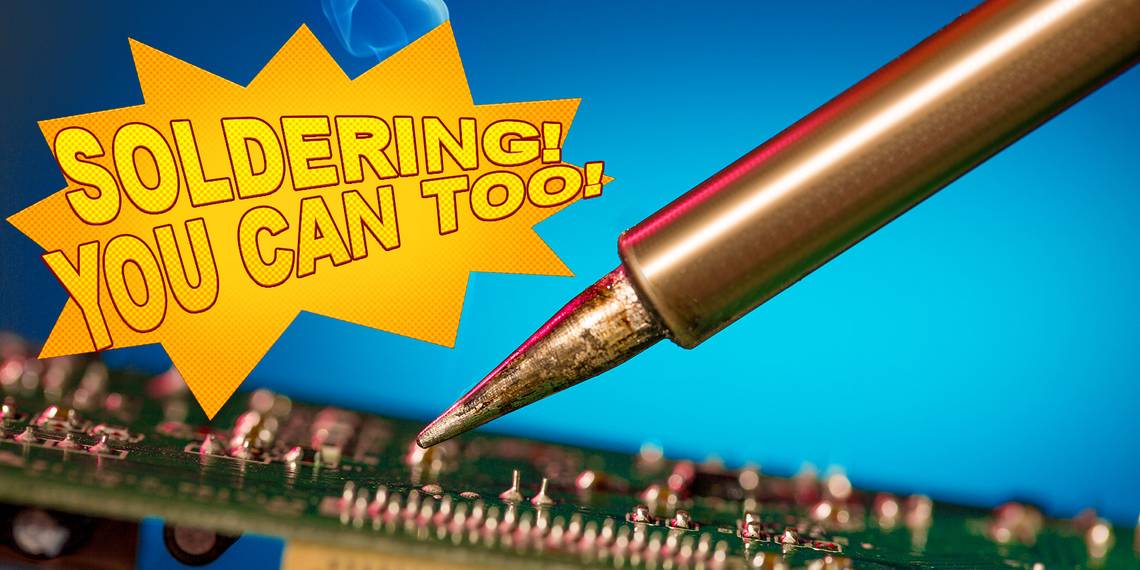
If you want to start working with electronics, you're going to need to learn to solder. It would be prudent to learn about electricity and electronics a bit more, too. If you're a little intimidated by the thought of a hot iron and molten metal however, don't worry—we'll walk you through exactly what you need to know.
Safety First
You're working with hot metal, so there are some obvious safety concerns. Make sure that you have a safe place to set down your soldering iron as a start. Soldering stations with iron holders are inexpensive and worth having, so to help you pick up the right tool, we've put together a guide on the best soldering irons for beginners.
You'll also want to make sure that you're working over a flat, solid surface. A workbench or an old desk works, but you may want to put something on top of it to prevent burn marks. You can buy special soldering boards on Amazon, but a piece of cheap plywood works well.

Speaking of splatters, you will need to wear safety glasses—these can be had for less than $10 on Amazon. If you wear prescription glasses, you may want to invest in a pair of prescription safety glasses. There are some really nice-looking ones these days, not just the Buddy Holly-style ones your dad might have had.
Lastly, there is one other danger that you may not think about. Solder and flux can give off noxious fumes when heated, and it's recommended that you use a fume extractor when soldering—it might look like this one available on Amazon. This is especially important if you're thinking of regularly working on electronics projects in the future.
Once you've got all these things in place, it's soldering time.
Two Soldering Pro Tips You Need to Know
If you want your soldering to be successful, follow these two tips.
Tin the Tip
Soldering irons don't transfer heat as nicely as you might suspect. But by tinning the tip of the iron, the heat transfer will be much more even and efficient. Plus, it's easy to do.
What this means is, once the tip of the soldering iron is just warm enough to melt solder, touch the tip of the iron to your soldering wire. It will melt the soldering wire and flow up and around the tip, giving it a nice smooth and shiny finish.
Any excess solder can be wiped off with a damp soldering sponge, like this one available on Amazon. Don't use an ordinary cleaning sponge, as it'll melt. Soldering sponges are made out of cellulose, which is more heat-resistant than your standard plastic sponge.
Get a Helping Hand

Soldering takes at least four things: a soldering iron, solder, and the two things you want to solder together. But the problem is you've only got two hands. To help with good soldering, there's a device called Helping Hand which can be bought for around $12 on Amazon. It's a little stand with two alligator clips, and sometimes a magnifying glass. If you happen to have one already, you could also use a small vice such as the ones you use for wood working or metal working.
Start Soldering
When you solder two things together, the aim is to securely join the components so that they can easily conduct electricity.
The biggest beginner mistake is putting the iron directly on the solder: this only causes the solder to bead up and make a mess. If you heat the part you want to solder first by using the iron, then touch the solder to it, it will flow over the surface of the part. As it flows, it does so smoothly and into every little nook and cranny.
Remember tinning the soldering iron? If you tin the leads of your wires or components, that helps the solder flow even better. As a bonus, if you're using wires that are stranded, it keeps the strands together while pushing them through a circuit board. For this all to work really well, use a thin soldering wire (about 1/32 of an inch) with a resin or flux core. Both resin and flux helps the solder flow even better, plus it cleans the surface of the metal for a better bond.

When you put the leads of your component through the circuit board, bend them out slightly. That will help hold the component in place and closer to the board. Not only does that prevent components from accidental damage, it makes for a more professional-looking result.

When you go to solder the component lead to the board, place your soldering iron tip at a 45-degree angle, at the point where the lead and the board meet. This heats the lead and the pad on the board. Next, gently push your soldering wire into the same point—it will melt and flow around the lead.
Finally, make sure to pull the solder away before you pull the iron away. This will prevent little peaks of solder from protruding from your joint. Those peaks can lead to shorts between components, and they don't look very nice.
Take a look at this five-minute video from Adafruit to get another view; it's an excellent introduction to soldering components to circuit boards.
If you're having a hard time being accurate with your soldering iron, try setting up your work so that the side of your soldering hand can rest on something solid. You'll find it much easier to be precise.
Signs of a Strong Solder Joint

With practice, you'll be able to avoid making mistakes most of the time. Until then, examine every joint after you solder it, and before moving on to the next one. A good solder joint will be smooth, shiny, and make full contact between the two parts. If the solder is dull, rough-looking, clumped, or there are gaps between the parts, your joint is going to fail.
Starter Soldering Projects
You might have some broken electronics around the house, which can be a great place to start. Or you could finally get to making something! Here are a few great projects to get you going.
1. Minty Boost Kit

For a beginner's project, this is a great one! It's simple, and it's also very practical. You'll make your own smartphone charger that you can power up with ordinary AA batteries. It's a handy one to keep in the car, as you can get AA batteries at gas stations and corner stores everywhere.
2. SparkFun Simon Says Game

This small kit is dedicated to helping you learn to solder. While assembling this mini electronic game, you will get the chance to solder a 28-pin microprocessor, LEDs, battery clips, and more. There is plenty of useful documentation that accompanies this kit, so if you need to refer back to soldering 101 basics, it's within easy reach.
3. FM Radio Kit

It is what it says it is. Build yourself a nice single-speaker FM radio that can tune in stations from 88 to 108 FM. With plenty of parts to solder, new components to learn about, you'll also learn a thing or two about radio technology.
If you can build a radio, there's nothing you can't build. Put it in a nice clear case and be the envy of friends and family alike.
DIY Soldering Skills for Any Project
Soldering is a basic skill needed for DIY makers, whether you want to build your own electronics or just do some simple repairs. It's an inexpensive and simple skill to learn that you will no doubt use from beginner through to expert projects. There are plenty of electronics kits to practice on, and before you know it, you'll be designing your own electronics projects.