If you're a freelancer or do a lot of contract work, creating and sending out invoices is probably an important task for you. Have you ever wanted a simple way to create, manage, and send invoices all in one app?
The newest app from MakeUseOf, called Invoice Mini, is just that: a powerful invoice generator. Let's take a look at how to use it and the benefit it provides.
Invoice Mini is absolutely free with no in-app ads or watermarks on your invoices.
Download: Invoice Mini for Android [Broken URL Removed] | iOS (Free)
Add Your First Client
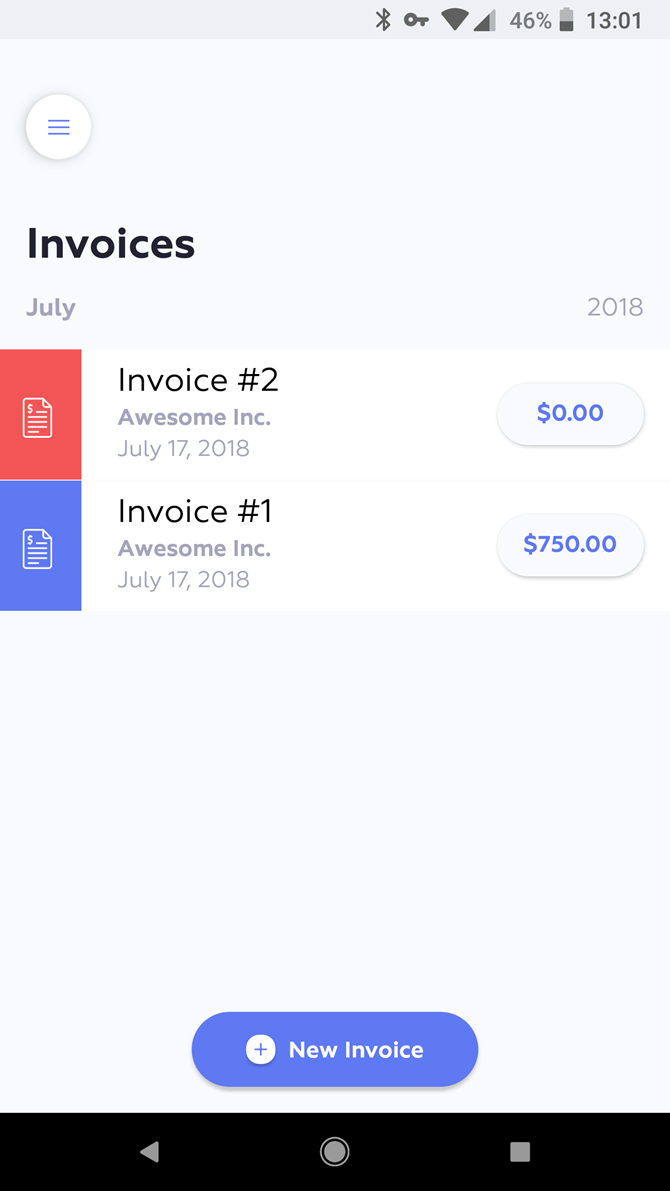
Download Invoice Mini on your iPhone or Android phone, and open it up. You'll see the Invoices page to start. Here you can create a new invoice, but it makes more sense to add your first client into the app first.
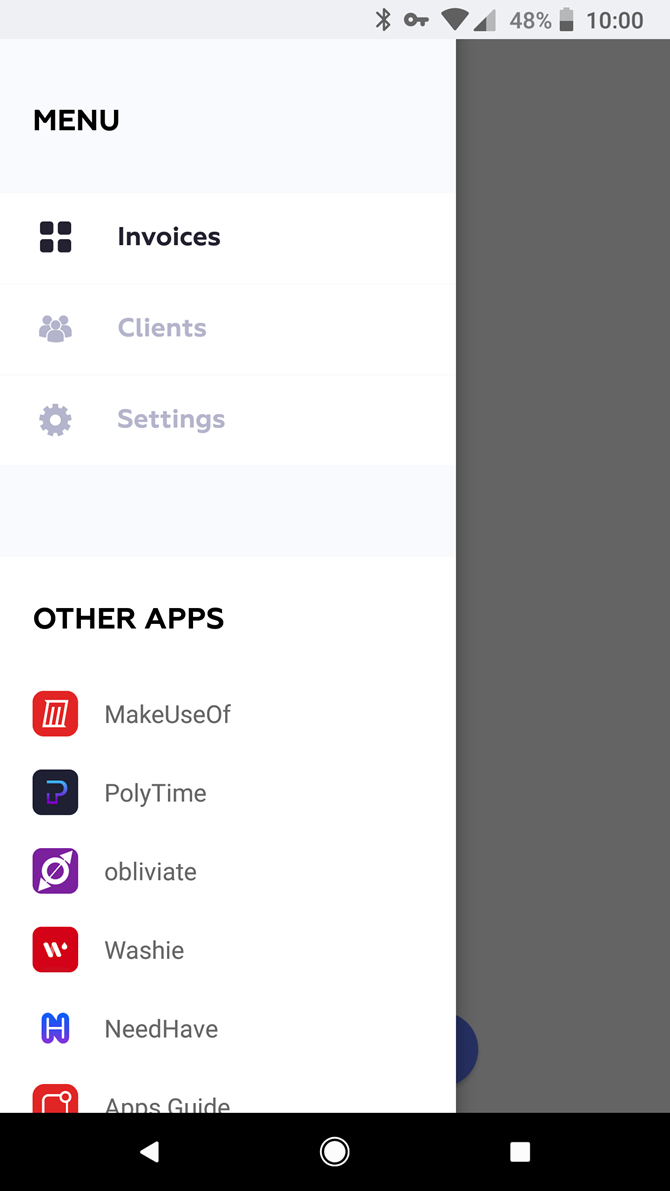
To do so, tap the Menu button in the upper-left to slide out the left menu. Tap Clients here, and choose Add Client to put your first one in.
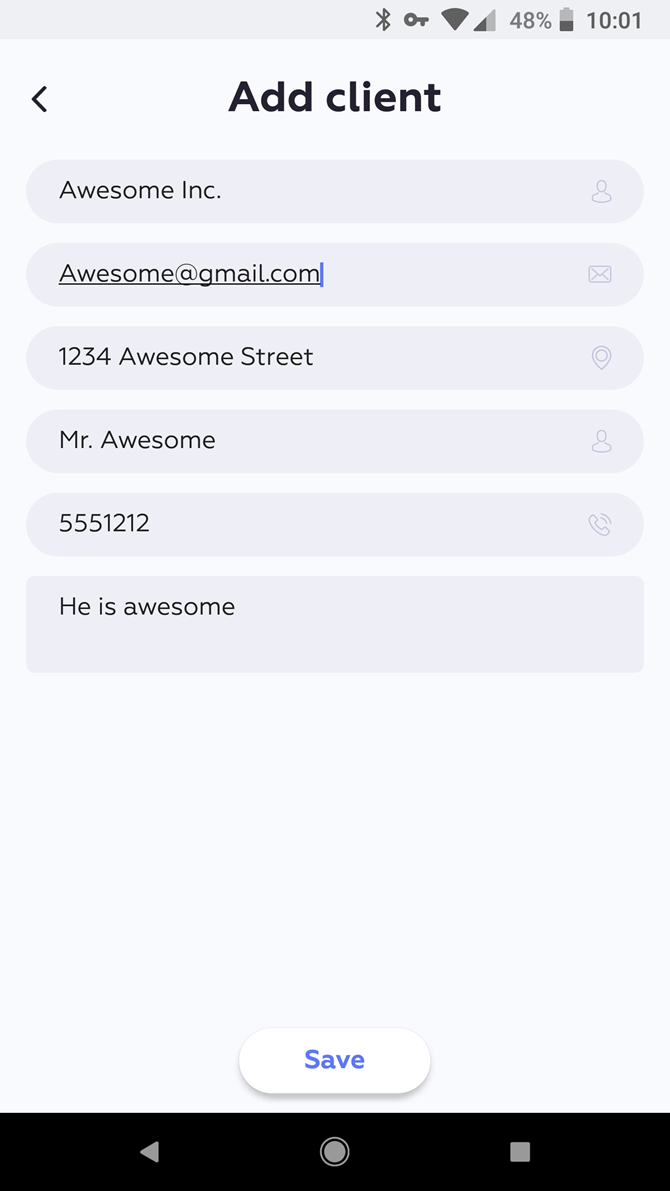
The app provides the essential fields, including Company name, Email, Billing address, Contact name, and Phone. Once you Save the client, it appears in your list on the Clients tab.
Add Your Company Info
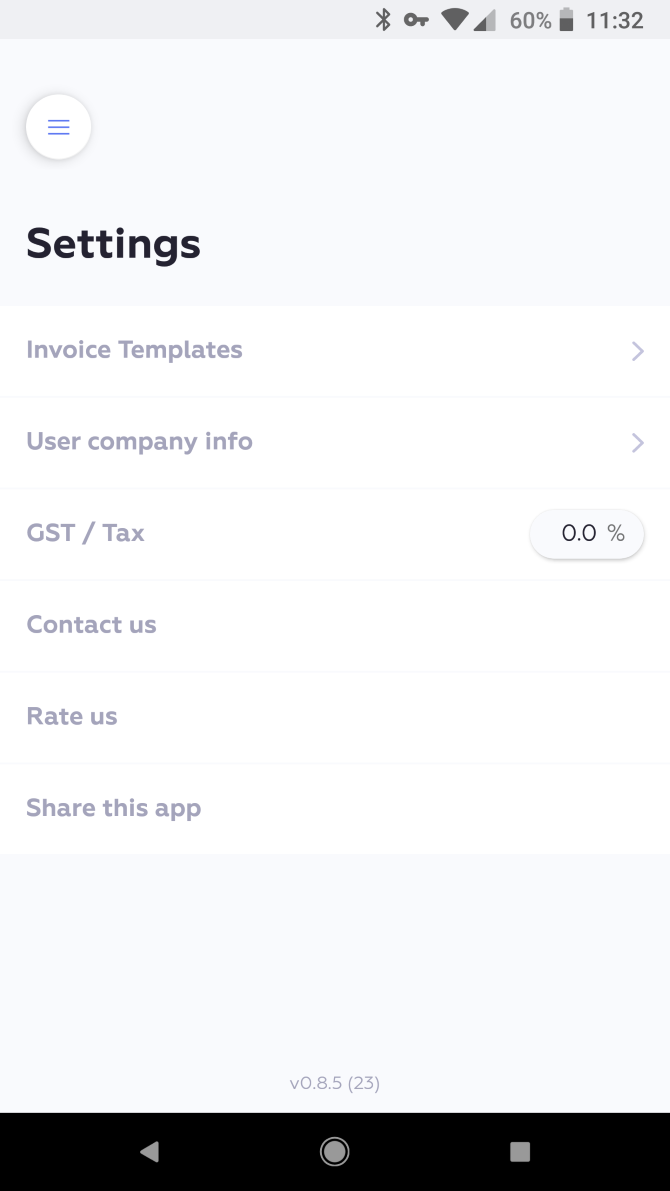
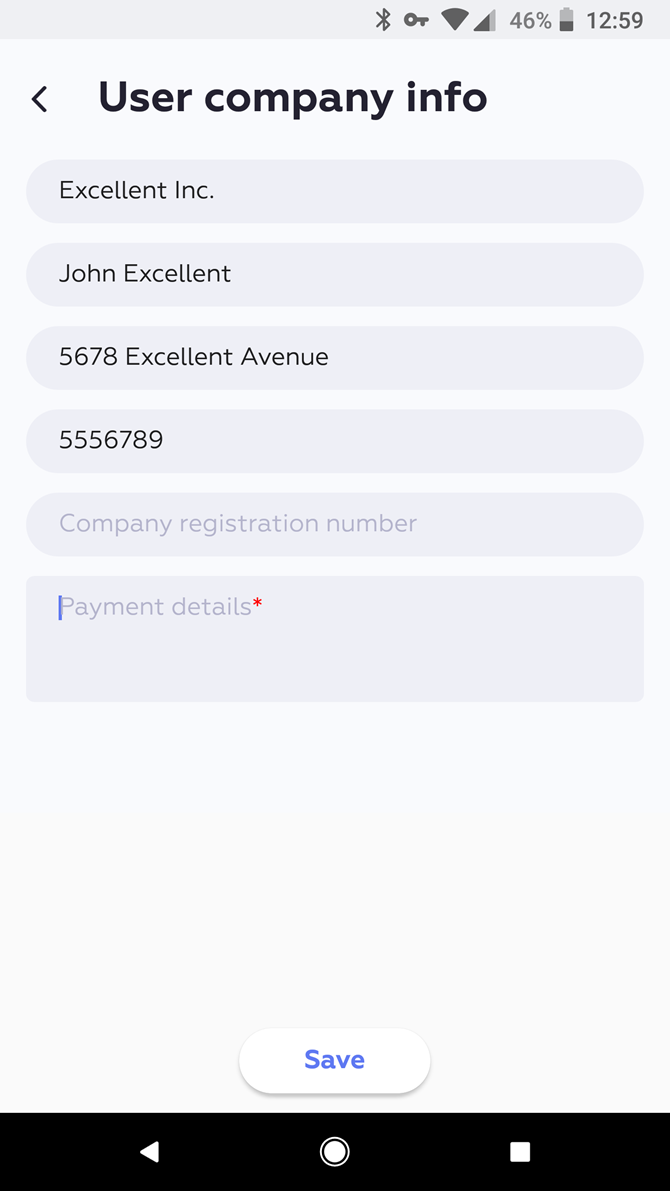
Before you proceed with creating an invoice, you should also add your company's info. To do so, open the left menu and select Settings. Tap User company info here and you can enter your own information, which appears on your invoices.
Enter your company and contact name, business address, phone number, and a registration number if applicable. Tap Save and the app will use this information in all future invoices.
Select an Invoice Template
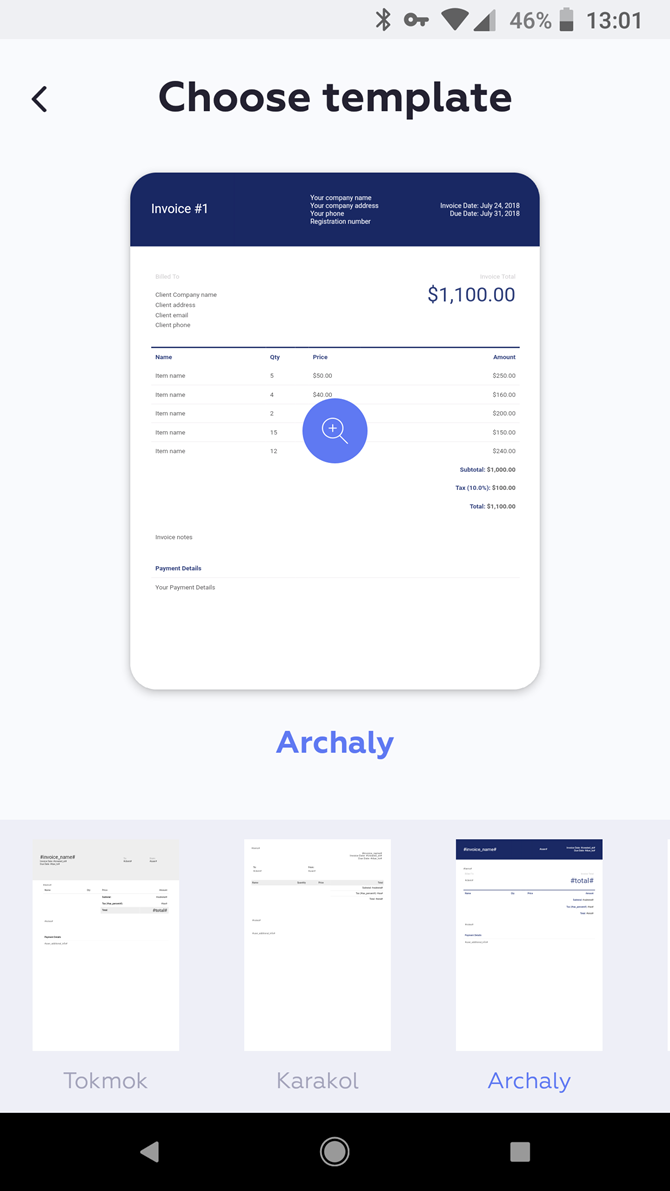
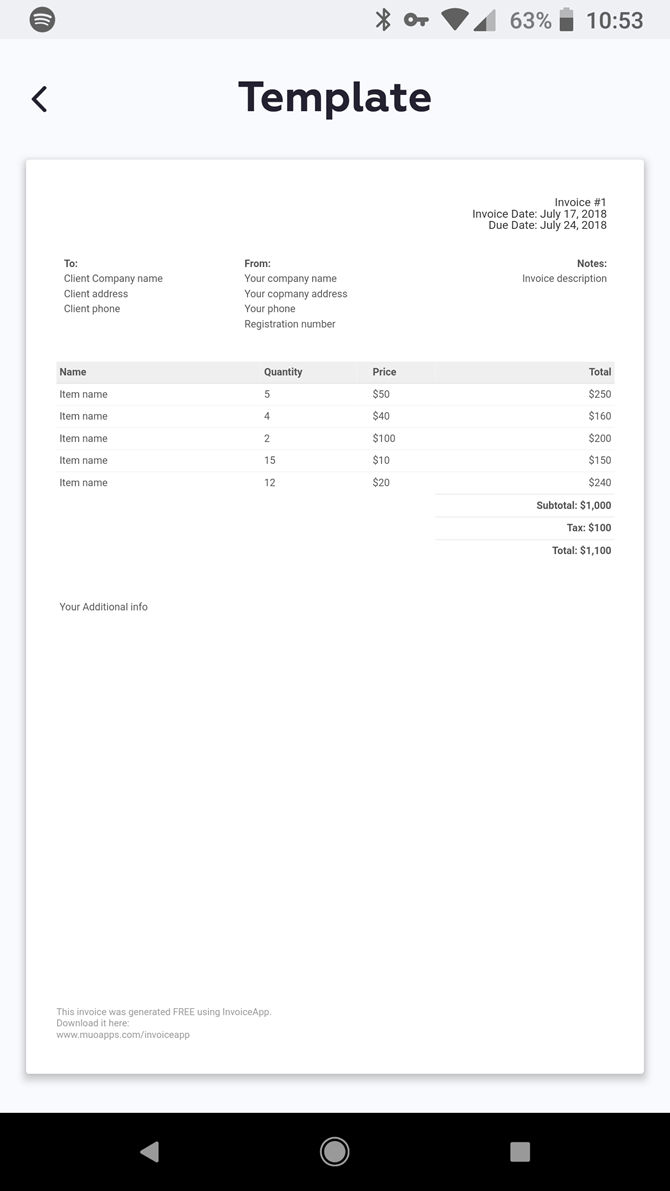
Finally, you'll want to pick your favorite template from the free invoice templates available in Invoice Mini. The templates are designed to fit both US Letter and A4 paper sizes so printing with them won't be a problem.
Again on the Settings menu, select Invoice Templates. You'll see a handful that you can scroll through at the bottom of the screen.
Tap the blue magnifying glass icon on an invoice template to get a closer look at it. Once you've decided on your favorite, select it and tap the Back arrow in the upper-left.
Also on the Settings menu, you can set your default Tax percentage if necessary.
Create Your First Invoice
Now you're all set to create your first invoice! Jump back to the Invoices tab using the left menu. Select New Invoice at the bottom of the page to begin.
First you'll need to select the client. The search bar at the top will show the client you added earlier, but you can also add new clients here if you need. After you select your client, you'll see the Invoice Details screen.
This contains standard invoice information for you to fill out. Enter a name for the invoice at the top, and specify an invoice date and due date.
Below this, enter each item along with its price and quantity. You can fill out the Description box if an item isn't self-explanatory. Choose Add new item for each new invoice entry and repeat as needed.
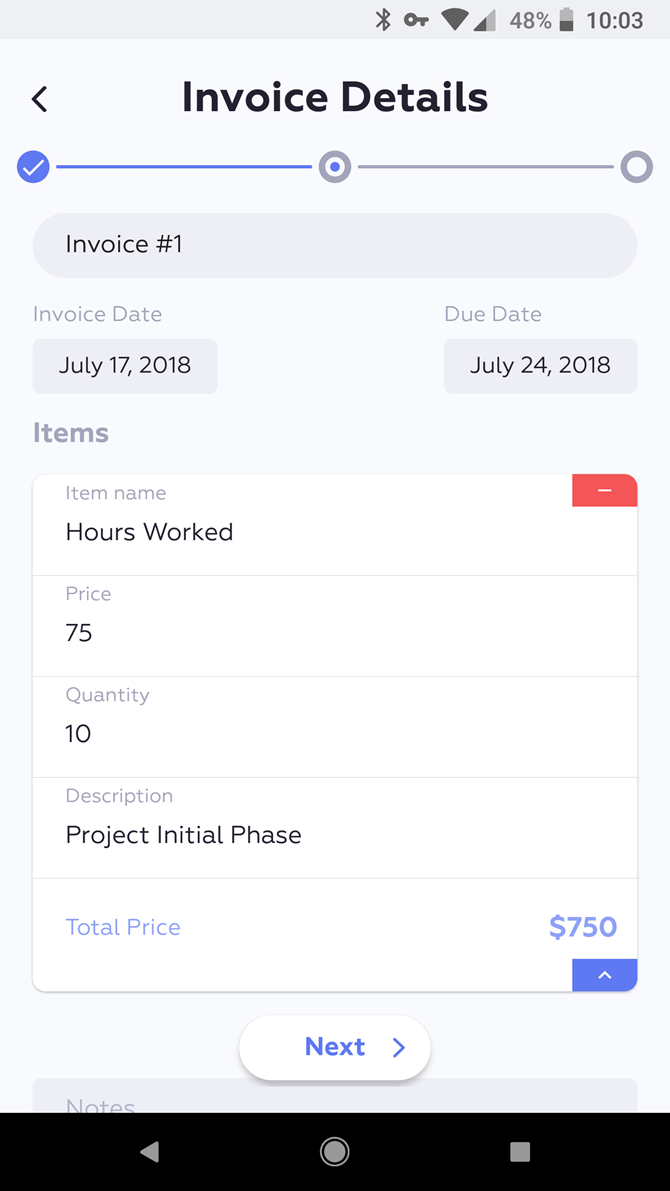
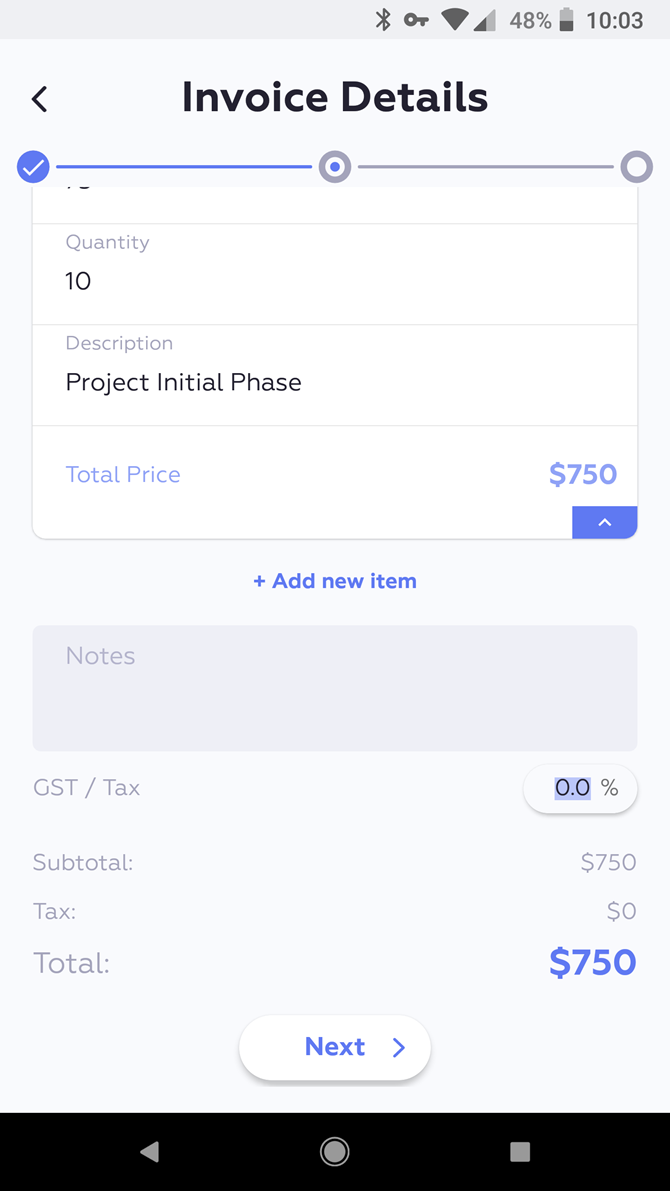
For easier review, use the blue arrows in the corner of each item to collapse them. Tap the red Minus symbol to delete an entry.
At the bottom of the invoice page, you'll see a Notes field for extra information. You can also specify the Tax percentage here.
Tap Next to proceed.
Preview and Send Your Invoice
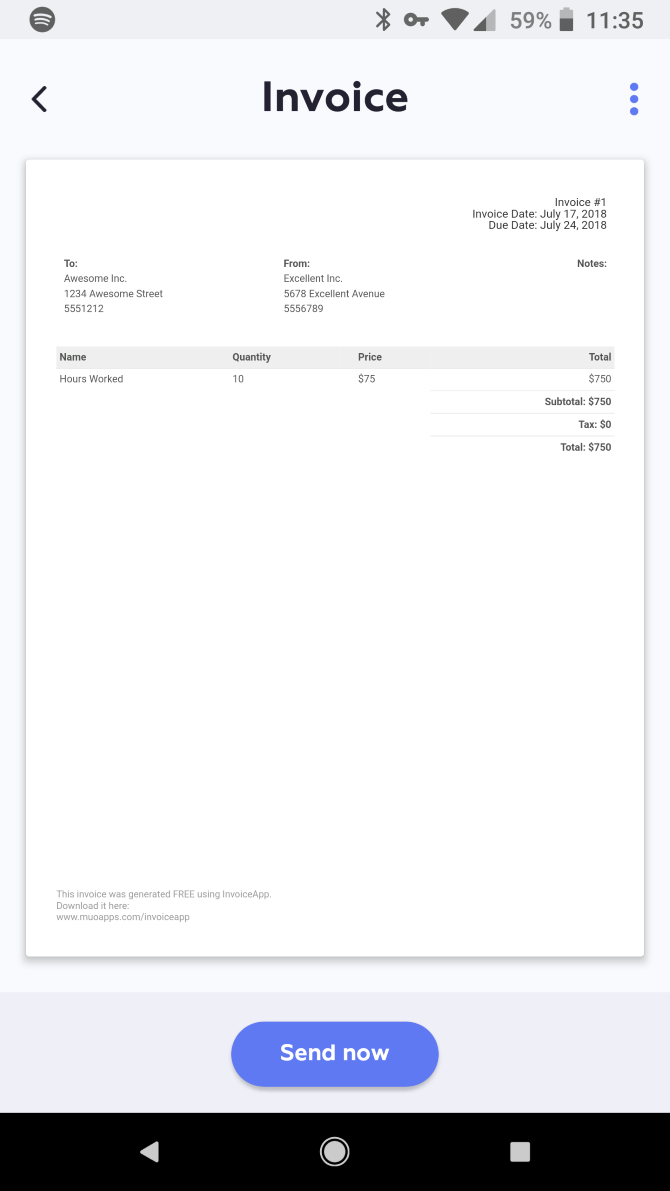
On the final Preview Invoice screen, you can take a look at your invoice to make sure everything is in order. Tap the blue magnifying glass icon to see how it looks; use the Back arrow to return and edit any incorrect information.
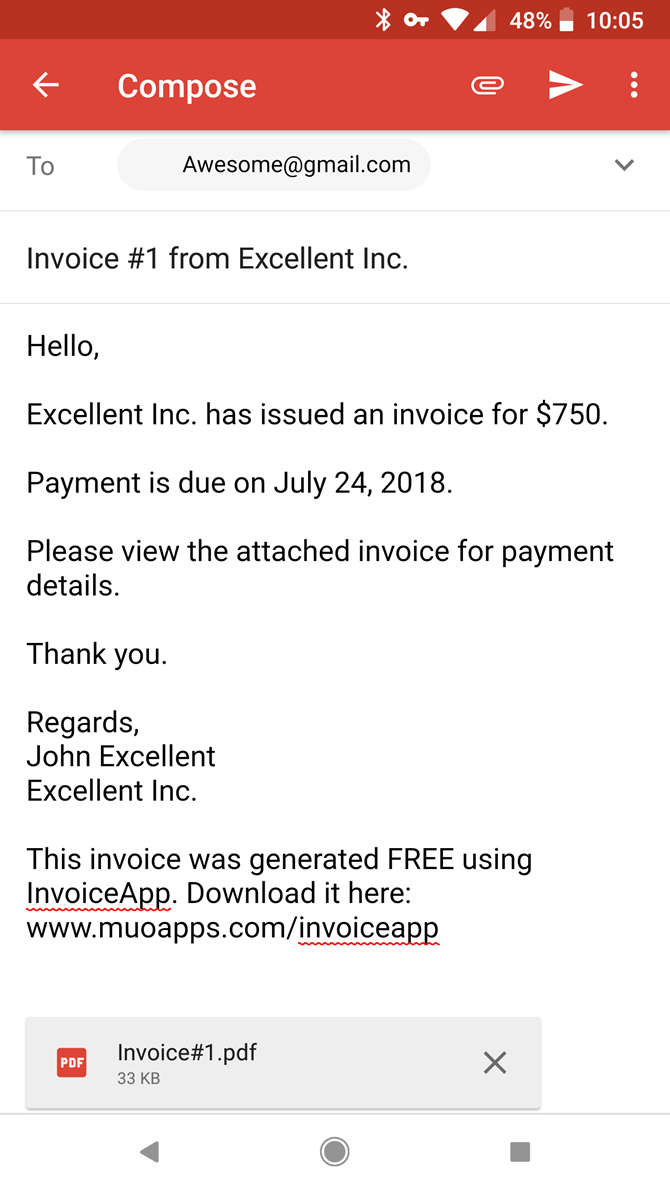
If you don't want to send it until later, tap Save to keep it in your drafts. Tap Send now to open your default email app with a message that's all set to go. The subject line and email body include the invoice number, amount of invoice, and your contact info. This attaches the invoice as PDF.
Managing Invoices
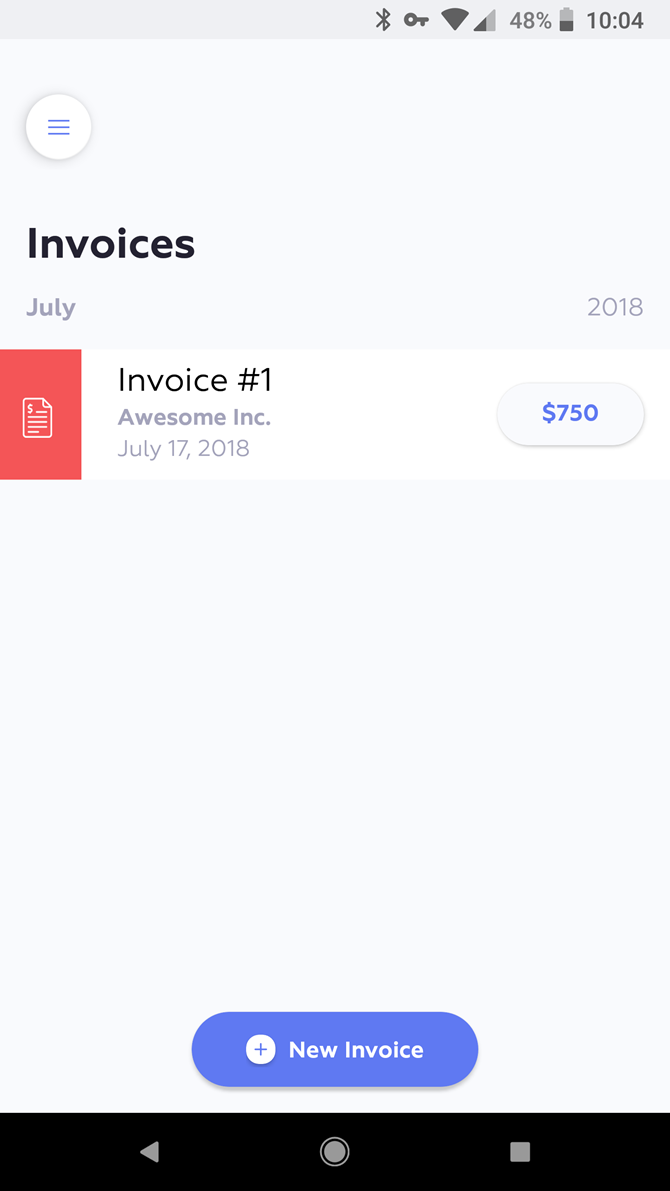
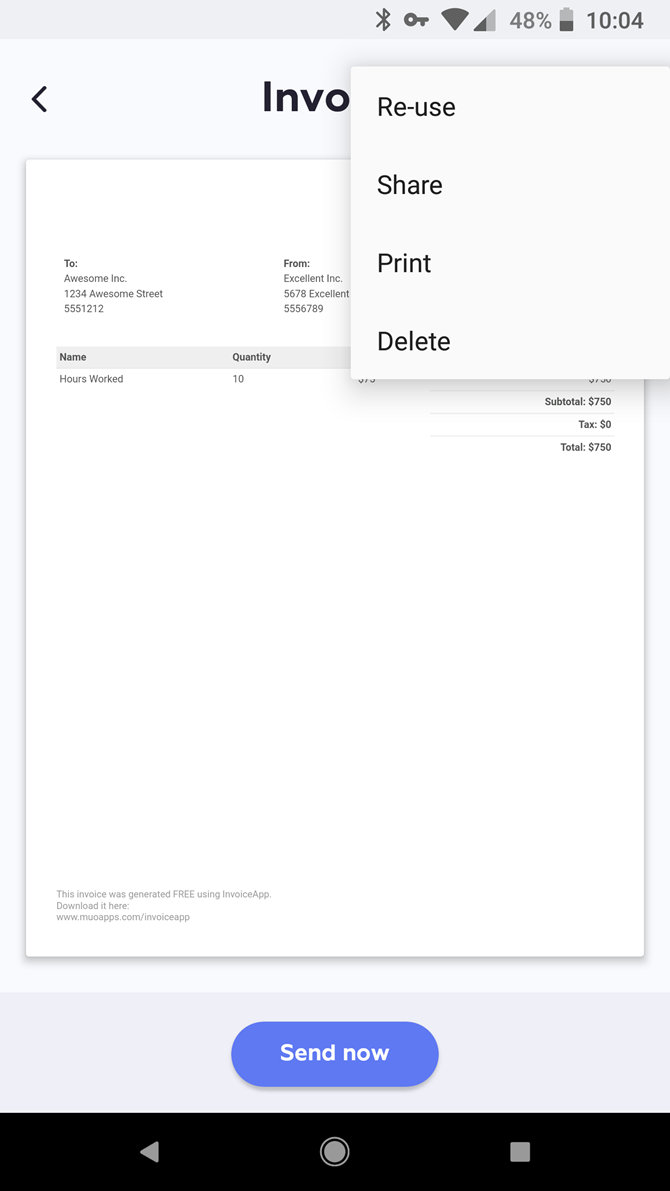
Once you've sent your invoice, you'll find it on the Invoices tab. There, you can tap it to review it any time. Select the three-dot Menu button in the upper-right of an invoice page, and you have a few handy options.
This includes the Re-use function, which creates a duplicate invoice for convenience. The Share option opens a standard sharing menu, and Print lets you send off a hard copy. You can also Delete invoices you don't need anymore.
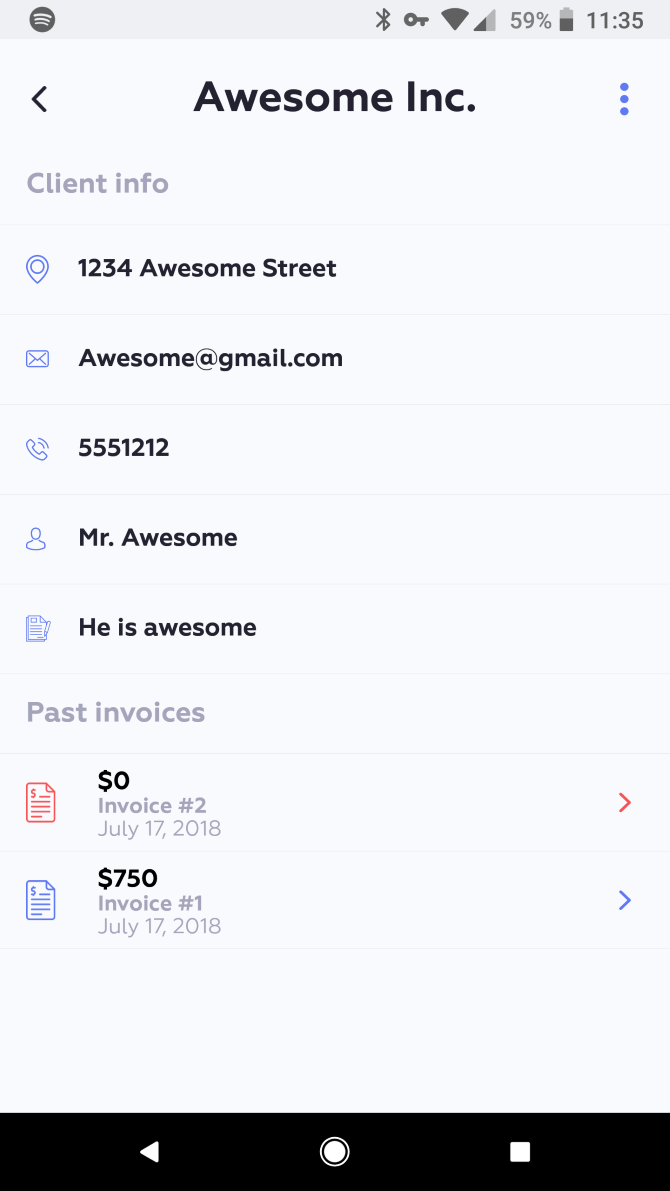
On the Clients tab, you can select any client to review the information. At the bottom, you'll also see Past invoices so you can keep track of what you've sent to each client.
Don't forget that on the left sidebar menu, you can find links to other MakeUseOf apps. These include PolyTime, the easy time zone converter, and NeedHave, an app that connects local people in need with those who can donate.
In the Settings menu, you'll find links to contact the developers, rate the app, and share it with others.
Ready to Make Invoices Easy?
Invoices shouldn't be a hassle in your day. You need an app that makes it easy to create, manage, and send them out. And that's exactly what Mini does.
Give the app a try today and experience how easy invoice creation on your iOS or Android device can be. And best of all, you don't have to put up with any ads or in-app purchases. It's perfect for freelancers or small business, and we think you'll love it.
Download: Invoice Mini for Android [Broken URL Removed] | iOS (Free)

