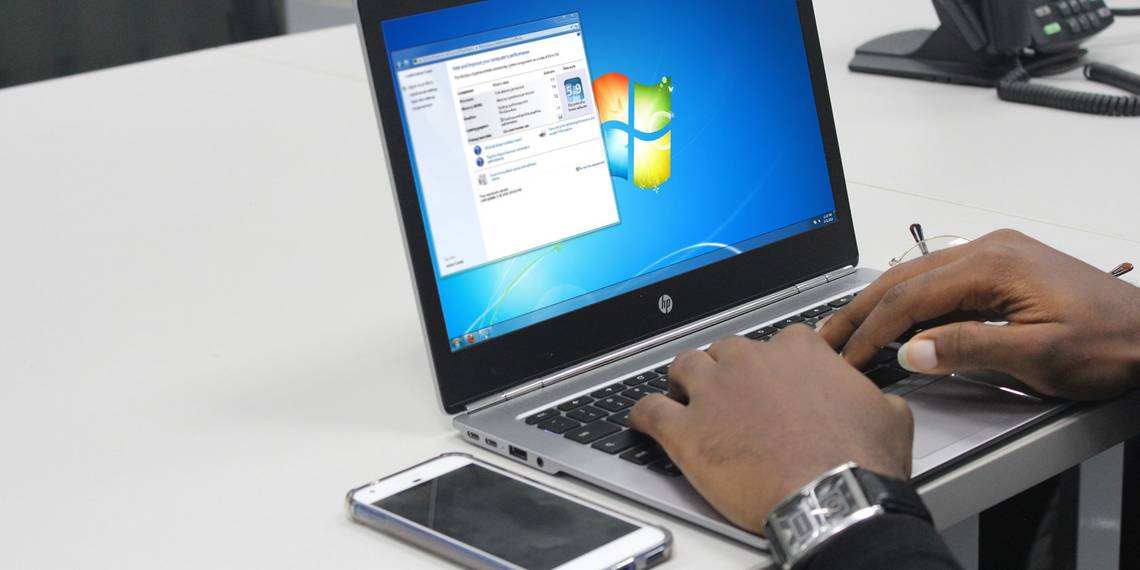
Windows 7 is a relic. Not quite as ancient as Windows XP, but Windows 7 has long since passed its 2020 end-of-life date. Unless you're paying major money, Microsoft isn't delivering Windows 7 security patches. Companies that rely on Windows 7 will pay Microsoft to keep working on and fixing the operating system. But those fixes are unlikely to reach the public.
One option is to install Windows 7 on a VirtualBox virtual machine. So, if you have a Windows 7 license key and a Windows 7 ISO, here's how you can install Windows 7 on a virtual machine.
What You Need to Install Windows 7 in VirtualBox
Before you get going, you need a few things in place.
The tutorial uses VirtualBox, a free virtual machine program. You need to download and install VirtualBox before continuing. Download and install VirtualBox version 5.2.xx using the link below. VirtualBox 5.2.xx can install and run both 32- and 64-bit image files.
Download: VirtualBox 5.2.xx (Free)
There is a later version of VirtualBox, version 6.x. However, VirtualBox version 6.x can only install and run 64-bit image files. In that, the earlier 5.2.xx version is handy as it can handle both architectures and is still receiving updates.
You also need your Windows 7 disk image (ISO). If you don't have your Windows 7 ISO, you can enter your Windows 7 product key on the official Microsoft Windows 7 page to secure an official download.
Once you install VirtualBox and have your Windows 7 ISO, you can continue.
How to Install Windows 7 in VirtualBox
Now you can install Windows 7 in a virtual machine, using VirtualBox.
Open VirtualBox. Select New. Give your Windows 7 virtual machine a name.

Now, decide how much memory to allocate to the virtual machine. How much you allocate depends on the host system as well as what you use Windows 7 for. For example, my desktop has 16GB RAM, so I can afford to allocate the virtual machine more memory so that it runs faster. In this case, I'm allocating 2048MB, which is 2GB.
In the bottom panel, select Create a virtual hard disk now, then Create.
Next, configure the Windows 7 virtual machine disk size. Microsoft recommends a minimum of 16GB storage for Windows 7. Allocate as much as you want or need, but make sure it is more than 16GB.
Keep the Hard disk file type as a VDI (you can move this virtual machine disk type to other virtual machine software), and let VirtualBox dynamically allocate the disk size (if you need more storage than you allocate, the disk can dynamically expand).
Hit Create.
Configure Your Windows 7 Virtual Machine
Before hitting Start, there are a few options that you must configure.
Right-click the virtual machine and select Settings.
Now, under the System tab, select Processor. You have the option of allocating your Windows 7 virtual machine more processing power by way of assigning another processor core. If you have a multi-core system, assigning an extra core will give you a faster virtual machine experience. Depending on your system hardware, it could result in slower performance for the host machine.

Next, under the Display tab, increase the Video Memory to 128MB.
On to the Storage tab. Here is where you insert your Windows 7 ISO. Under Storage Devices, select the Empty slot. Then, under Attributes, select the disk icon. Browse the location of your Windows 7 ISO. Press OK.

You're now ready to boot your Windows 7 VirtualBox virtual machine for the first time.
Windows 7 Installation Guide
When the virtual machine boots, select your keyboard language and continue. Hit Install Now, then accept the licensing agreement.

On the next page, select Custom, then select the virtual disk image drive created earlier. After that, the Windows 7 installation process will start. Go and make a cup of tea because this can take a moment. After the installation process completes, your Windows 7 virtual machine will restart automatically.
Windows 7 will restart a few times during the installation process. It is nothing to worry about. Do not touch a key when prompted or you will return to the Install Now option, rather than letting the installer do its thing.
Eventually, you will arrive at the Windows 7 Username set up, followed by the password creation page.
Next up is to input your Windows 7 product key. If you already input your product key and downloaded Windows 7 direct from Microsoft, you might not encounter this page. If you do not have a Windows 7 product key now, you can skip this page, but your Windows 7 virtual machine will have limited functionality.
Use the Recommended security settings, choose your time zone, and continue.
Install the VirtualBox Guest Additions ISO
The final setup is for the VirtualBox Guest Additions ISO. VirtualBox Guest Additions give your virtual machine better mouse pointer integration, the use of shared files between the host and the client, better video support, shared clipboards, and a host of other handy tools.

- Head to Devices > Insert Guest Additions CD Image.
- Inside the Windows 7 virtual machine, select Start Menu > Computer. Open the Guest Additions CD Image, then run VBoxWindowsAdditions.
- Install the Guest Additions, then Reboot.
Windows 7 End of Life Support Date
Microsoft shut off Windows 7 life support on 14 January 2020. Some companies, products, and services have no choice but to continue using Windows 7. But if you're a home user who is clinging to Windows 7 because it is familiar, the end-of-life date for Windows 7 has come and gone, and you should no longer use this antiquated and potentially dangerous operating system.