Brushes are an important part of any serious image editing software. They make it easy to create repeatable textures and patterns, or simplify the process of drawing complex things. They can work for graphic design or photo editing.
And in GIMP, you simply brush them onto the page using the Paintbrush tool.
There are lots of GIMP brushes available to download and install. They're mostly community made and available through DeviantArt. They're all free, though you should check the license if you want to use them commercially.
We've scoured the web to find the best free GIMP brushes to get you started. But first let's look at how to install brushes to GIMP:
How to Install GIMP Brushes
In GIMP you install brushes manually by pasting them into the Brushes folder. The location of this folder differs depending on whether you're using Windows, Linux, or Mac, but there's an easy way to find it on all three platforms.

In GIMP, go to Preferences > Folders, and click the + icon to expand the Folders section. Now select Brushes. You'll see two folders. One is a system folder, which you can ignore. The other is the user folder, and this is where you need to place your brushes.

To quickly open the Brushes folder, highlight it and click the cabinet icon in the top right of the window, labelled Show file location in the file manager. Now paste your brushes in here.
GIMP brushes come in three file formats:
- GBR: the most common format, used for normal and color brushes
- GIH: used for animated brushes made from images with multiple layers
- VBR: vector brushes that can be resized as much as you need
GIMP can also use the best Photoshop brushes, which are in the ABR format.
When you paste your brushes into the folder create a new subfolder to keep them organized. Give this folder a descriptive name, like "GIMP hair brushes" or "texture brushes".
When you're done, open the Brush dialog and go to Brushes Menu > Refresh Brushes. You can select your brush from this same dialog box. To change the brush size in GIMP, either use the options box in the bottom right corner or use the square bracket keys ([ and ]) to make it larger or smaller.
Now that we know how to install brushes to GIMP let's take a look at the best free GIMP brushes available.
1. 37 GIMP Tree Brushes

This brush set of 37 realistic looking, high definition trees will ensure all your foliage needs are covered. There's at least 16 different types of tree, with duplicates pointing in opposite directions. They include a Christmas tree and some Autumnal colors.
Each one is typically around 1000 pixels wide, so they're more than big enough to incorporate into even your highest resolution projects.
2. Contact Lenses for GIMP

These contact lens brushes are the easy way to change a model's eye color. There are nine colors to choose from. By setting the Blend mode to either Overlay or Screen, your brush will combine with the original eye to produce an effect that is surprisingly naturalistic.
3. GIMP Micro Patterns Brushes

If you're using GIMP for graphic design work then you need this set of micro pattern brushes. They can be a massive time saver.
There are 31 patterns in all: dots, stripes, waves, swirls, zigzags, and plenty more. Whether you need a pattern for the background of your page, or are creating Lichtenstein-style pop-art, this is an essential download.
4. GIMP Water Brushes

Creating water effects is more difficult than it should be. A quick, and very effective, shortcut comes from the GIMP Water Brushes. What you get are two brushes that enable you to add a "ripple" to a previously flat surface. Build up the effect by adding different size, weight, and color ripples, and you'll end up with something that looks very realistic.
5. 24 Clouds

Need to add some interest to the sky in your pictures? These photorealistic clouds will do the trick and no-one will even notice. There are 24 styles of cloud to choose from ranging from the wispy to something potentially more threatening.
They take color, too. So while they work best set to white, you can mix in a few dark gray clouds for a stormier scene, or some orange-tinted ones to work with your sunset shots.
6. GIMP Flying Birds Brushes

Another way to make your skies more interesting is to place a few birds in there. There are 22 varieties on offer here, both different types of bird as well as assorted flying positions. They're in silhouette, so you can change the color and use them in your design work.
But keep them small and dark, and you'll find they're of good enough quality to be able to use in photos as well.
7. 20 Fire PS Brushes

Fire is a common enough thing to want to include in your graphic design work, but drawing it from scratch is a real pain. This set of 20 fire brushes solves the problem. They each work well enough on their own. But by stacking several brushes with different colors on their own layers, you can generate quite the raging inferno.
These brushes are in the ABR format. They're originally designed for Photoshop but you can use them in GIMP, too.
8. Light Beam Brushes

This collection of 26 variations on beams of light simplifies the process of adding dramatic lighting effects to your artwork. There's a shaft of light, a lens flare, a torch or lighthouse, and plenty more. They're all very high resolution, too, so there won't be any concerns about quality if you use them in your final projects.
9. Real Pencil Brushes for GIMP

If you use GIMP for sketching---perhaps using a graphics tablet---you'll be hard pressed to find a better set of brushes than these.
It's a simple package, just three pencils of different sizes and weights. Choose the right Force setting and you can perfectly replicate both the look and feel of a real sketchpad and pencil.
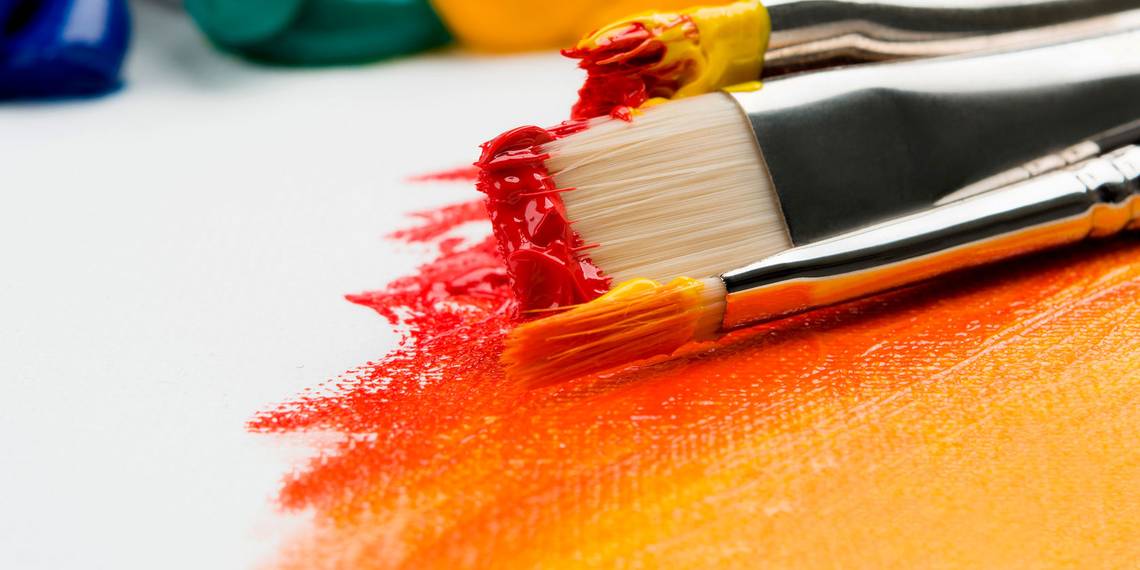
10. Digital Oil Brushes

There's no better way to unleash your inner Bob Ross (The Joy of Painting being one of the best Netflix shows to watch when you're stressed) than with this set of digital oil brushes. They're very high quality and have a real professional feel. The set offers five standard brushes, each with variations to replicate them being loaded with different amounts of paint, and different paint thicknesses. You can even mix paints as you go by combining your foreground and background colors.
11. GIMP-BrushBrush

If watercolors are more your thing then BrushBrush is for you. It's just one brush, styled like a real paintbrush using real watercolor paints. In spite of its apparent simplicity, it's capable of producing some beautiful results.
Next Steps: Kick Your GIMP Skills Up a Level
GIMP does have quite a steep learning curve, so the ability to use brushes should really help you to speed up your workflow.
All the brushes detailed above work in the new GIMP 2.10. If you haven't upgraded to that version already, you should check it out now.
Your next step is to truly master what GIMP has to offer. So take a look at our guide to photo editing in GIMP to get started.