There are a few reasons you might want to use iMessage on an Android device. Maybe you have friends that use iPhones and don't want your messages to appear as green bubbles. It's also possible that you use an iPhone as your main device but also use an Android phone at times.
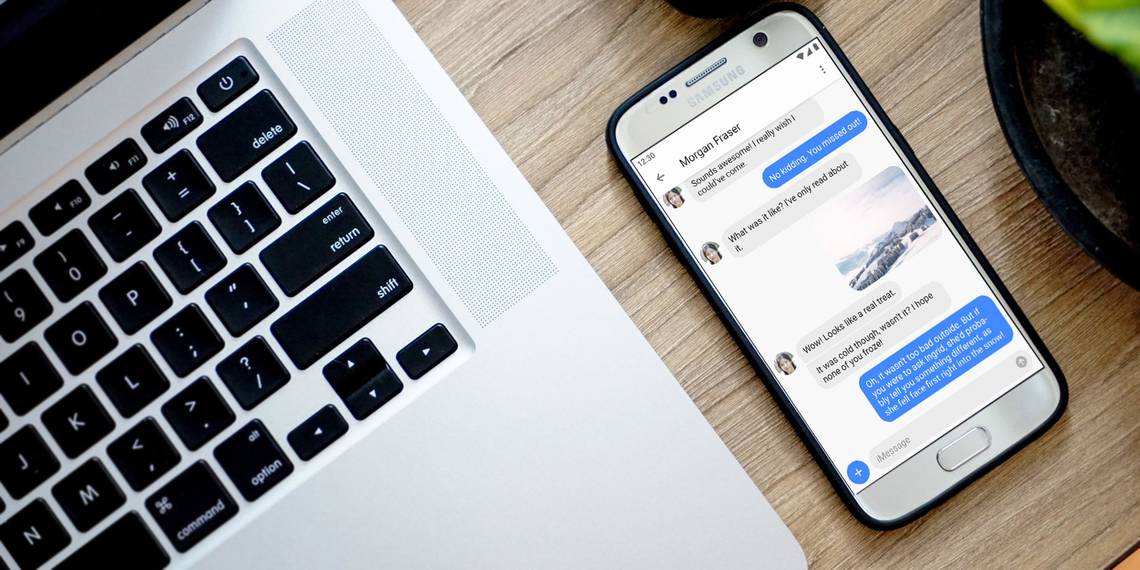
There are also plenty of people in the US who use Samsung smartphones, such as the Galaxy S22 or S22 Ultra, that want to use iMessage.
It's not likely that Apple will bring iMessage to Android, but fortunately, you don't have to wait for that to happen. AirMessage lets you use Apple's service on Android, with one major caveat: You'll need to run its server software on a Mac. Here's what you need to know and how to use it.
Why Do Users Want iMessage for Android?

Unlike text messages, which use the SMS protocol for text and MMS for images, iMessage goes over the internet. This lets it do more than standard messages, and it also means that you can use it over Wi-Fi (or with mobile data). Also, iMessage is a dominant platform in the US.
Until now, the main issue with iMessage is that it only works on Apple devices. Officially, that is still the case. Many non-Apple users want iMessage for Android, but Apple's Craig Federighi has expressed in the past that iMessage on Android would only cause issues for Apple's innovation, so you probably shouldn't hold out for official support.
However, AirMessage provides a workaround by using a piece of server software to send messages through iMessage on your Mac. Technically, you're still sending the message on your Mac. You're just using an Android device to trigger it.
Set Up AirMessage Server on Your Mac
To get started, head to the AirMessage website and download the AirMessage Server for macOS. The software runs on OS X 10.10 through the most recent version of macOS. After you finish downloading AirMessage, double-click the application in the Downloads tab in Finder.
Your Mac will ask you to confirm that you want to open it since it was downloaded from the internet. After you click Open, AirMessage will appear in your menu bar and a welcome message will appear. To set up your server, you can either connect an account or configure it manually. We'll cover the Configure Manually choice.

You will first need to set a custom password. Once you have done that, AirMessage will ask for access to control Messages, then System Events. After that, AirMessage will ask for control of your computer by using accessibility features. Do this by clicking Open System Settings.
Then, you need to toggle on AirMessage and use Touch ID or your password to confirm. Once you have granted access, AirMessage will ask you for full disk access.
Granting the app access is a very similar process. First, click Open Full Disk Access Settings. Next, toggle on AirMessage and use Touch ID or your password, then click Quit and Reopen.
The server should now be running. Make sure that the dropdown menu in the menu bar says Server running.

Set Up Port Forwarding
Next, you'll need to set up port forwarding on your router. You need to do this to allow AirMessage to communicate with the server software on your Mac over the internet. This lets you use AirMessage no matter where you are, as long as your computer is running at home.
Setting up port forwarding varies depending on your router, but the manufacturer should have instructions to set this up. We'll go over the basic steps, but what you need to do may be slightly different.
First, you'll need to note your computer's IP address. Open System Settings, then go to Wi-Fi. Next, click on Details next to your network's name. Your IP address will be listed right above Router.

Now navigate to your router's settings. You'll usually do this by going to 192.168.0.1 or 192.168.1.1 in your web browser. If neither of these addresses works, enter into your browser the address next to Router in the Details window.
In your router's configuration panel, find the port forwarding settings. This may be under an Advanced header. Create a new entry with your computer's IP address and the port AirMessage uses. By default, this is 1359. For protocol, select TCP. After doing this, you might have to reboot your router.

Now, double-check that the port is forwarded correctly. To do this, you can use a website like PortCheckTool.
Enable iMessages on Your Android Device
Now that the complicated part of the setup is over, you can download and install AirMessage from Google Play. After you open the app, it's time to log into your server.
For this, you'll need the public IP address of your computer. You can find this by clicking Details next to your network's name in macOS settings or by visiting a site like WhatIsMyIP.com.
Enter your server's IP address and the password you set up earlier. If everything is successful, you'll log in and be prompted to download your old messages. Now you can receive and send iMessages on your Android phone, just as you would with your iPhone.


How to Customize AirMessage
There are a few customization options you can use to tailor AirMessage to your liking. The app features both light and dark themes. You can choose to have these follow the system defaults as well.
For a splash of fun, you can also turn on rainbow chats for more colorful conversations since each contact will be assigned a specific color, which is great considering Apple users have to use a workaround to create different color text bubbles in iMessage.
You can also customize your notification settings. You can turn them on or off entirely, change the alert sound, and choose how much is shown on your lock screen.
Making Everything Permanent

If you like AirMessage and plan to continue using it, there are a few points to consider. The first is that for AirMessage to work, your computer must be running constantly. When using a laptop, that can be a problem.
If you have an old Mac Mini collecting dust, this would be a perfect use for it. You don't have to use it exclusively for AirMessage either. There are multiple things you can do when using an old Mac Mini as a server.
Another issue is that both your private and public IP addresses tend to change after a while. This can cause problems with both port forwarding and using the AirMessage app.
For your private IP address, you can use address reservation in your router to ensure it always has the same IP. Consult your router's documentation to figure out how to do this. For your public IP address, it's somewhat trickier.
You'll need to use a dynamic DNS provider for your public IP address. This ensures that even as your ISP changes your IP address, you'll be able to use the same IP address with the AirMessage app on your Android device. If you're not sure where to start, refer to our article that covers the best dynamic DNS providers you can use for free.
Enjoy iMessage on Android
Finally, you can have iMessage on Samsung and other Android smartphones with AirMessage. Now that you've got access to iMessage, you may wonder if you can use other Apple services on Android. Thankfully, there are some tricks you can use to make that happen.