When you take up photography, there’s one piece of advice you’re bound to hear... shoot in RAW. If you do, you’ll quickly find out that RAW files aren’t like other images. You need certain programs to open them. One of which is called Darktable.
Adobe Lightroom is the most well-known app for manipulating RAW images, but there are plenty of reasons to choose an alternative. Darktable is a free, open source option that is more than capable as a Lightroom alternative.
What Is Darktable?

Darktable is a program for viewing and editing RAW image files. RAW files are photos that haven’t gone through any processing. Unlike JPGs, they don’t contain any compression. You can’t even send them to someone and expect them to be viewable.
RAW files are like film that has yet to be developed. Darktable is where you go to develop your digital photos. Hence the name. A big reason to use RAW and Darktable over JPEG and GIMP is that you can perform edits without making permanent changes to the original file. This is known as non-destructive editing.
Darktable has two main workspaces: Lighttable and Darkroom.
How to Use Lighttable

Lighttable is where you go to export images, edit metadata, and apply tags. It’s also the place where you handle the naming and organizing of your images.
You can import photos using the panel on the left side of the screen. Just grab images from your camera and organize them into collections. You can also view detailed information about each photo.
Here’s an overview of some of the core tasks under Lighttable.
How to Export Files in Darktable

The most important option is exporting your RAW photo into a format that you can share. To do this, select the Export Selected dropdown. More options will appear, asking how you want to name your file, where you wish to save it, and in what format.
Even if you do precisely zero editing, Darktable is worth having around to convert RAW files into JPGs that you can send to family members or upload to the web.
How to Edit Metadata
If you’re sharing your photos around, you may want to indicate who took each photo. This is especially important if you’re stepping up your photography from a hobby into a job.
The Metadata Editor section gives you space to give each photo a title and describe what’s happening in the image. You can add who took the image, who published the image, and what license the photo is available under.
Removing metadata from photos is important to safeguard your privacy, so here's how to remove metadata from your photos before sharing them online.
How to Add Tags to Your Photos
Tags are helpful for your internal organization of files. Which images have you edited and which were untouched? Maybe you want to separate your profile shots from your landscape photography.
You can add tags by clicking the Tagging section. A few tags are already available. You can create your own or import tags you’ve already created in another installation of Darktable. From here, you can then attach tags to the selected photos.
How to Add Geotags to Your Photos
When you travel around, places can start to look the same. Geotags mark where an image was taken.
If this sounds compelling to you, head to the Geotagging section to add a GPX track file to your photo.
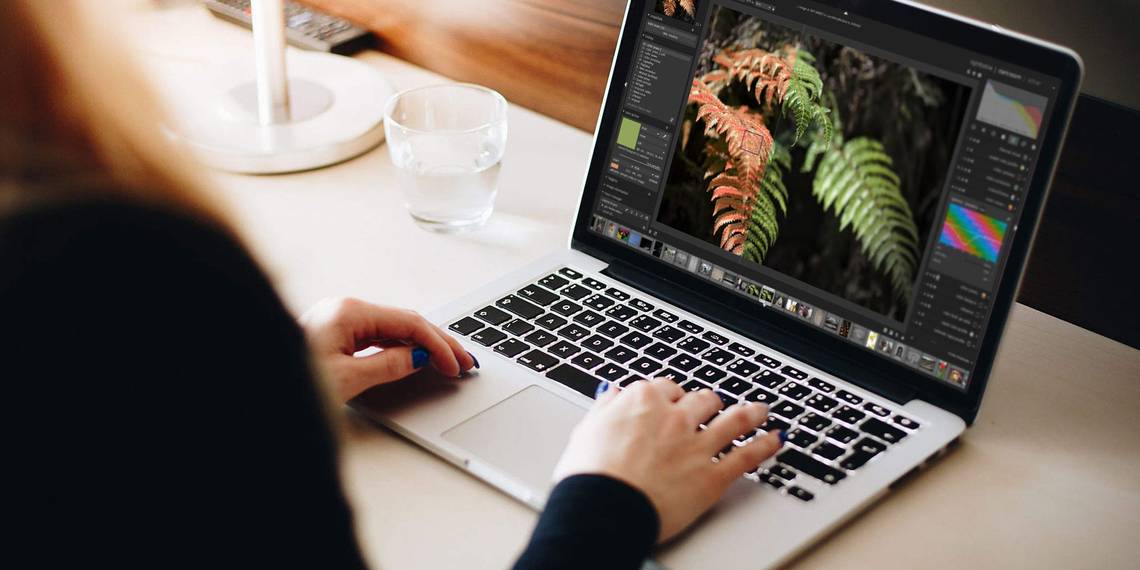
How to Use Darkroom
Darkroom is the image manipulation section of the app. Here you can get to work bringing your photos to life.
How to Perform Edits

On the right-hand side, you can perform touch-ups to improve imperfect images, such as sharpening blurry shots, correcting white balance, and cropping out elements that may have wandered into the frame.
Or you can use your imagination to breathe new life into a shot. Adjust contrast to make the subject more striking. Play with the colors. Tweak the lighting.
Then there are effects, such as motion blur and vignetting.
Darktable organizes all of these tasks into modules. Some are visible by default and organized into sections, such as Favorites, Basic, Tone, Color, Correction, and Effects.
More modules are listed under More Modules. Clicking on one automatically adds it to the aforementioned sections. Clicking again removes it. This enables you to make the features you use often easily accessible and hide the ones you don’t. It saves the app from getting cluttered and forcing you to dig through menus to do any given task.
How to Track Edits

On the left-hand side, you can see a timeline of the changes made on the current image. When you click the History section, you may be surprised to find that Darktable has automatically applied a few tweaks to your image already. You can undo them by jumping back to the original. As you work, you also have the option to manually create snapshots of your own.
A few tasks from the lighttable workspace are also available here, such as Tagging and Image Information.
Other Features in Darktable

Now that you’ve edited your photo and exported your file, you can click Other to find a few more ways you can present your work. Or you can set about taking more pictures.
Using Darktable's Map Feature

This section displays the location of your geotagged photos on a map. You can source the map from different websites. OpenStreetMap is the default, but Google Maps is also an option.
Using Darktable's Print Feature
Print gives you tools to print your image. Choose your printer, set the paper size, set the color profile, and so forth. Darktable provides a live preview, so you can see how your photo appears on the page.
Using Darktable's Slideshow Feature
You need not download a different app in order to present your photos in a slideshow. Darktable does that, too. Just don’t expect many options. This feature is pretty basic.
Using Darktable's Tethering Feature
Tethering lets you connect directly to a camera and use Darktable as your viewfinder to capture images. Darktable uses the gphoto2 library to manage tethering, which is something to keep in mind if you run into issues or need to check if your camera is supported.
Should You Use Darktable?
Darktable is a great app, and not just because it’s available for free. Many open source apps deliver on functionality but come with an interface that leaves much to be desired.
Unlike some other apps, Darktable is a tool by photographers for photographers. You can tailor the interface to your workflow and hit the ground running each time.
This isn’t the only free and open source tool for photographers to keep in mind. While Darktable is one of the best free RAW editors, there are many free apps for managing and editing your photos.