Whether you want a place to chat with friends or are looking to start a community built around a common interest, you need Discord. And in this article we explain how to set up your own Discord server.
Discord is an app that many consider to be the best free voice chat for gamers. It lets you create a text and voice chat forum quickly and easily.
Setting up your own Discord server is easy. We'll walk you through the process.
How to Create a Discord Server

To set up your own Discord server, start by heading to the Discord website and either setting up a new account or logging in to your account if you already have one. Now, look at the menu of servers on the left and go all the way to the bottom, where you'll see a round icon with a plus sign in it. Click on this to add a new server.
This brings up a popup asking if you want to Create a server or Join a server. Click on Create.
This takes you to the Create Your Server page. Give your server a name and choose a region for the server. The region isn't terribly important so you can just use wherever you are located. You should also upload an image to use as your server's logo. Then click Create.
Invite People to Join Your Server
Once you have created a server, you can use your friends list to invite people to join it. You will see a list of all your Discord friends, with a button saying Invite next to each one. To invite someone to your server, just click this button.
Alternatively, there is also a link at the bottom of the Invite Friends popup. The link will be in the format https://discord.gg/5cM2Up. This is a temporary link that you can send to your friends to invite them to the server. But this will expire in 24 hours and after that no one can use the link to join your server. To change the link so it is permanently useable, click on Edit invite link and set the Expire After option to Never.
If you want to invite more people to join your server in future, use the Invite People button in the top left of the server page.
Edit Your Server's Settings

There are some things you'll want to change before you begin using your server. To edit the server's settings, look for the name of the server in the top left. Next to there is an arrow pointing down. Click this arrow to bring up the server menu.
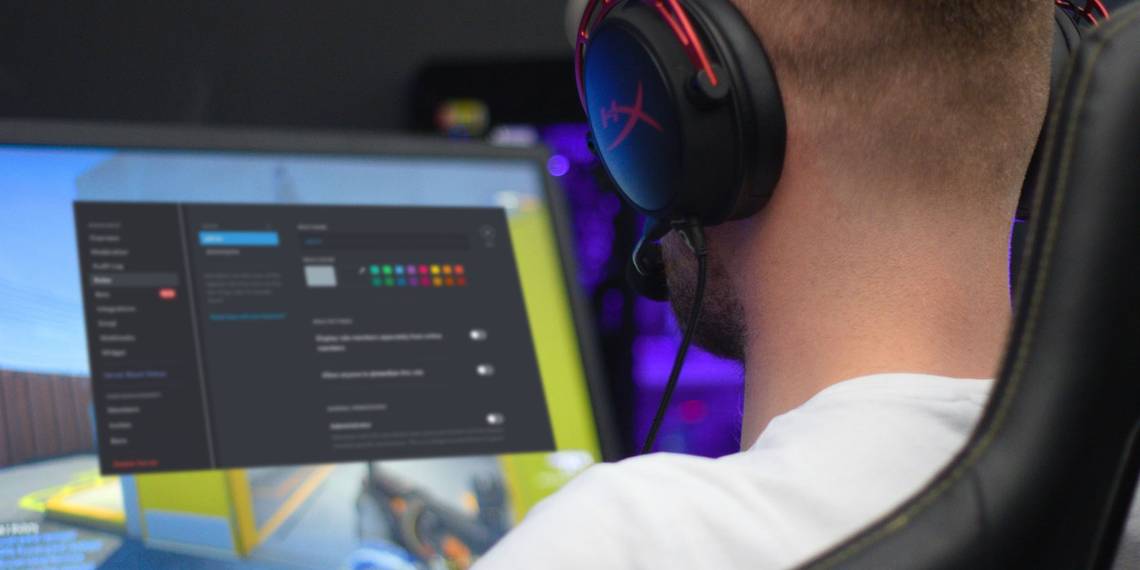
Now select Server Settings from the menu. This takes you to the Overview, where you can change the name, region, or icon for the server.
There are two more settings on this page: the AFK channel and the System messages channel. The AFK channel is where users are sent if they have been active for a period of time. You probably don't need this unless you have a very busy server, so leave the setting on No AFK Channel. The System messages channel is the default channel where new users are sent and where system messages are sent. You can leave this as the default, the #general channel, or set up a new channel for system messages.
Set Up Moderation to Prevent Spam

Another important thing to consider for your Discord server is moderation. Discord can have a problem with bot accounts leaving spam messages, so you may want to apply some moderation filters to mitigate this issue.
To set up moderation, choose the Moderation option from the server menu. The first option is Verification level. This sets the requirements for members to be able to post in the text channels or to send direct messages to other server members. By default, the level of verification is None.
If your Discord is private, you can leave the setting as is. But if your Discord is public, you should add verification to prevent spam. Choose from Low, where users must have a verified email address attached to their account to post, or Medium, where users must have an email plus have been registered on Discord for more than five minutes. There are also more strict rules designated by angry faces, which you can select for the highest level of security.
The second setting to look at is the Explicit Content Filter. You can enable this to scan for and delete messages which have explicit content if that's not something you want in your server. You can choose to either Scan messages from members without a role, which will apply to new members before they have become full members, or Scan messages sent by all members, which will block explicit content from all users.
You can learn how to add Discord bots, then use helpful Discord bots to help you moderate your server.
Set Admins to Help You Manage Your Discord Server

Running a server can be a lot of work. Tasks like welcoming new members, answering member queries, approving new membership requests, and handling disputes in chat can all take a lot of time. For that reason, if you anticipate your server will be busy, you can deputize admins to help you manage the server.
To set up admins, go to the Roles section of the server menu. Create a new role by looking in the top left, where it says Roles with a plus icon next to it. Click the icon to make a new role, and name it admin.
Now change the permissions for this role by toggling the switches below. You'll want to toggle Administrator only for those who you trust completely, as they'll be able to do everything that you can do. For a more general role, toggle Manage Server, Manage Rolls, and Manage Channels. Then hit Save Changes.
Now you can assign the admin role to friends. To do so, right click on a friend's username. Choose Rolls from the popup menu, then select admin. Now this person can help you moderate the server.
Set Up New Channels

Finally, you'll probably want to add some more text or voice channels. Channels are used like forum topics to keep related messages in one place. For example, in a gaming server you might have channels for different games, then an off-topic channel, and a channel about technology or hardware.
You want to have enough channels that users can find the content they're looking for. But you don't want so many channels that they're never active. As a guide, around 20 channels maximum is a good number for a server of a few hundred people.
To create a new text channel, look next to the Text Channels header for the plus icon. Or to create a new voice channel, look for the icon next to the Voice Channels header. Hit the plus icon to bring up the new channel window. Here you can enter a name for your new channel.
To edit a channel, click on the cog icon next to the channel name. This lets you set a topic for the channel, so users know what to talk about. You can also grant individual permissions to channels so that only some roles can see a channel. This is useful if you want a channel for your admins to discuss server matters, for example.
Start Your Own Discord Server for Any Topic
Now that you have a basic Discord server set up and you're ready to start chatting with other users. There are lots more functions for you to play with as the server administrator, but these are the essentials.
If you enjoy Discord and you're looking for more places to chat with like-minded people, then check out our list of awesome social networks just for gamers.