Quick Links
Key Takeaways
- Deleting an extra page in Microsoft Word is usually straightforward, regardless of the device you use.
- You can delete pages in Word that are empty, along with those that already have content on them.
- Problems can stop you from deleting pages in Word, such as tables and other formatting errors. However, these are usually easy to solve.
Learn how to delete pages in Microsoft Word, whether you want to remove an empty end page or something that has text and other elements. You'll also learn how to solve potential issues that can hinder you from removing Word pages.
How to Delete a Page in Microsoft Word: The Easiest Way
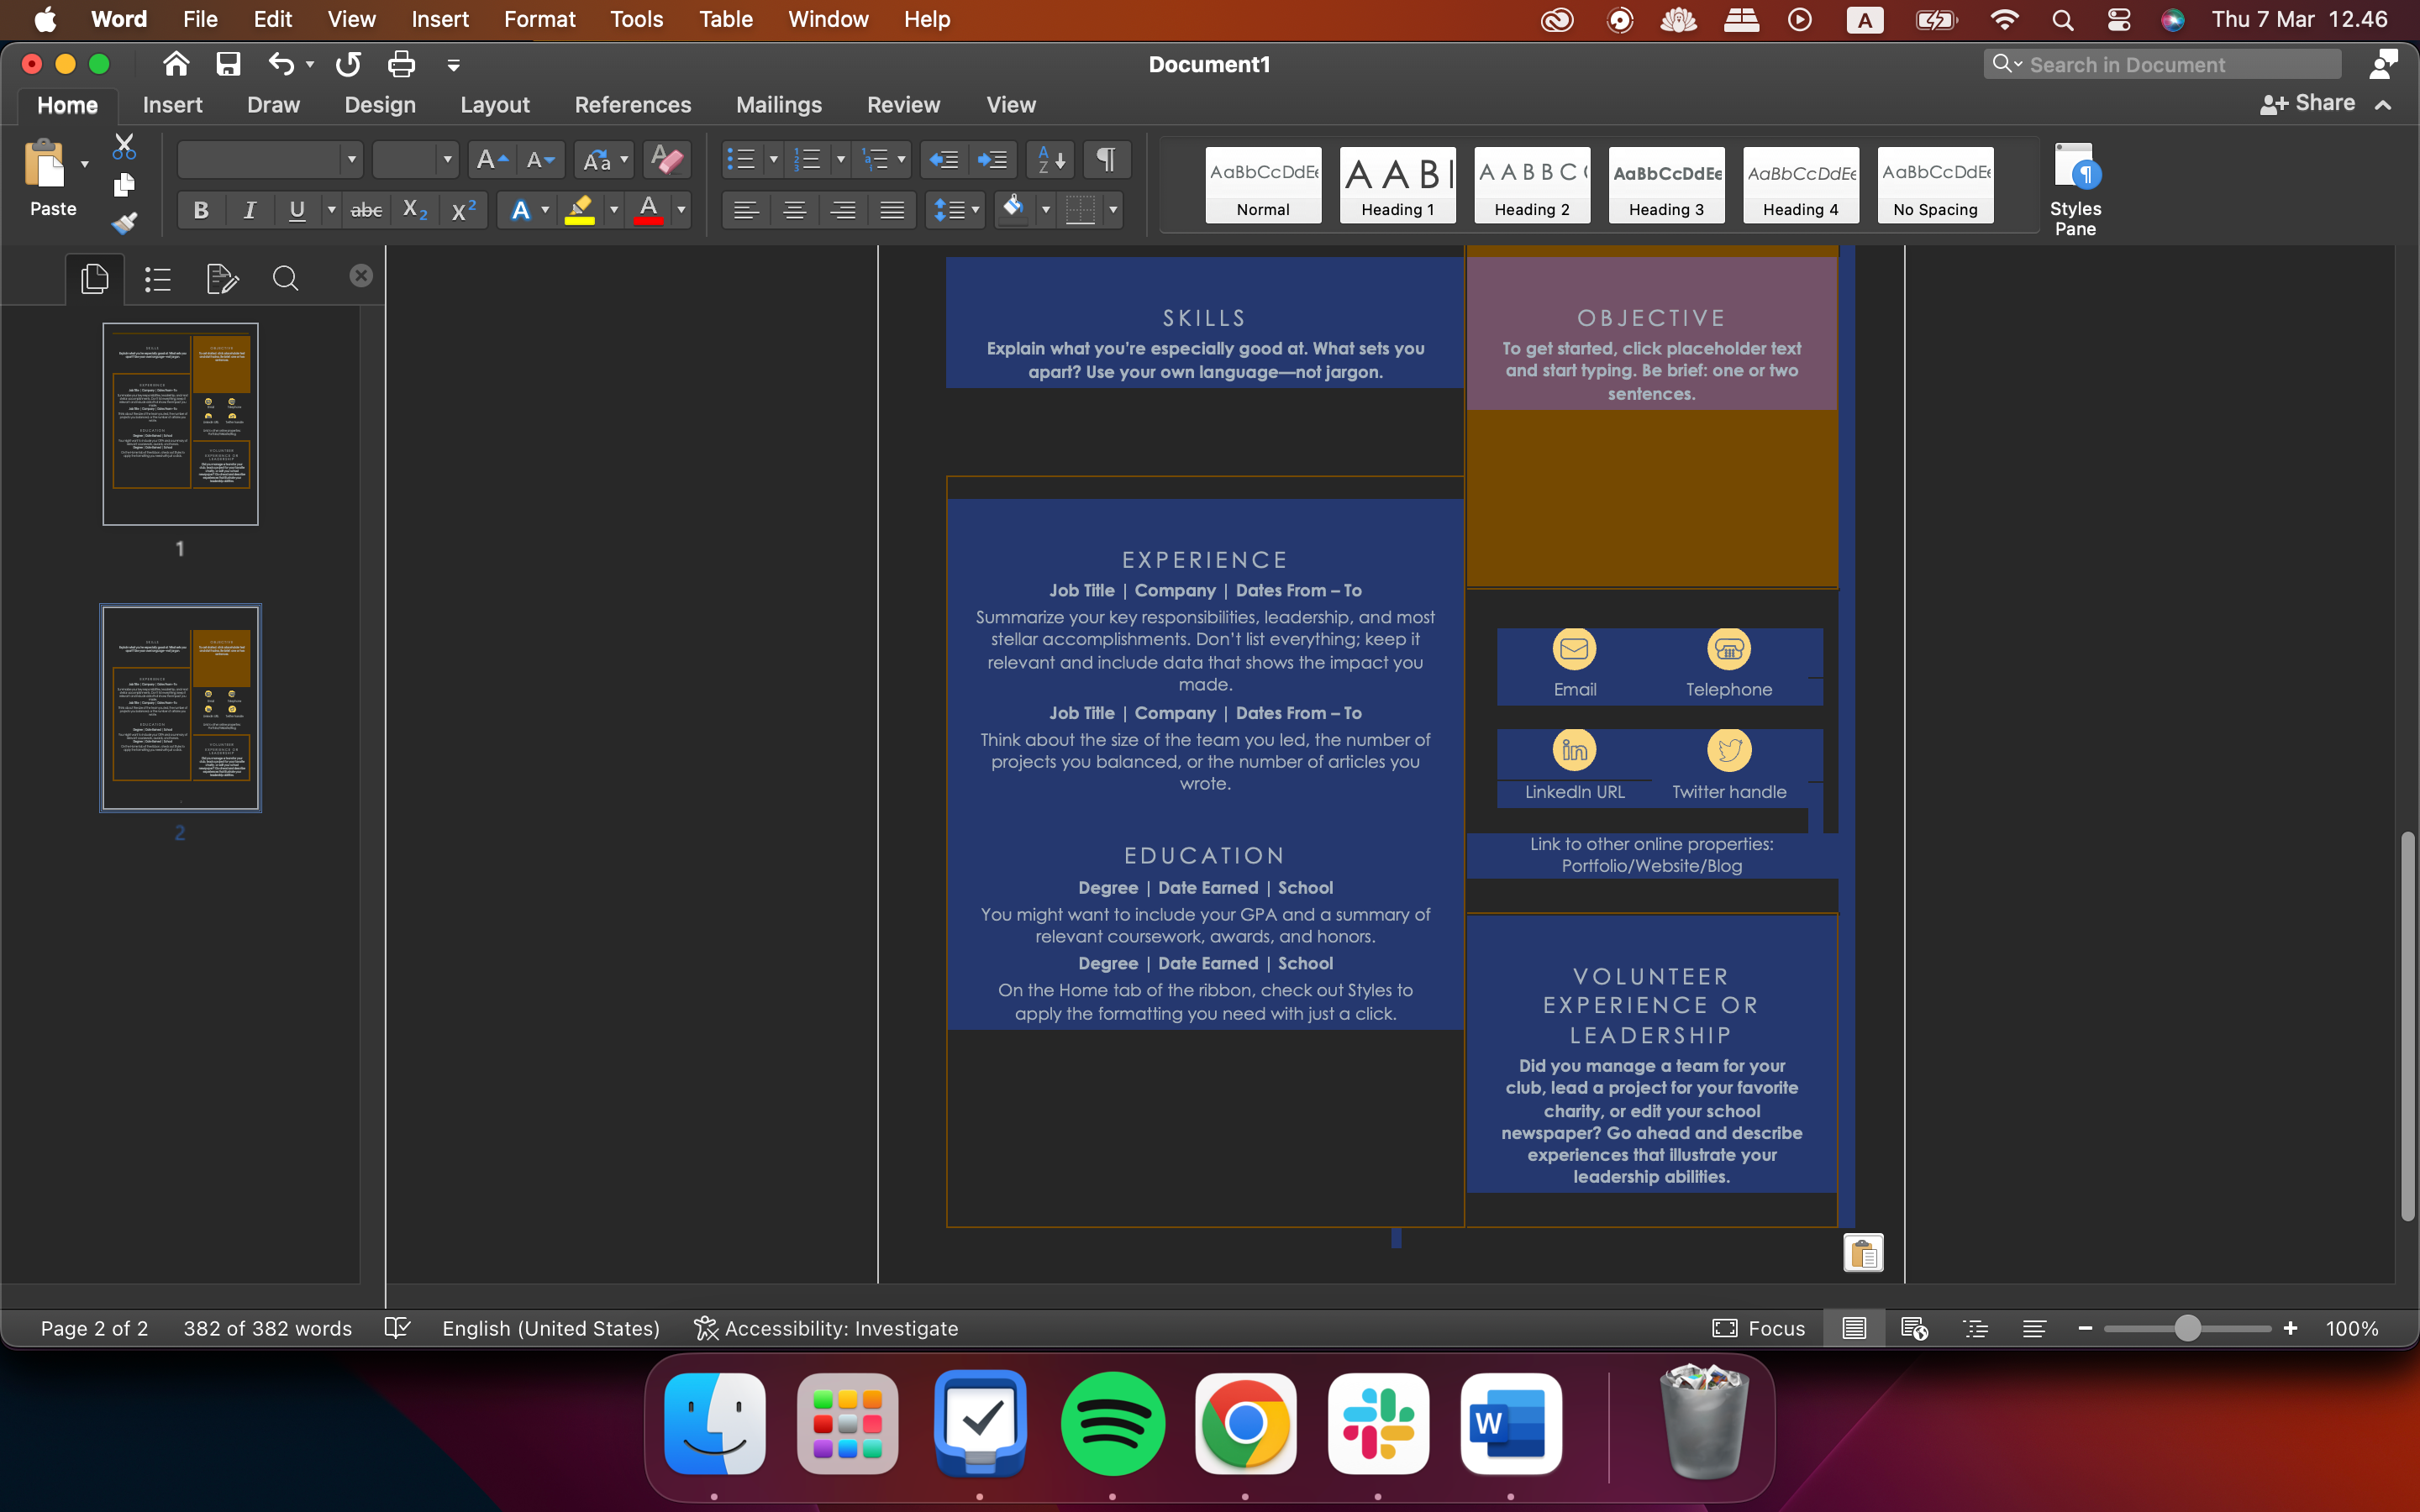
Most of the time, you’ll want to delete a page in Word because there’s an empty one at the end of your document. Luckily, it's very easy to delete these. The steps are identical regardless of whether you're on a computer, tablet, or smartphone:
- Go to the page in Microsoft Word that you want to delete.
-
Highlight all the text on your page. You can click and drag with your trackpad or mouse, or you can use the keyboard shortcut: Command + A (Mac) or Ctrl + A (Windows).
-
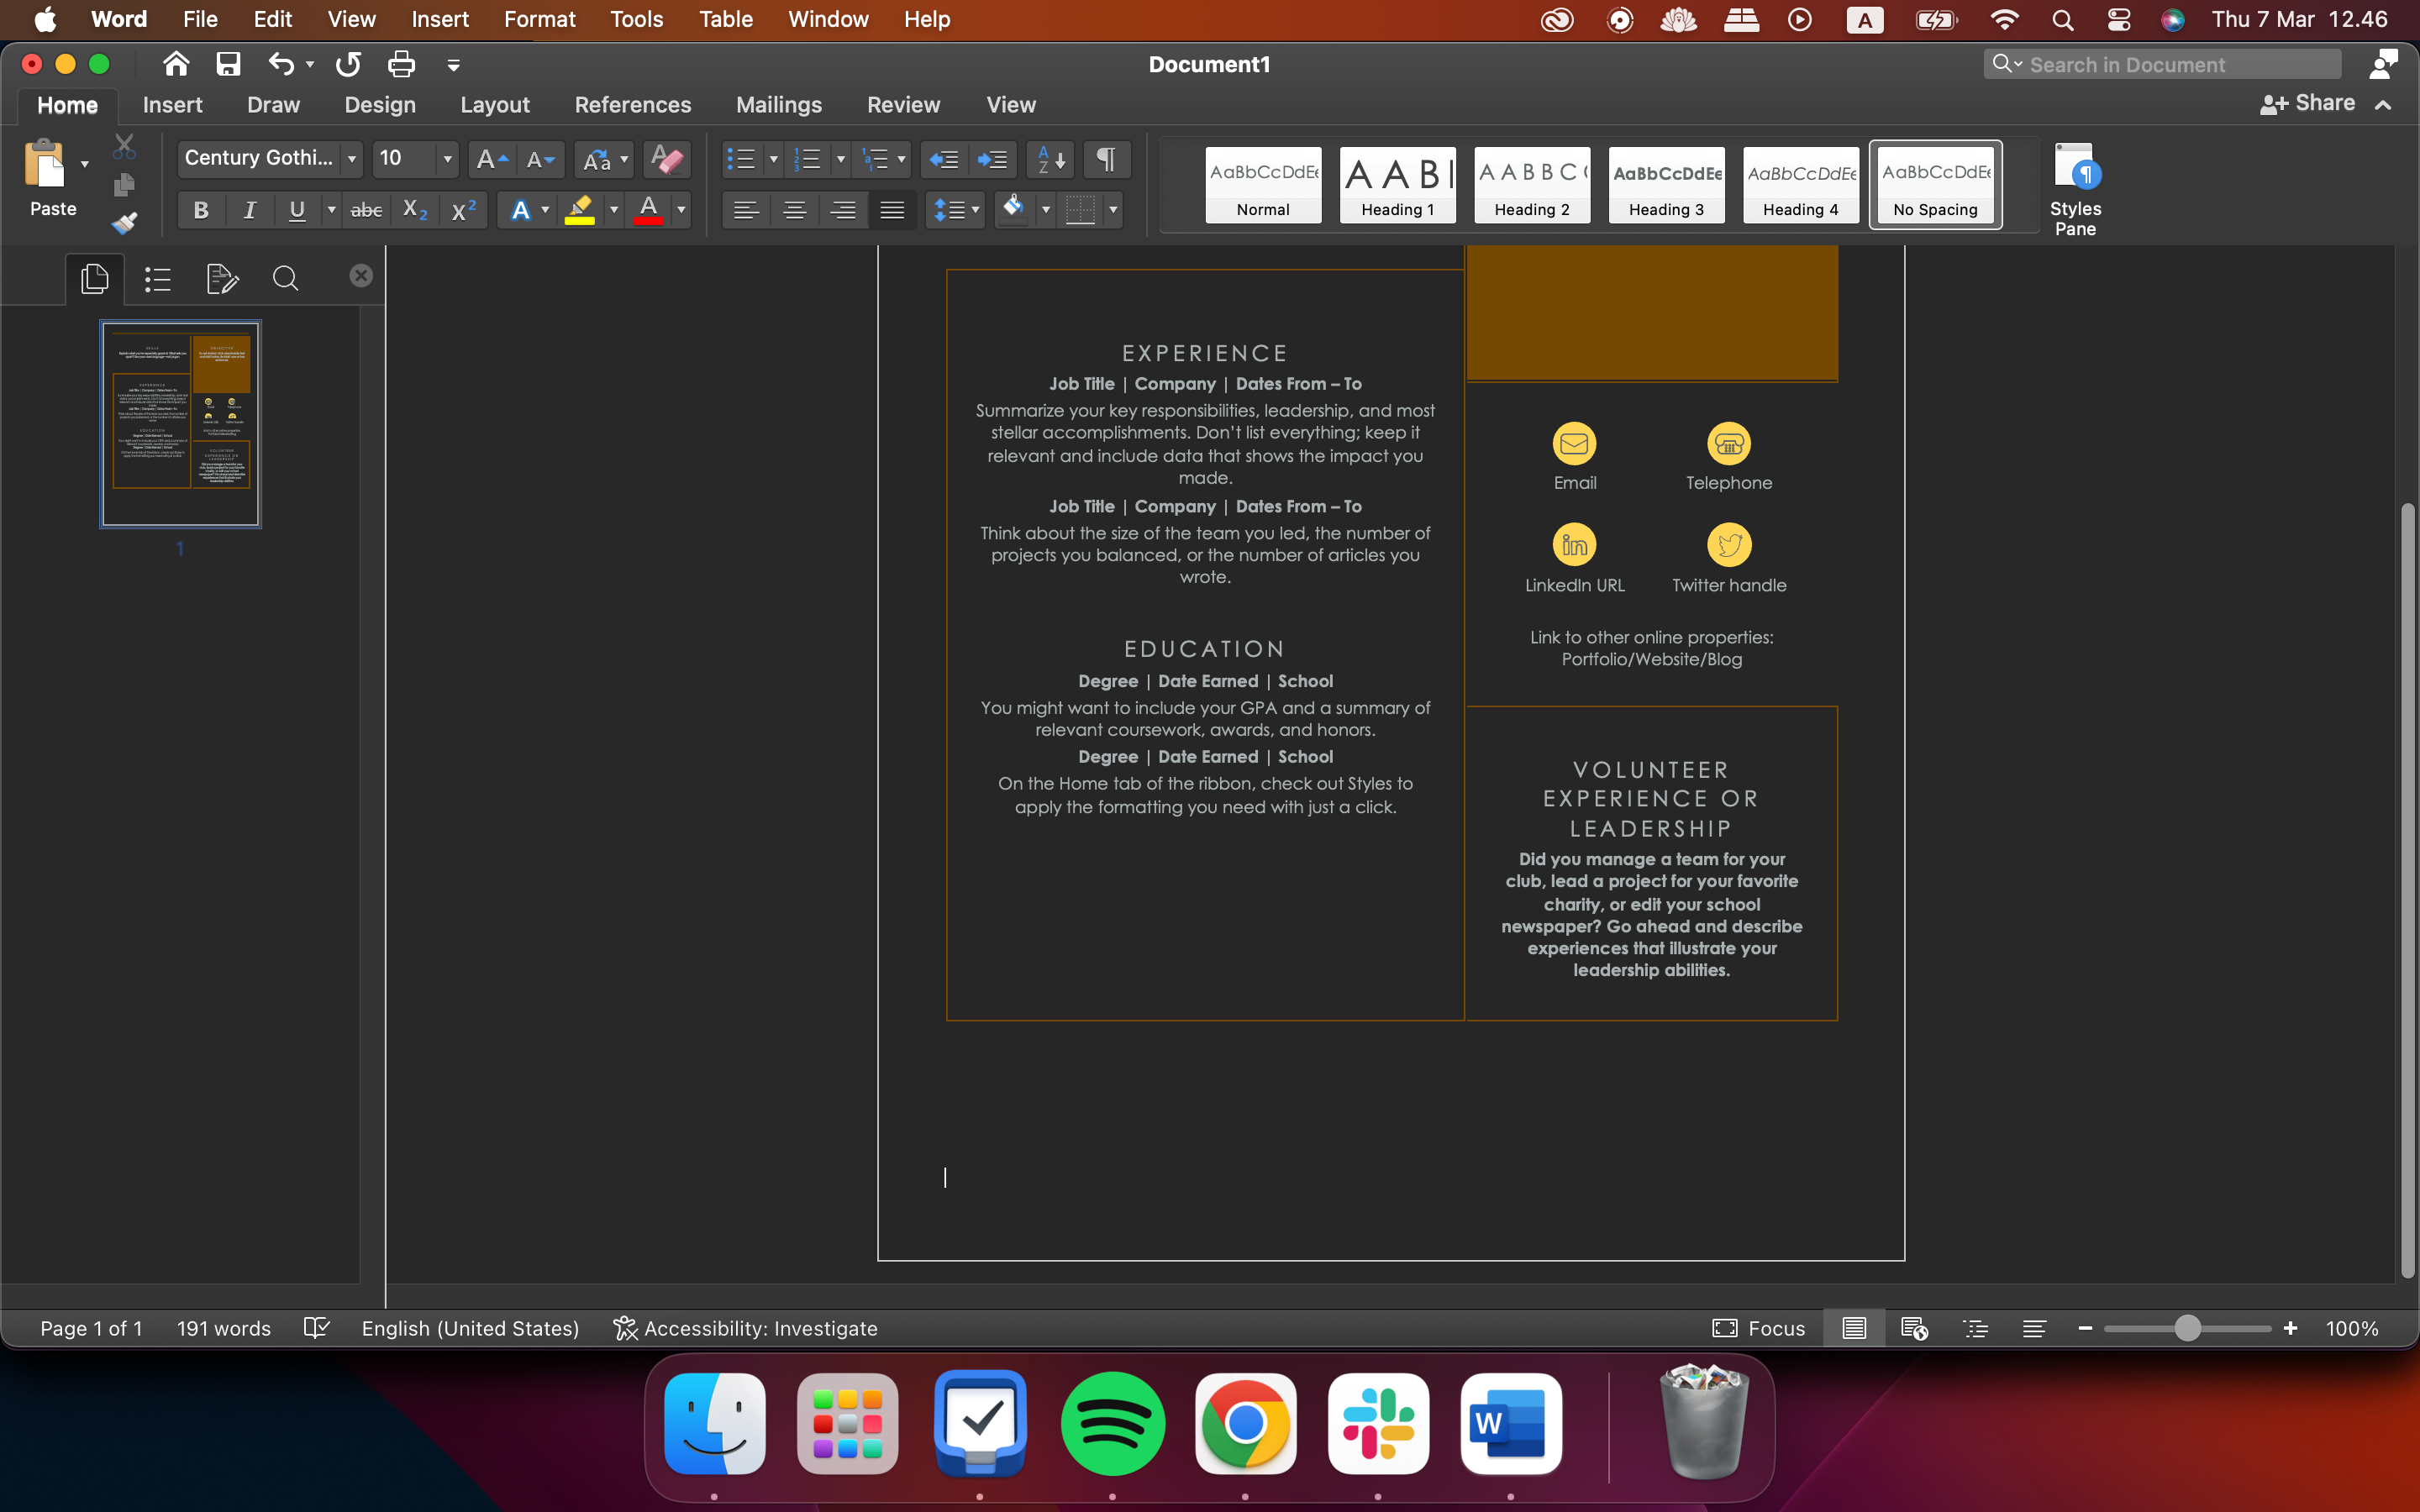
Hit the backspace key to delete your text. Then, keep backspacing until the page is deleted.
On empty Word pages at the end of your document, you simply need to backspace until the cursor moves to the previous page.
Why Can't I Remove My Pages in Microsoft Word?
If you’re having a problem trying to delete a page in Word, it could be due to one of the following reasons.
1. Document Margins Could Stop You From Deleting Pages in Word
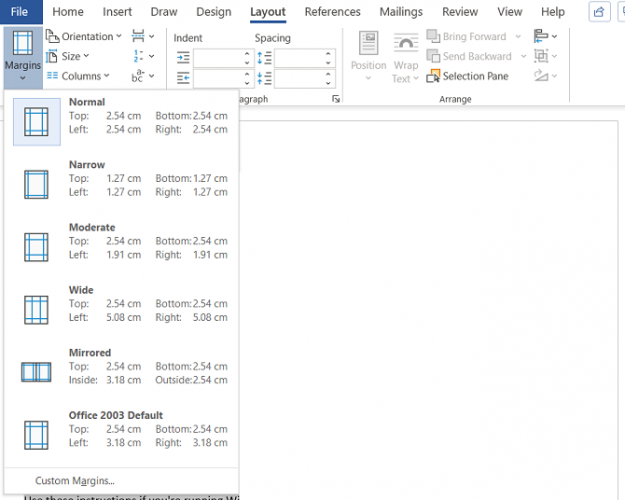
An overly large page margin could be stopping you from deleting an extra page in Word. Again, it's the type of problem you might not even notice if you'd caught a menu button my mistake.
To check, go to Layout > Margins and either choose one of the default options or enter a custom selection.
2. Check to See if Paragraph Marks Stop You From Deleting Word Pages
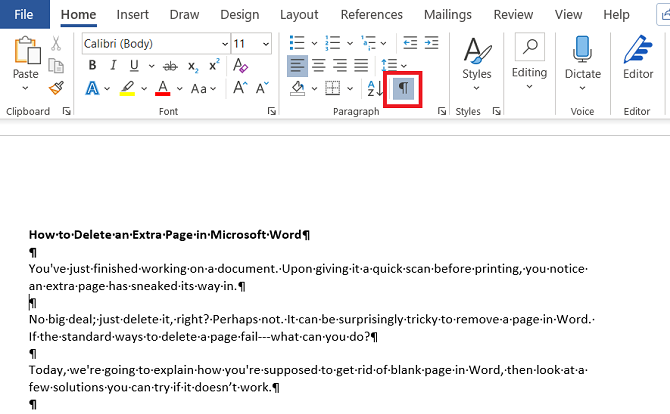
If you turn on formatting marks in Word, you'll be able to see what's going on with your document.
To enable them, go to Home > Paragraph and click on the Show Paragraph Mark icon. Alternatively, press CTRL + *.
Once enabled, scan the blank page for paragraph marks. If you see any, delete them. Paragraph marks are hidden features in Word and sometimes you have to reveal them to solve any problems in your document.
3. Page Breaks in Word
If your blank page is in the middle of a document rather than at the end, an errant page break is almost certainly to blame.
Turning on the paragraph marks in the method detailed above will also let you see the page breaks. Remove the page breaks and it will help to get rid of the blank page too.
4. Tables Could Make an Extra Page in Microsoft Word
A quirk of the way Microsoft Word works means that if your document ends with a table, Word will automatically enter a paragraph mark after it. If the table also falls at the bottom of a page, this can force an extra page to be created.
It's impossible to delete the final mark, but there is a workaround that means you won't need to adjust the size of the table itself. Just highlight the paragraph mark and change the font size to 1.
If the mark is still there, highlight it with the cursor, right-click, and select Paragraph in the context menu. Click on the Indents and Spacing tab and change all the spacing to zero.
If the page is still there, you can try hiding the paragraph entirely. Go to Home > Font click on the small arrow in the lower-right corner to open the pop-out menu. Locate the Effects section on the Fonts tab and mark the checkbox next to Hidden.
5. Section Breaks Could Cause Blank Pages in Word
Section breaks are essential to denote the start and end of sections of different formatting within the same document.
As such, if a section break is causing a blank page, proceed with caution. You don't necessarily want to outright delete it, as doing so could cause major formatting issues elsewhere.
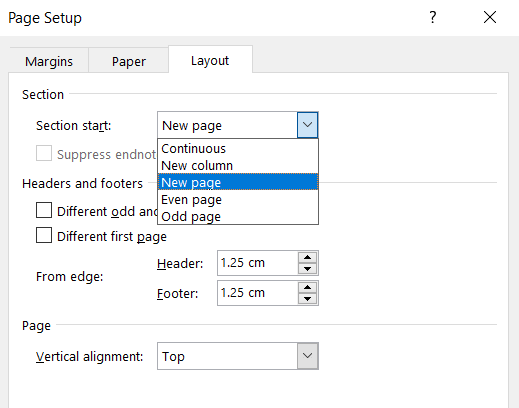
The correct approach is to set the section break to Continuous. To make the change, click just after the break you want to alter, then go to Layout > Page Setup on the ribbon and launch the pop-out menu.
In the layout tab, change the Section start option to Continuous.
6. Check Your Microsoft Word Printer Settings
If you're getting blank pages when you print a document, but you don't see any on-screen, your printer settings are probably to blame.
Covering every printer is beyond the scope of this article, but you should head to your printer's Preferences page and look for the Separator page option.
Deleting a page on Microsoft Word is usually not a huge problem. All you need to do is delete the content and remove all spacing; the program will then do the rest for you. If you're having issues with deleting pages in Word, you should check to see if one of the above issues is hindering your ability to do so.


