Photoshop CC is a great tool for creating gradients. By simply blending two colors together, you can add some visual "pop" to your images. Photoshop has some built-in options for this, but what if you want to create a gradient from scratch?
In this article, we'll walk you through how to create a custom gradient using Photoshop CC in four simple steps.
Step 1: Set Up Your Canvas

First, open Photoshop CC. For this tutorial you don't need a custom template, so we can go with Photoshop's default canvas size.

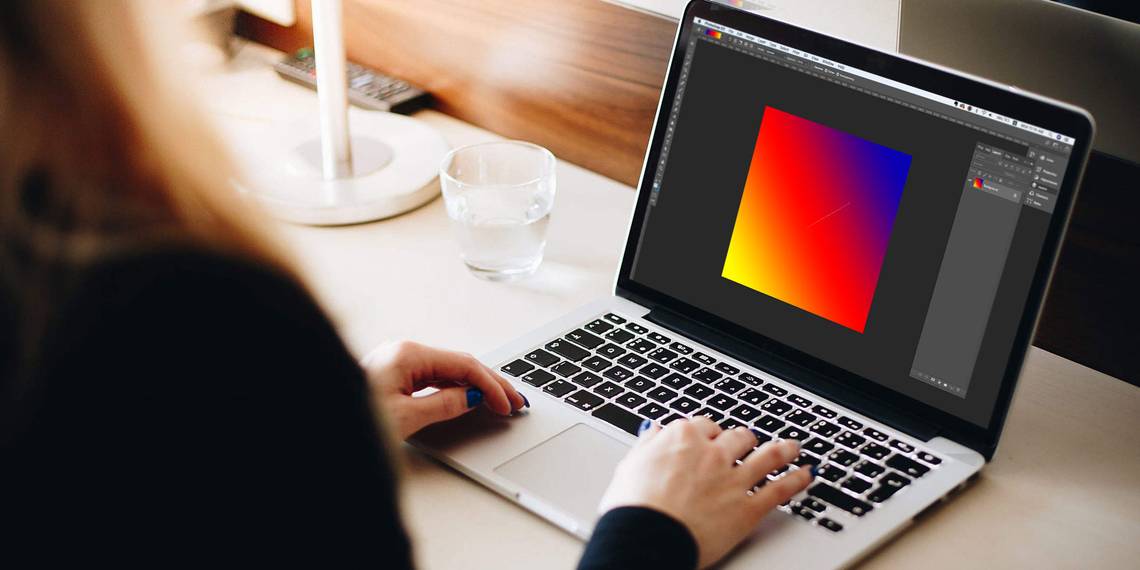
Once you've opened your canvas, make sure your Gradient tool is active, seen here highlighted in red. After it's active, pick two colors you want in your gradient, using your color swatches at the bottom of the toolbar. For this tutorial we're going to go with a bright blue and purple, to create a "neon" look.
Step 2: Using the Gradient Editor

To customize your gradient, go to the top left-hand corner of your workspace and double-click on the color bar to access your Gradient Editor. The Gradient Editor is a powerful, simple tool and a one-stop shop for all your customization needs.

At the top of the editor you'll see a row of Presets that come with Photoshop CC. Along the right side of the editor are options to Load, Save, and create New gradients. At the bottom of the editor are the tools to customize your gradient.
There are two different styles of gradients you can create. The first one we're going to design is called a Solid gradient. You can see this option in the dropdown menu where it says Gradient Type: Solid in the middle of the editor. Make sure this option is selected before you begin.
Step 3: Create a Solid Gradient

Photoshop's default gradient transitions between two colors, but what if you want to transition between three? To do this, click on one of the Color Stops located on the left and right ends of the color slider. For this tutorial we're going to adjust the left Color Stop by dragging it towards the center of the bar. Where it sits is the spot that my third color will blend into the others.
To pick a third color, double-click on the Color Stop. It will open up your Color Picker and allow you to pick a hue of your choice. Once selected, click OK. Photoshop will add the third color to your slider.

These colors are looking good, but what if you want to adjust where they blend on the page, instead of an even three-way split? To do this, click and drag your Color Midpoint across the slider, to change your ratios.
You can also adjust the Smoothness of how you blend these colors together. For this tutorial I'm going to keep the smoothness to 100 percent, but if you want a "choppier" look pull that slider to a smaller percentage.

Next, click OK to exit the Gradient Editor. Then go to your gradient style buttons, found in the top left-hand corner of your workspace next to your color bar. There are five different styles you can use, but they all work in the same way.
To apply them to your image, click on the gradient type of your choice, then click and drag across your page. When you release, Photoshop will apply the gradient in the direction you've indicated. We've talked about this technique before in our look at how to create a podcast cover using Photoshop.
Try Out the Different Types of Gradient
The first type of gradient we're going to try is the Linear Gradient, which looks pretty standard.

You can also try a Radial Gradient, which looks like the glow from a spotlight. I personally use this type of a gradient to create the "glow" that you see around a star in space.

If you want a hard edge of light, the Angle Gradient is a really good option.

Reflective Gradients are good for liquid surfaces and sunsets.

Diamond Gradients are kind of funky, but they can be used as a spotlight glare or the reflective edge on a gemstone.

This is all you have to do to create a customized, solid gradient in Photoshop. It's both incredibly simple and easy to remember. Before we wrap up this tutorial, however, there's one more gradient you can create. It's called a Noise gradient and we're going to briefly touch on it.
Step 4: Create a Noise Gradient

To create a Noise gradient, double-click on your color bar to access your Gradient Editor. Next to Gradient Type, click the dropdown menu to select Noise. You'll immediately see a new color slider show up on the bottom of your editor, along with two sections to adjust Roughness and Color Model.
Beneath Color Model are three sliders for the individual color channels. By sliding the markers along each channel, you can adjust how many colors show up in your gradient, what shade they are, and the brightness.

You can also adjust the contrast between these colors by using Roughness. A high percentage of roughness means that the gradient will have very distinct lines of color. A low percentage means that the colors will be blended.

Once these specs are calibrated, click OK to exit the Gradient Editor. Choose your gradient style in the left-hand corner of your workspace, then click and drag your gradient tool across your canvas to check out the different results.

You'll immediately notice that noise gradients look very different from solid ones. The Radial Gradient is a good example of this.
How to Save Your Gradient as a Preset

Let's say you really like the gradient you created and you want to use it again on another image. To do this, go to Gradient Editor > New. This will add a new swatch to the gradient you created in the Presets window.

After you create your swatch, click Save. Give your new gradient a meaningful name, then click on Save again.
Now that your preset is saved, how do you access it for other projects? Make sure your Gradient tool is active, then click on the color bar to access the Presets window. After that, click on the "gear" icon, seen here in red.

Next, click Load Gradients. This will bring up your list of gradients, where you can select your custom swatch. Once selected, click OK.
Customize Your Tools in Photoshop CC
Now that you know how to create a custom gradient in Photoshop, you're ready to get started. But gradients aren't the only tool you can customize using this program. Thankfully, we have previously explained how to create a custom brush in Photoshop CC.