Knowing how to edit YouTube videos will make it easier to catch your audience’s attention. Over time, this could—as a result—lead to your channel growing. But if you’re a beginner to video editing, knowing where to start is challenging. You could spend your time doing countless tasks, but which ones will have the most impact?
Today, you’ll learn how to edit videos for YouTube with some of the biggest-leverage tasks. Each of these tasks is applicable across multiple editing platforms, including the likes of DaVinci Resolve and Premiere Pro.
1. Choose the Right Camera Profiles
Many skills that you learn in photography also transfer to filmmaking and videography. Having a good base to edit your visuals from is one of those, and the best place to begin is by choosing the right profiles.
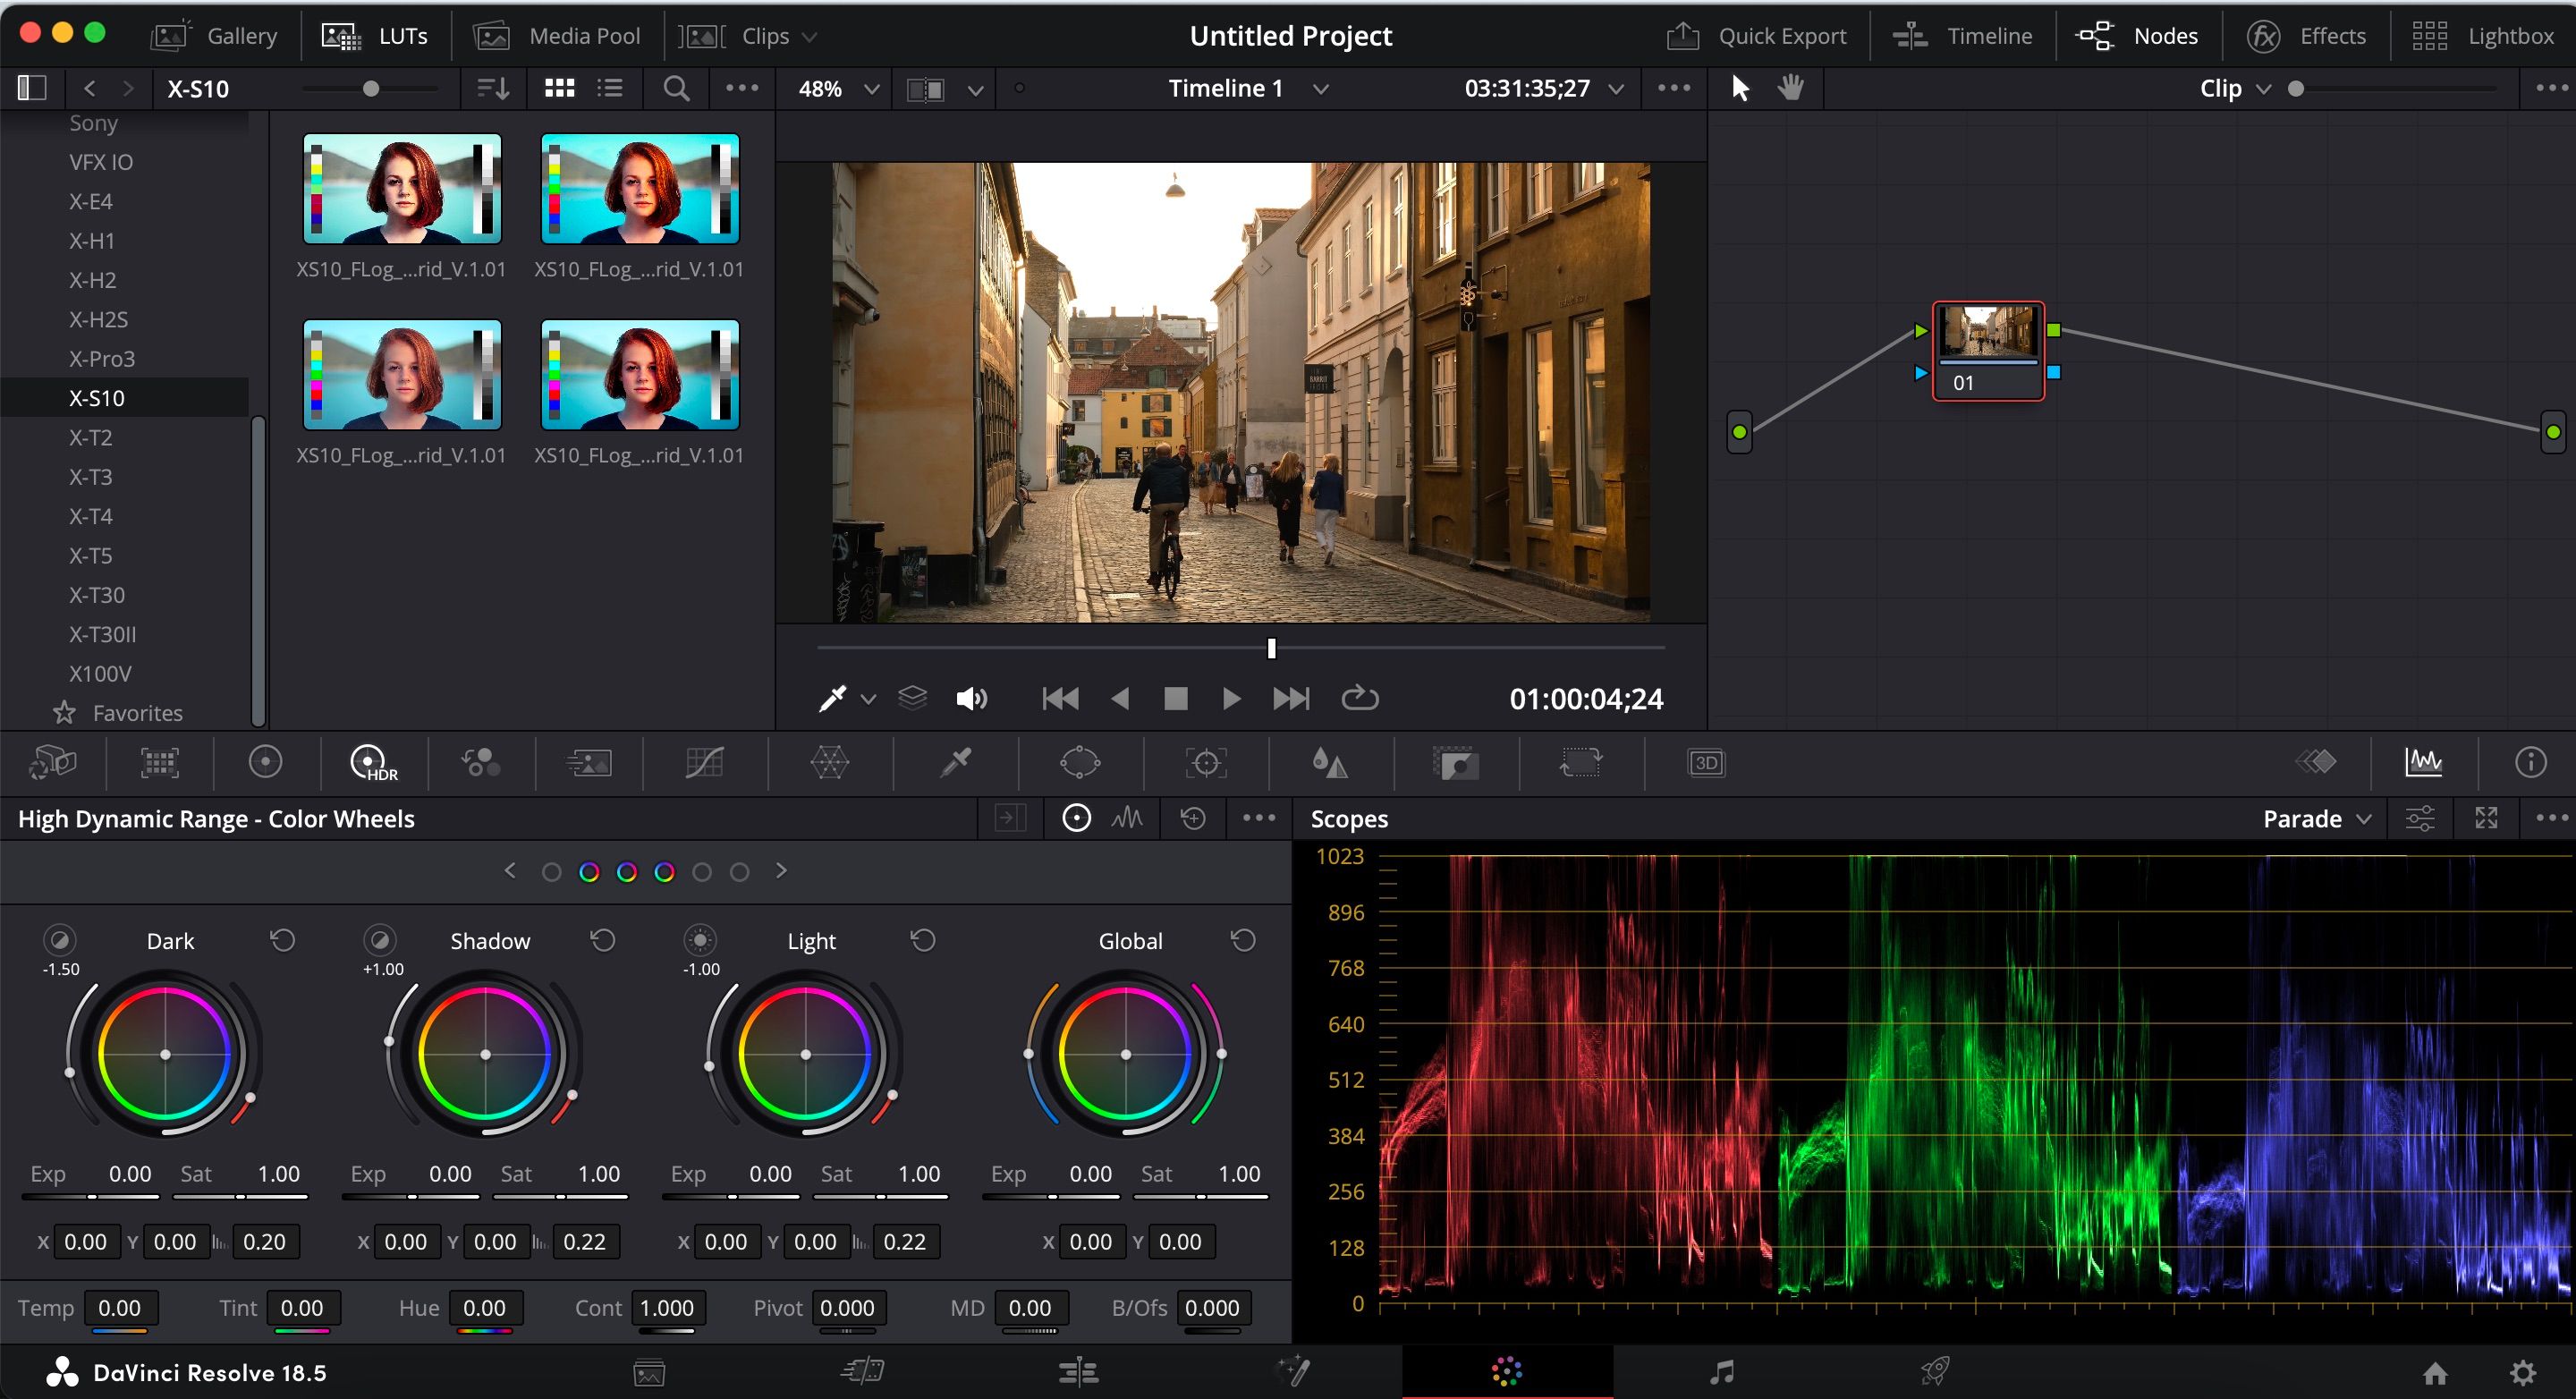
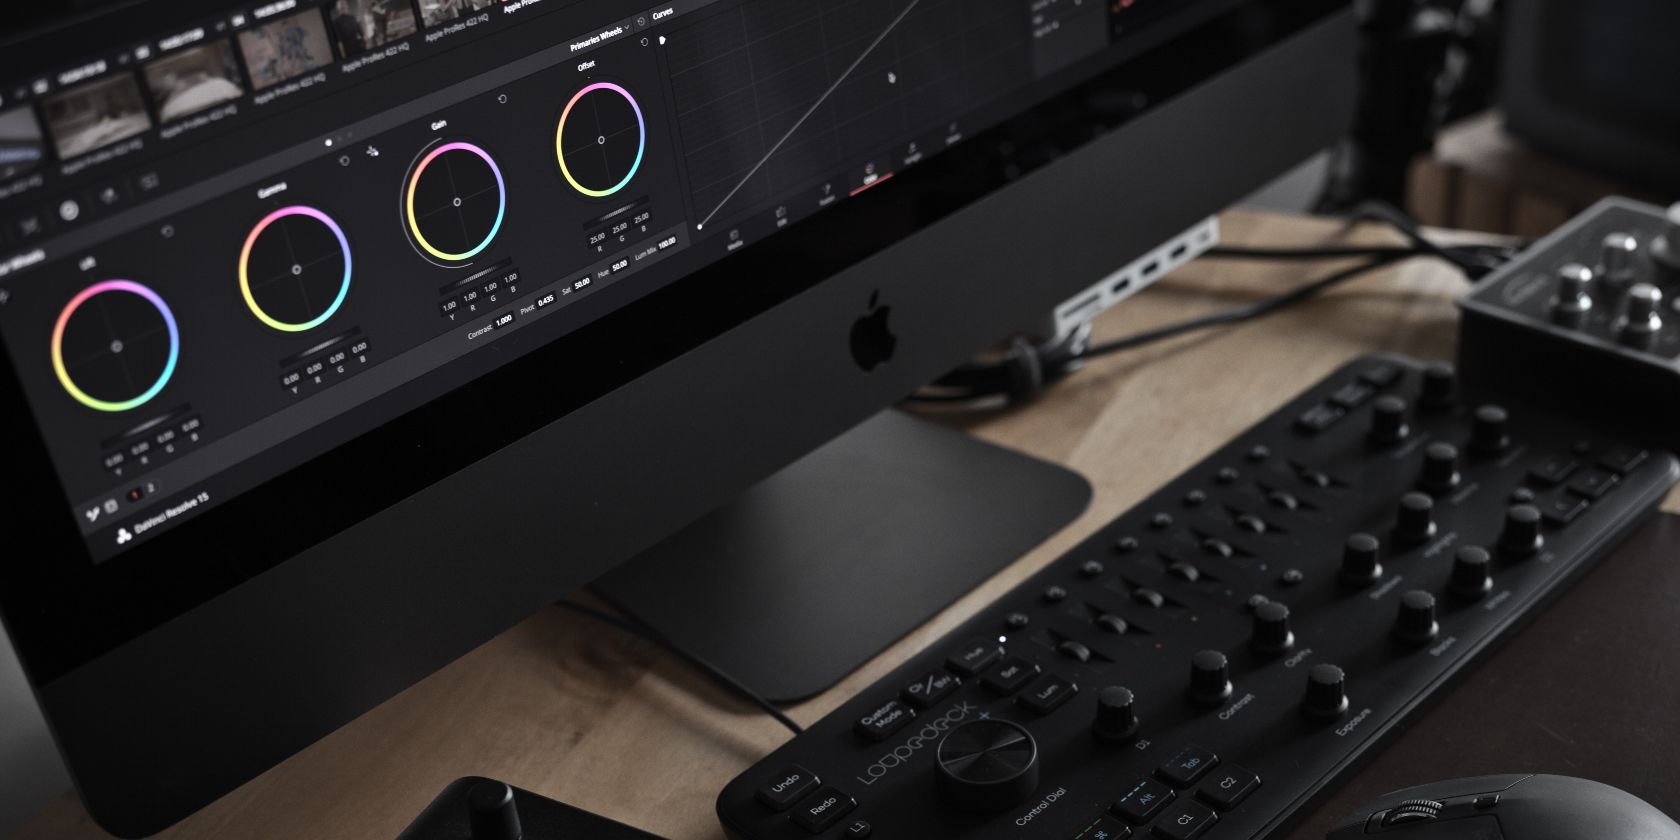
When you import footage into your editing software, you might notice that the starting point often features one of the platform’s default color profiles. On top of that, you may need to adjust the color space—depending on your video editing software. If you don’t make these changes, the risk of your footage looking like a mess increases.
The color profiles you can choose from may vary for each software solution. For example, DaVinci Resolve has options for Olympus and Panasonic—plus other brands. However, you need to download many of the Fujifilm color profiles if you want to use those.
Once you’ve got the right base here, you should find the rest of the editing process much more straightforward. If DaVinci Resolve is your platform of choice, learn how to avoid common DaVinci Resolve beginner mistakes.
2. Edit Lighting Before Colors
While it's impossible to ignore beautiful color editing, the core of all videography begins with light. It helps to get these settings as close to your preferred style in your camera beforehand, but you might sometimes not achieve your desired results.
Exposure is a good place to begin, and you can also use tone curves to edit the brightness and contrast in certain parts of your visuals. On top of that, you have the option to adjust your shadows and highlights—plus the luminance. Once you’re happy with the lighting in your video, the color adjustments you make will become much easier.
When you become more advanced, you can consider using light modifiers in your studio to control this aspect more easily.
3. Have a Clear Workflow
Editing YouTube videos is a time-consuming process, but that doesn’t mean you can’t take steps to reduce the burden. One of the best ways to speed up what you do is by documenting your workflow and keeping it stored somewhere that’s easily accessible.
You might need to experiment to find a workflow that works best for you, but going in the order outlined below is a helpful starting point:
- Clipping and trimming audio
- Color profiles
- Lighting (including white balance)
- Basic color adjustments
- Advanced color editing
- Final touches (e.g. adding graphics)
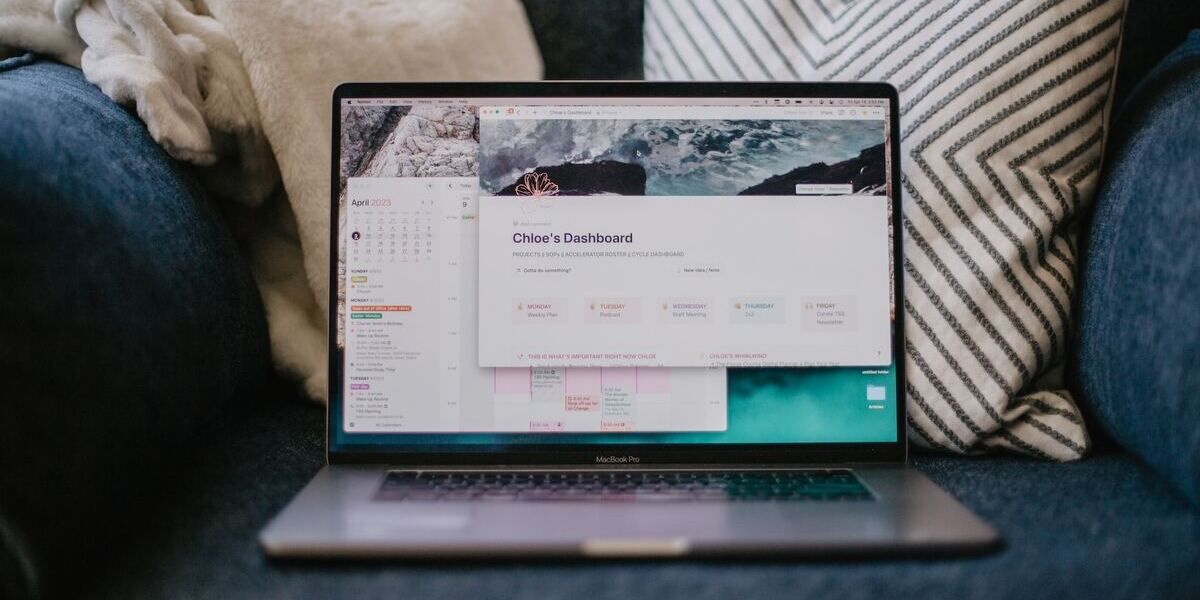
Apple Notes, Google Docs, Notion, and Google Keep are all fine for documenting your workflow. You can create steps for each action in DaVinci Resolve with Nodes if that’s your software of choice.
4. Adopt an Essentialist Approach to Your Editing
One of the biggest YouTube editing mistakes is equating a larger quantity of edits with a better-quality video. You can definitely overdo things, and the last thing you want is to have your final product look like you recorded the footage in a microwave.
Overdoing video edits often comes from two places. The first is adding too much, and the latter is feeling like the initial video footage wasn’t good enough. Much of that comes down to a lack of experience, and it’s something that should get easier as you become more proficient.
The whole point of video editing is to amplify your story, and that doesn’t necessarily mean completely changing how your content looks. Be intentional with your editing, and consider looking at presets beforehand to determine how much you want to add for lighting, colors, and so on.
5. Use B-Roll
When learning how to edit YouTube videos, it’s important to understand that you might sometimes need to remove parts of your clip. Perhaps you said “erm” too many times, and maybe you said something that you later decided didn’t need to be included in the video. When you cut these parts, you might notice a slight jump between clips.
There isn’t a huge number of things you can do to fix this issue, but one of the best ways to do so is by using b-roll. This footage overlays your main video, and you’ll use it to tell parts of the story. For example, if you’re talking about how to improve your deadlift form, you can record yourself doing that particular exercise.
You should use b-roll sparingly, as it can get to a point where the footage you use becomes more of a distraction than an enhancement. We’ve got a basic guide to shooting b-roll for YouTube if you’re interested in learning more.
6. Don’t Ignore Audio
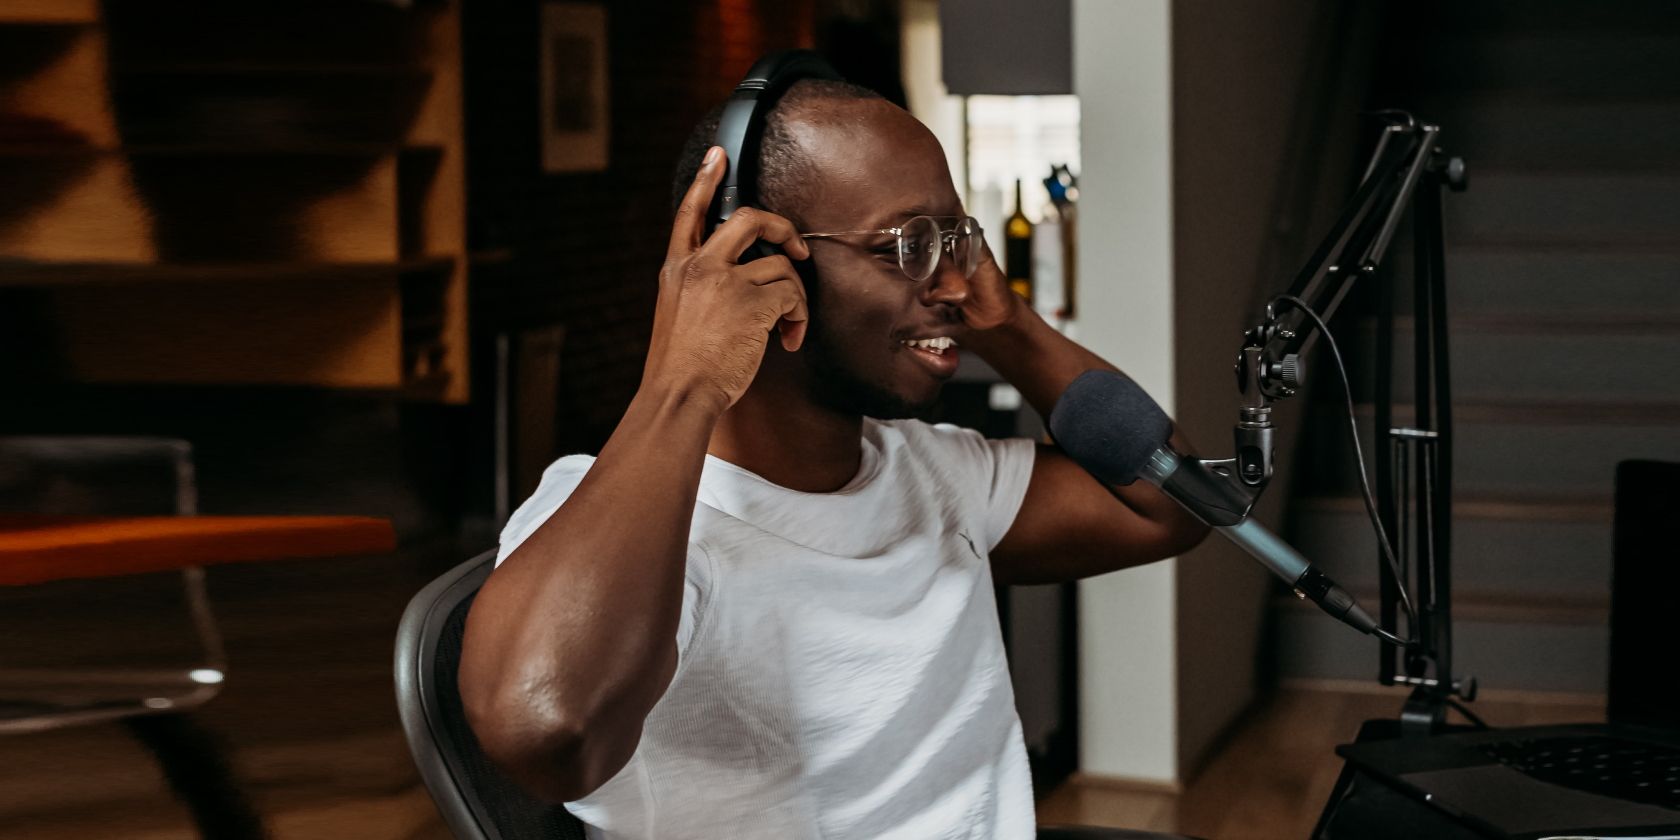
Another common mistake when editing YouTube videos is focusing only on the footage. But if your audio is bad, it’s going to be incredibly difficult for a viewer to justify watching your content all the way through. We’re mainly talking about poor voice audio, but having irritating sound effects—such as crackling—is often equally detrimental.
If you want to edit YouTube videos like a pro, it’s essential that you take the audio into account. You can often record voiceovers directly within your editing software, as is the case with Premiere Pro and DaVinci Resolve. However, you can also use specific audio tools like Adobe Audition.
It’s worth comparing the pros and cons of Adobe Audition and Premiere Pro to edit audio before making your decision.
7. Use Markers to Make Editing Easier
When you use apps and software to edit your YouTube videos, you can make your editing workflow much easier by using markers. Markers tell you where to perform whichever action you want them to represent.
You can use markers to identify which parts of your footage you want to cut out. Moreover, markers are a great tool for noting where to add music, sound effects, and graphics. Considering that YouTube videos can have time stamps, you can also use markers to make it easier to note where these are later on.
Key Takeaways
- Choose the right camera profiles to ensure your footage looks its best and doesn't end up looking messy.
- Edit lighting before colors to achieve the desired look and make color adjustments easier.
- Have a clear workflow and document it to speed up the editing process and stay organized.
Prioritize These Tasks When Editing Your YouTube Videos
Learning how to edit videos for YouTube will take a long time, even if you consume hours’ worth of content and think you’ve got it in the bag. However, you can reduce your learning curve by understanding how to excel at the basics and knowing which tasks to prioritize.
Adopting an essentialist approach to video editing is one way to make sure that you don’t go over the top with your adjustments. You should also think about using in-app features for streamlining, such as markers.

