Whether you're looking to obscure sensitive information or you want to apply an effect to your image, Photoshop's robust blur features make it easy to do.
How to Blur Out Sensitive Information
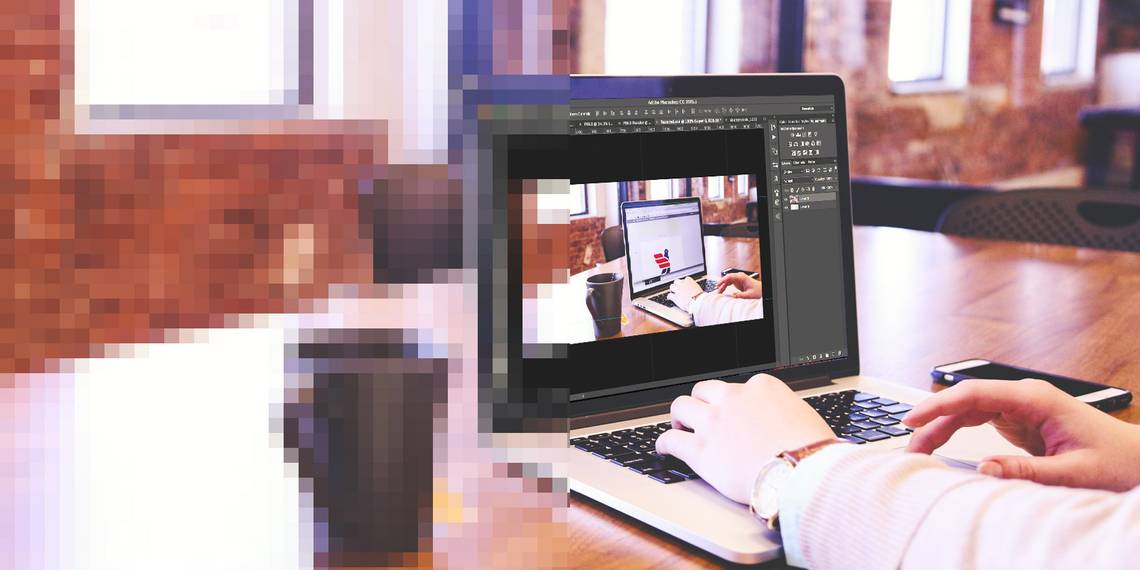
If you want to blur out a section of your image, do the following:
- Open the Marquee Tool (keyboard shortcut M). The Marquee Tool defaults to a rectangle, but you can change it to an ellipse, single row, or single column.
- Drag the Marquee Tool around the part of your image you want to blur.
- Go to Filter > Blur and you'll see 10 different types of Blurs. Some of the blur options are basic, while others will allow you to determine the strength of the blur using a slider.
If you want to blur out someone's face, you can use Lens Blur.
If you want to blur a map location or text, you can opt for Gaussian Blur. With Gaussian blur, the higher the Radius in the settings, the more blurred the image will become. There's no wrong or right option. Experiment with each one and see what works best for you.
Another option for obscuring sensitive information is to go to Filter > Pixelate > Mosaic.
If you want to blur your entire image, skip the first two steps and just go straight to the Filter option and select the type of blur you want to apply.
How to Apply a Blur Effect to Photos
If you want to create a fake bokeh effect or blur just part of your image or create a shallow depth of field, there's a different set of tools to use in Photoshop. The easy way to do this is to open your photo in Photoshop and go to Filter > Blur Gallery. There you'll see another five options related to photo editing:
- Field Blur: This option is used if you want to blur the background. When you first select the option, it will place a pin where the blur will occur. You can add a second pin, and adjust the blur's strength to zero. Objects within the radius of the first pin will be blurred, but objects within the radius of the second pin will be in focus.
- Iris Blur: You choose one circle to remain in focus and the rest of the image is blurred. You can adjust the shape and size of the circle, and the strength of the blur.
- Tilt-Shift Blur: Mimicking the style of tilt-shift cameras, this style blurs out the top and bottom of your photo. It's often used to create fake miniature scenes. You can adjust the size of the blurred areas and can rotate them, as well as adjusting the strength of the blur.
- Path-Blur: You can draw a specific path along which the blur will follow. This option gives the illusion of motion in a still photo.
- Spin-Blur: The blurred area is defined by a circle and mimics the motion of an object that is spinning when a photo is taken.
To create a shallow depth of field, leaving your subject in the foreground in focus and blurring out the background, you'll need to first create a mask layer. With Adobe Photoshop 2018, this is a much easier process thanks to the select and mask feature, which you can find out more about here.
To see the method in action, check out the video below:
What's your preferred method for blurring out parts of your image in Photoshop? Let us know in the comments.