While millions of people have enjoyed Gmail since its launch in 2004, its appearance isn't the most beautiful. Features like inbox tabs, filters, and search look a lot better when they're not showing on a boring white background.
Thankfully, you can customize Gmail's look with themes, backgrounds, and more. Here's how to put a fresh coat of paint on your Google mailbox.
1. Add Themes and Backgrounds
Themes and backgrounds are the first fundamental step to personalizing your inbox. Gmail has a Themes section you can use to select images from Google or upload yours.
Here’s how to change your theme:
-
Click the Gear icon to open the Quick settings menu.
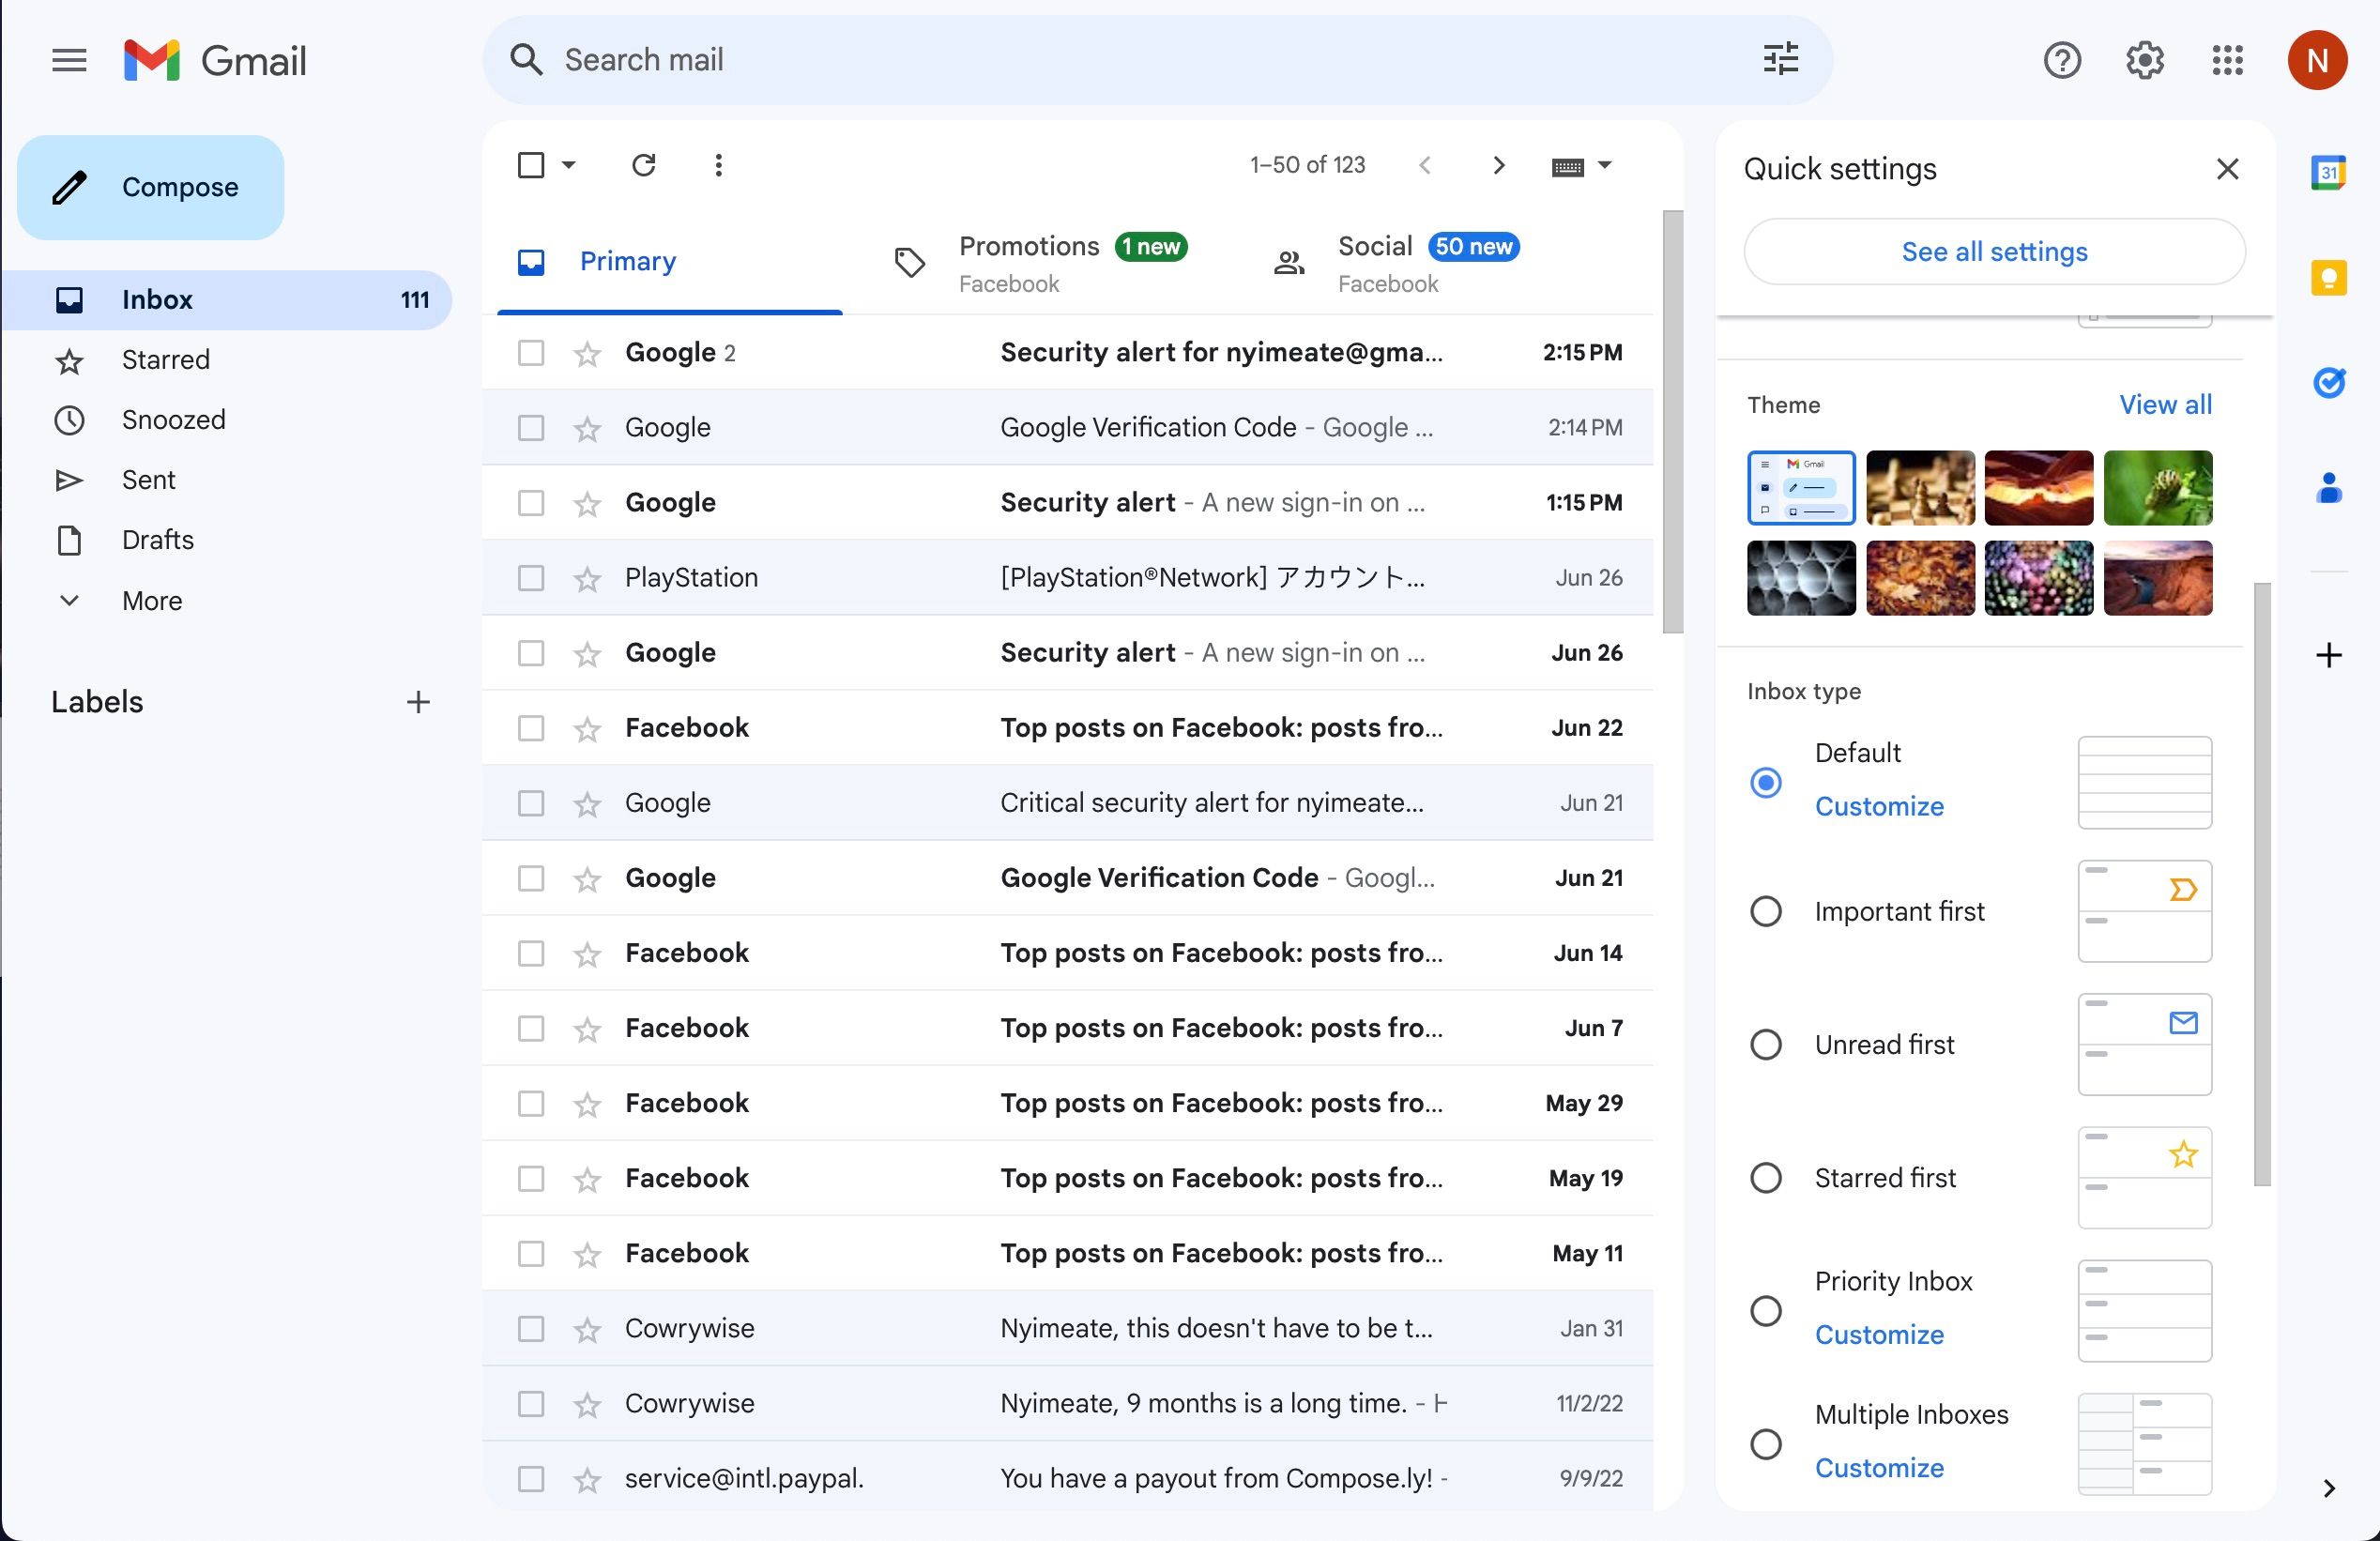
- Scroll down to Theme, and you can quickly select any one of the eight you see there.
-
You can open up more choices by clicking View all and selecting More Images (it’s easy to miss since the button is embedded in an image).
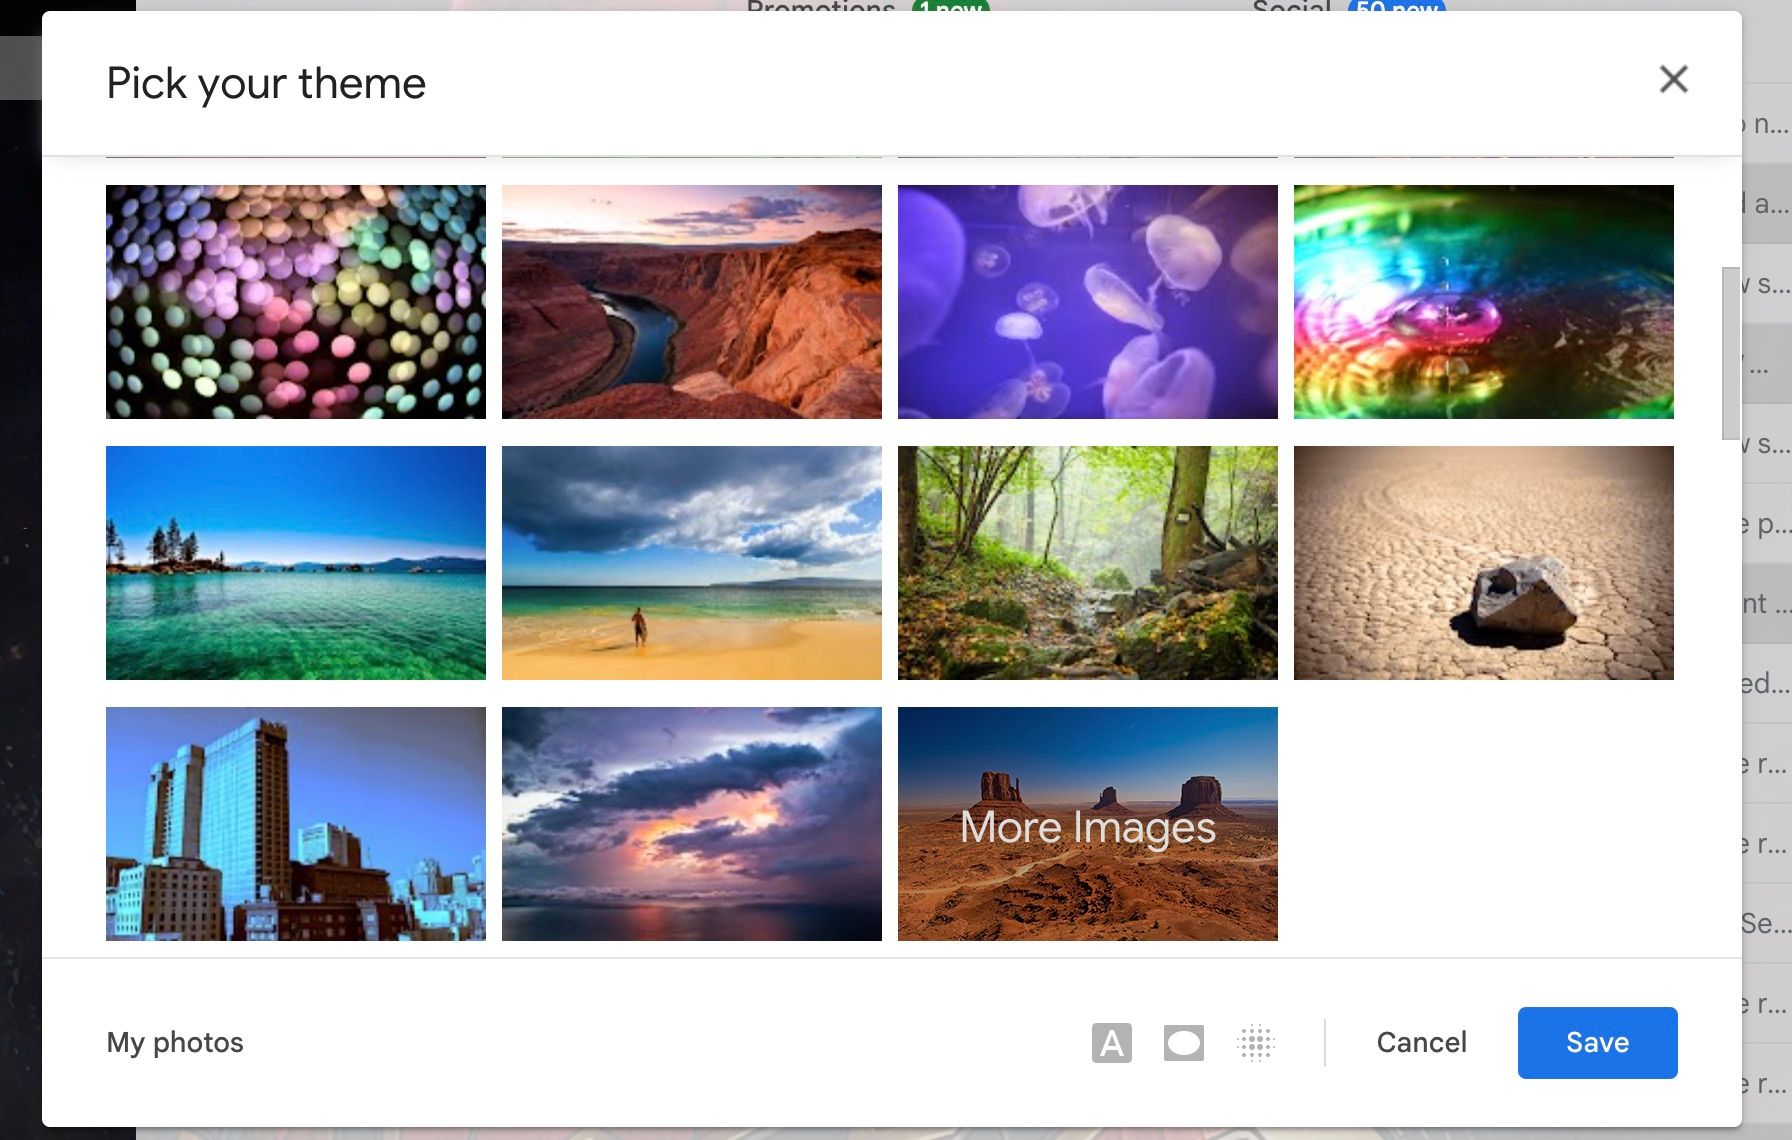
- Click any image you want to change your theme instantly.
- Select Save to finish.


You can also use your own uploaded image as a theme. However, you must visit Google Photos first, upload the image you wish to use before you begin, and place it in an album. Once that’s done, click My Photos in the Pick your theme window. Choose your image and Save.

If your image looks weird or blurry, you will need a larger image. PNGs generally have more quality than JPEGs, so you should use them instead. You could also change your JPEG image to PNG on a Mac using quick actions.
Gmail also offers a bit of customization for modern themes. Click one, then look for a row of icons at the bottom of the window:
- The Text background button lets you toggle between a light and dark border for messages and buttons.
- Use the Vignette slider to darken the corners of the image.
- The Blur slider will, unsurprisingly, unfocus the image.
These settings will add an extra touch of personalization to your images.
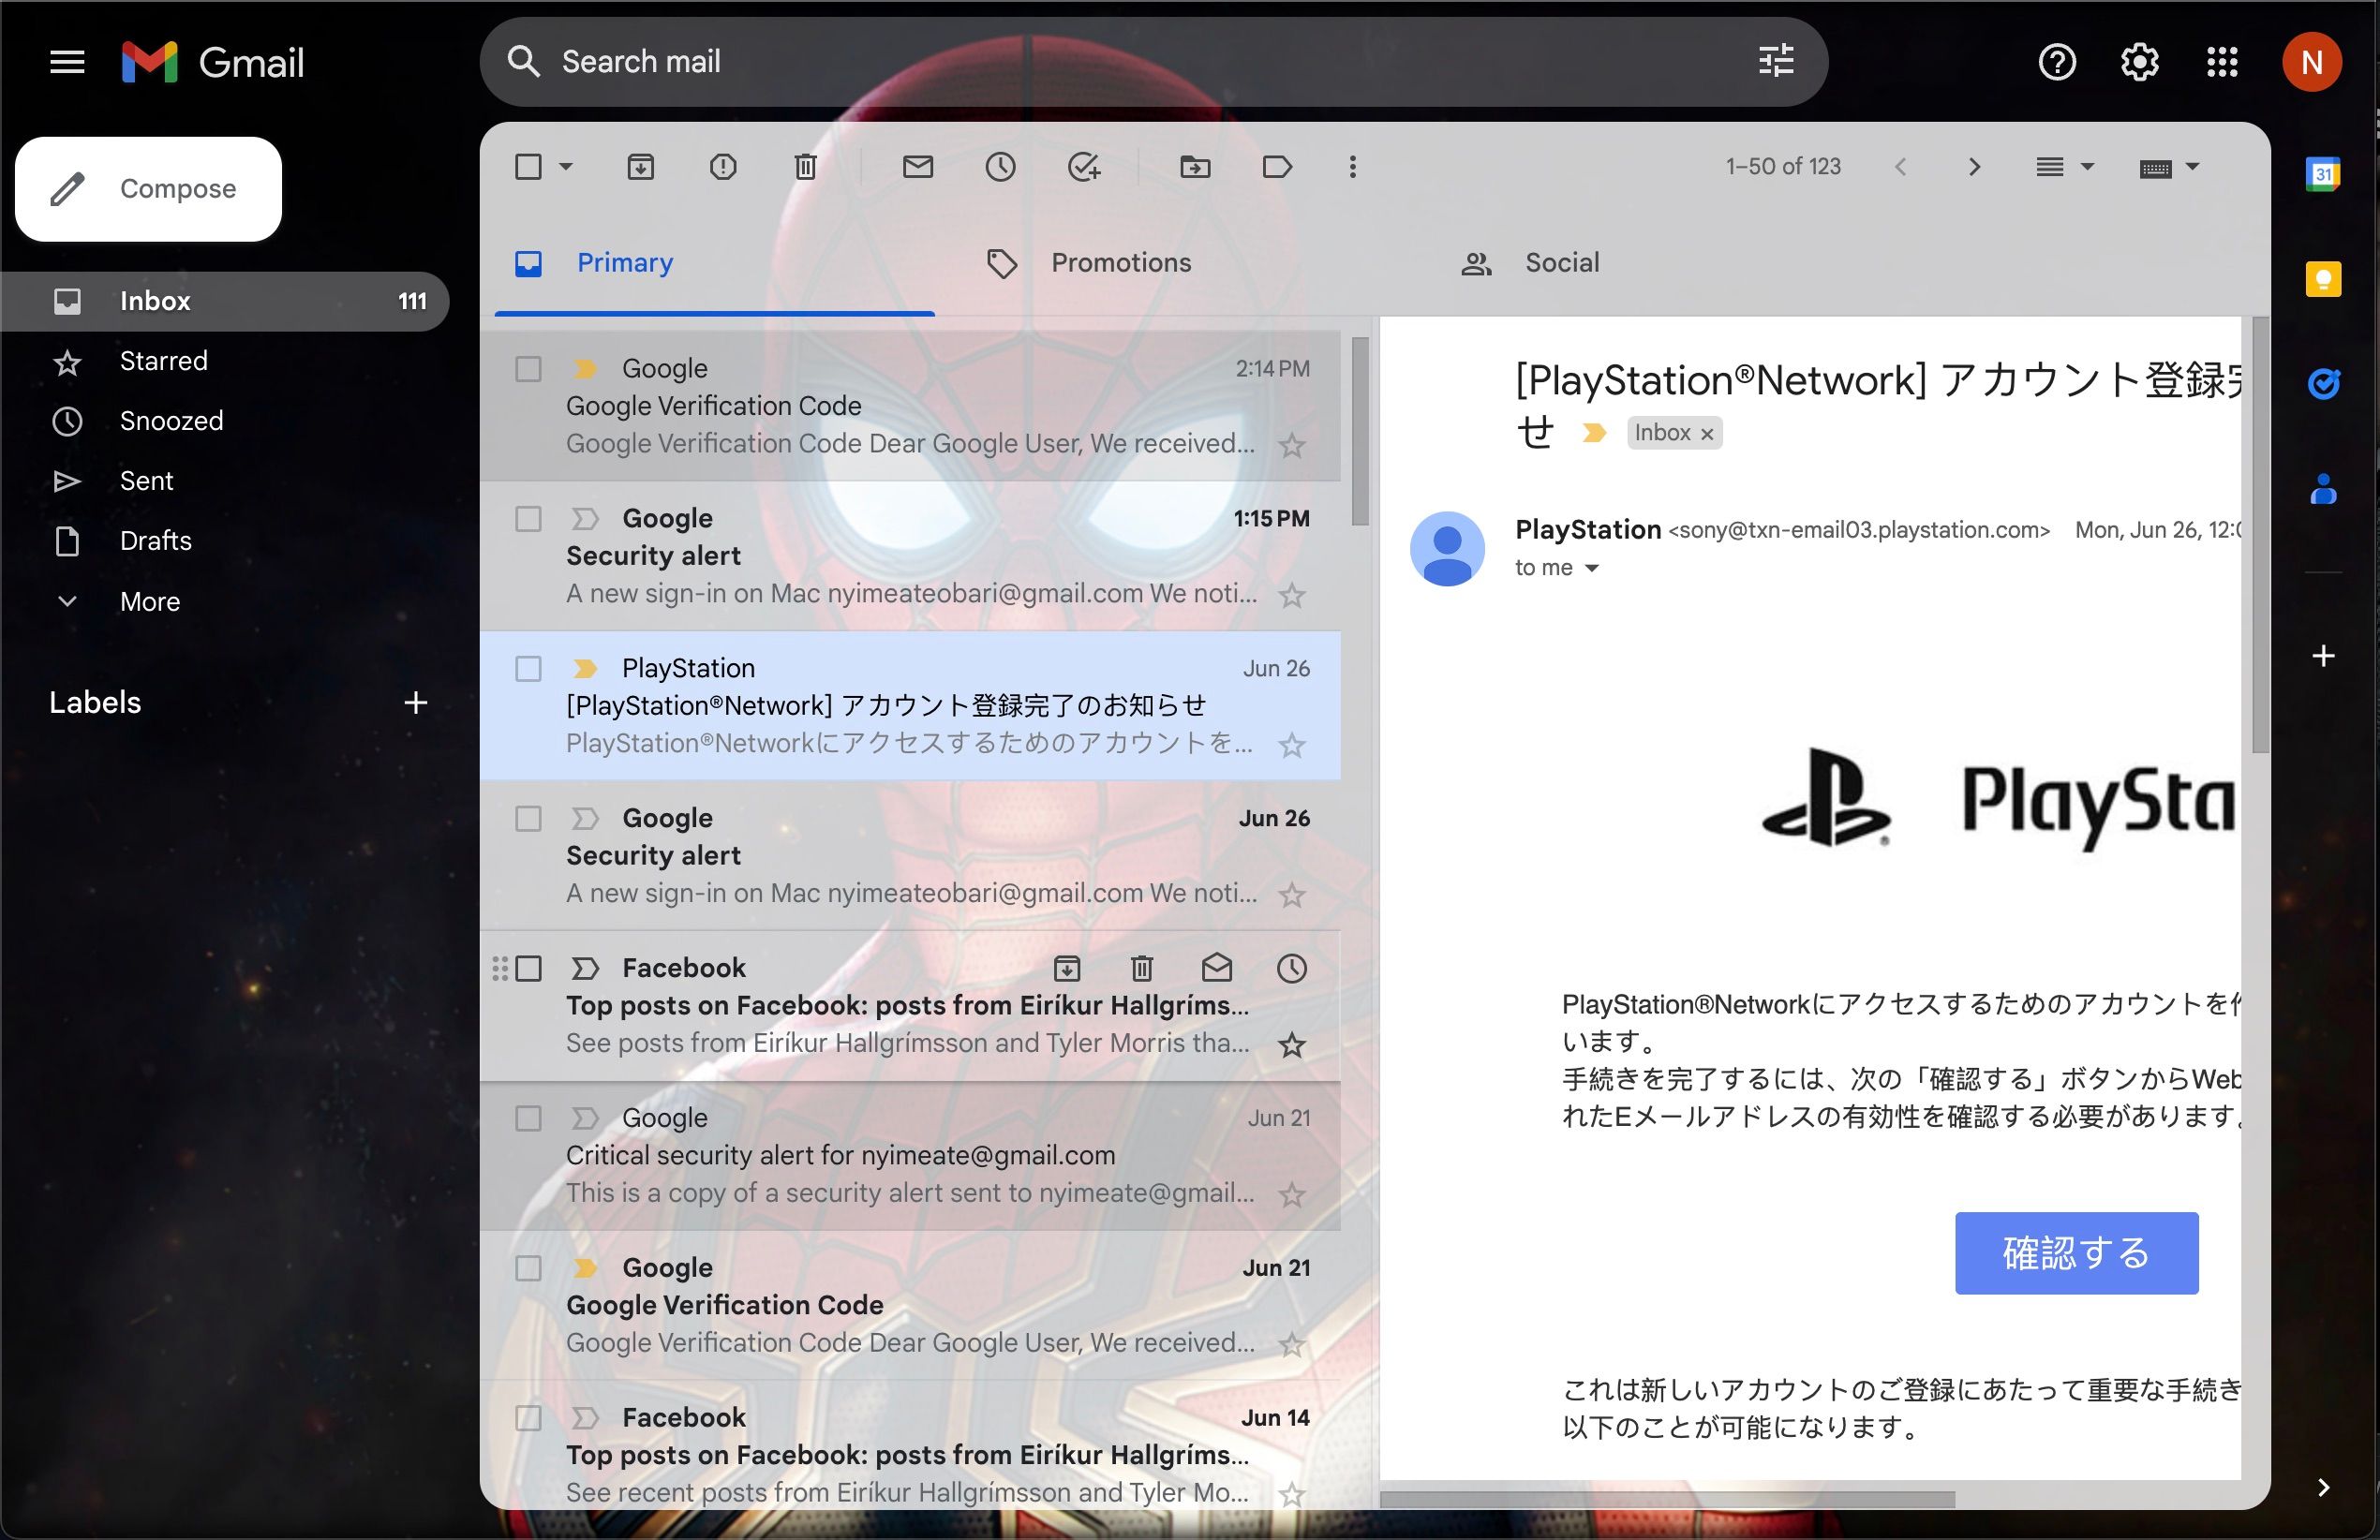
2. Sort Your Inbox Type
Gmail automatically sorts your emails for you. By default, it sorts it into Primary, Promotions, and Social categories while arranging all the emails you’ve received according to the date they arrived.
You can add and remove categories in the default style by doing this:
- Open Quick settings by clicking the Gear icon.
-
Make sure your toggle is on Default, then click Customize.
-
When the window pops up, you can select and deselect the categories you want.
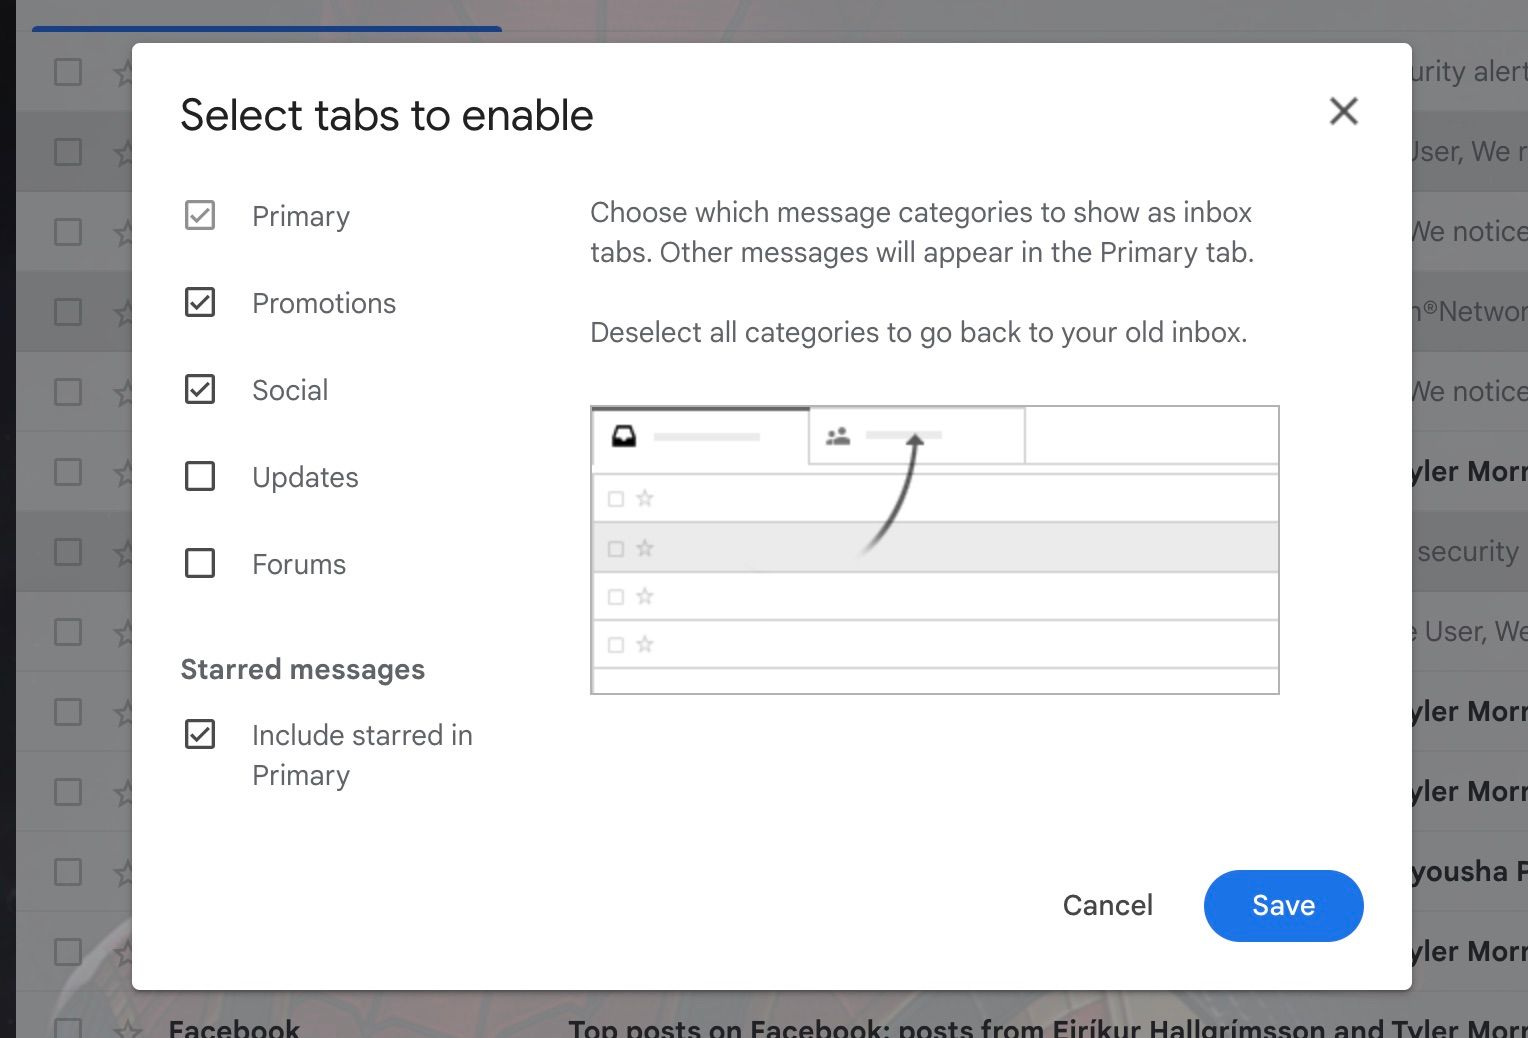
- Click Save when you’re finished.


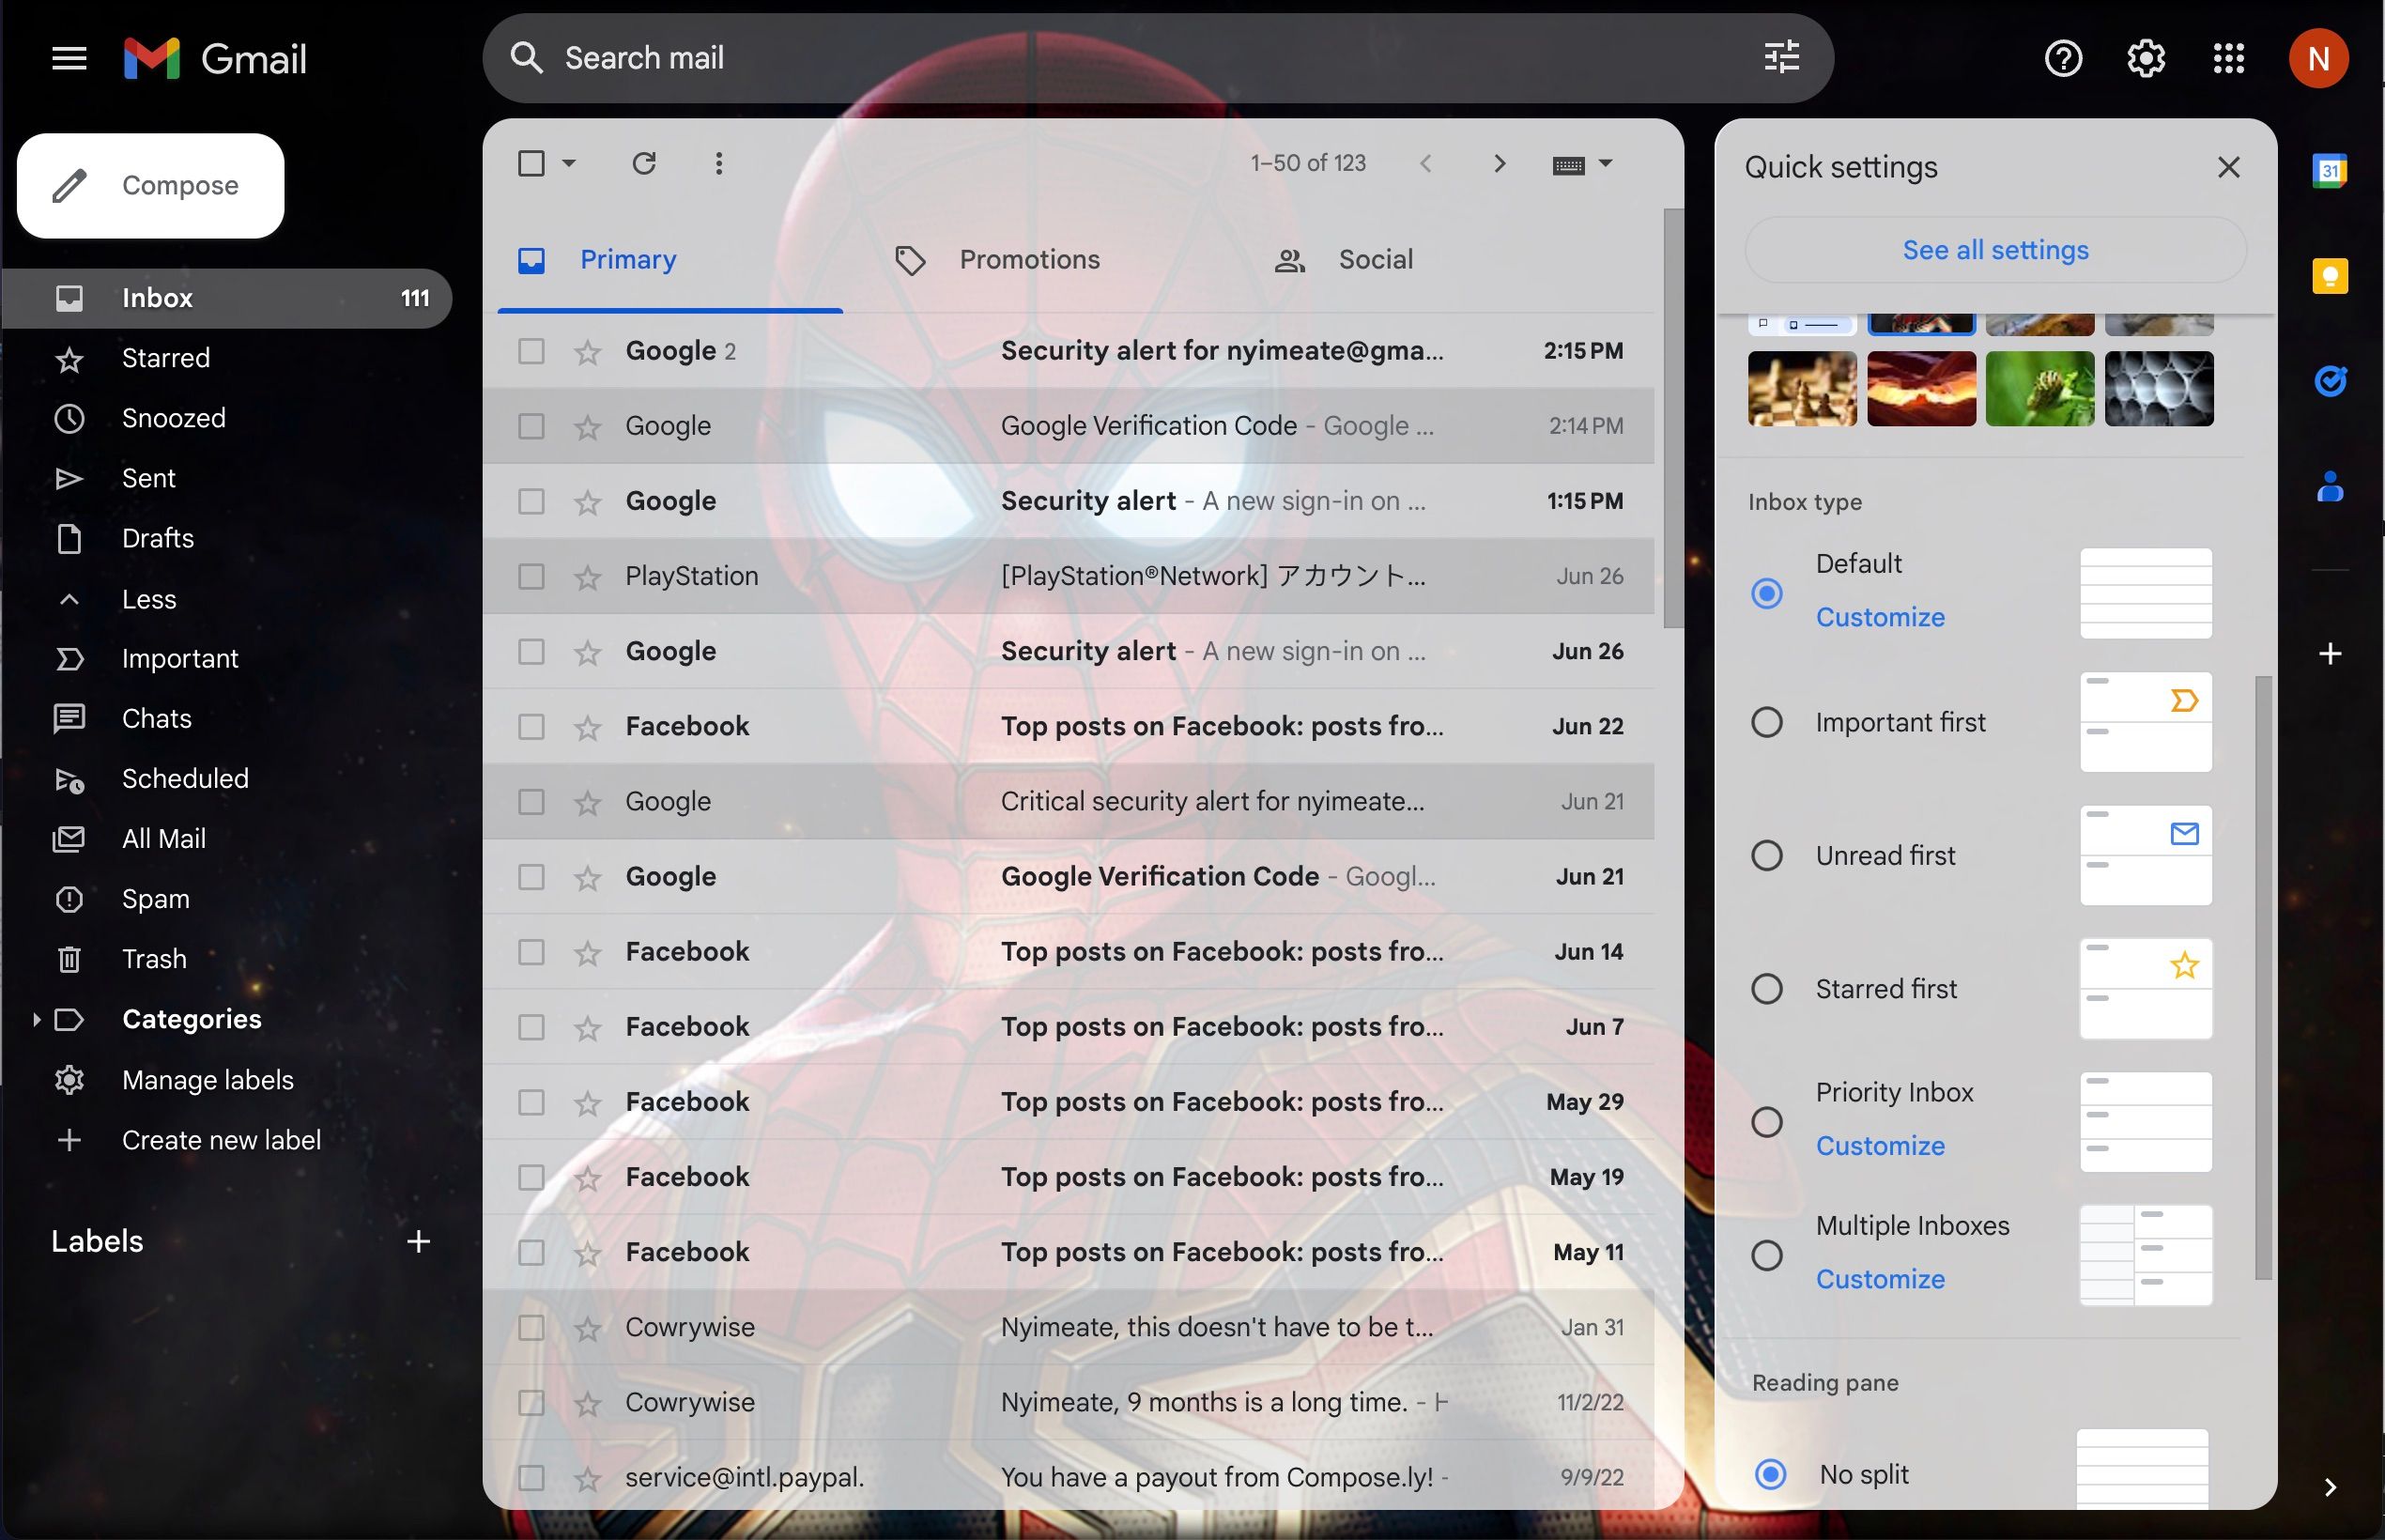
If you want all emails arranged by Important, Unread, or Starred first instead of by arrival date, you should click any of the three you want in the Inbox type section of Quick settings. A more recent addition to Gmail you might find useful is Spaces, a new feature Google added when it changed its look in 2023.
3. Reduce or Increase the Conversations Per Page and Change the Density
Seeing too many emails on one page can be daunting. You can reduce how much your inbox contains in one page and change it into something easier to look at. On the other hand, you could increase it if you would like to see more at once.
By default, Gmail shows 50 conversations per page. However, you can select 100, 50, 25, 20, 15, and 10. Here’s how to do it:
- Click the Gear icon to open Quick settings and choose See all settings.
- Find the section in the General tab that says Maximum page size.
-
Click the dropdown menu (it says 50 by default).
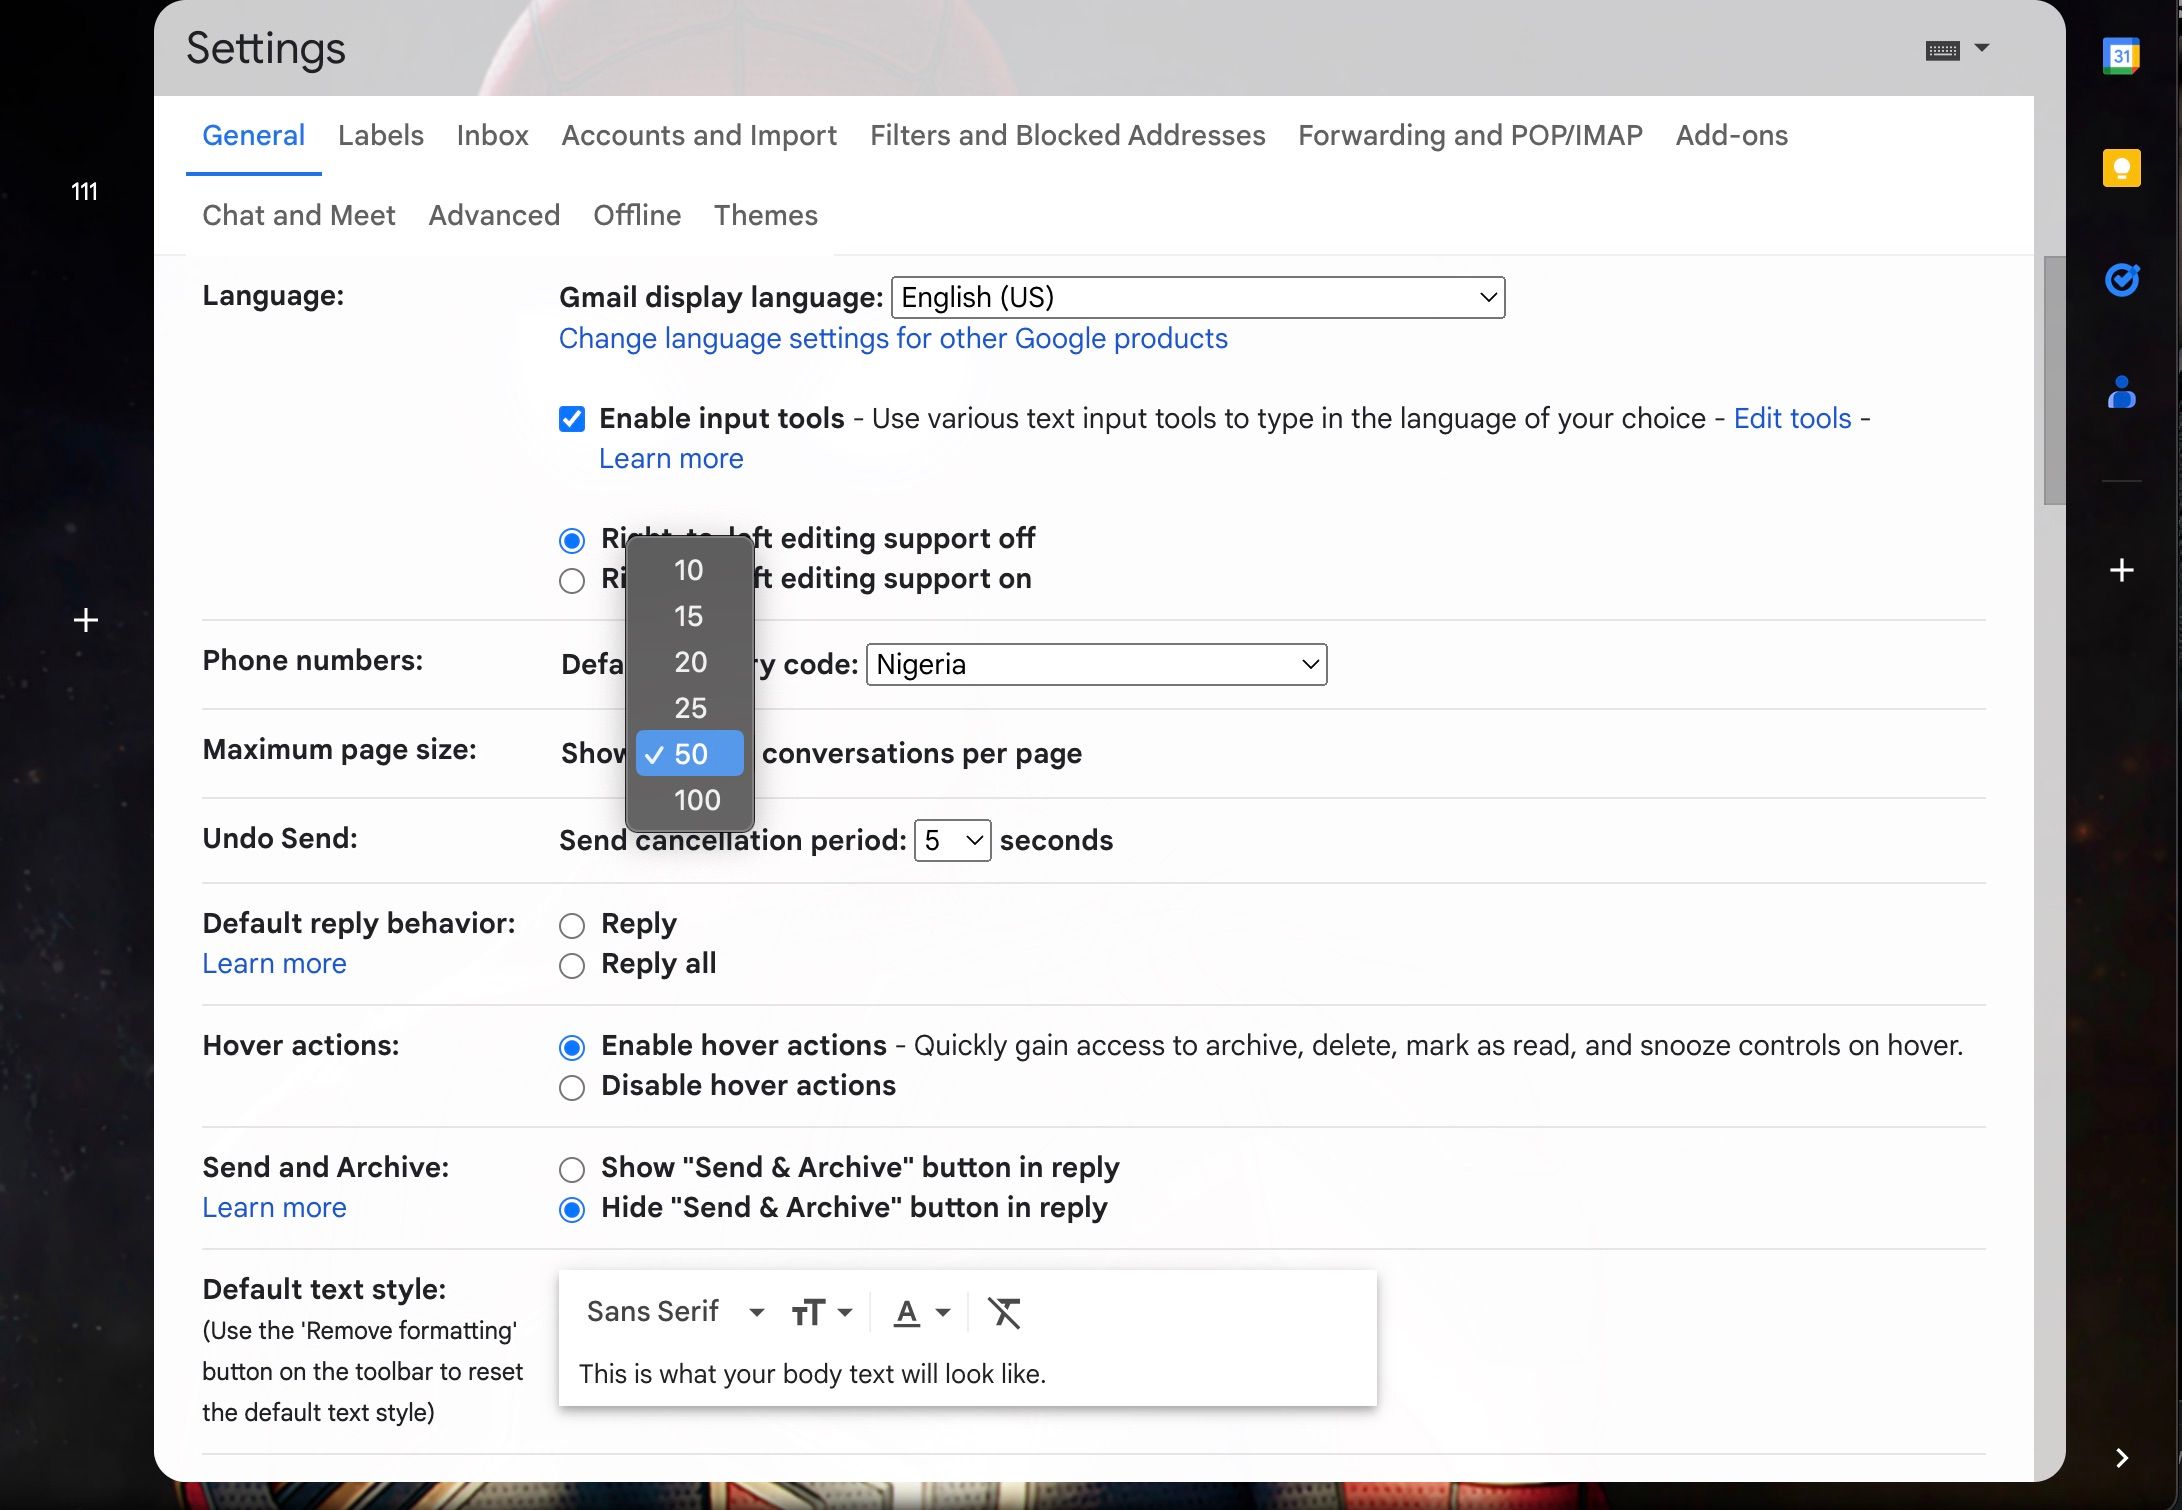
- Select your desired conversations per page number.
- Scroll to the bottom and click Save Changes.

Reducing your conversations per page might mean it’ll take more time to sieve through your emails. You can also choose between three levels of email density to make your inbox easier on the eyes:
- Default is averagely spread, and it shows icons and links underneath emails with attachments.
- Comfortable is much like default without the attachment links underneath.
- Compact reduces space and justifies it all in a more put-together style.
You’ll find them in the Density section of Quick settings. Gmail isn’t perfect, but useful UI features like this nudge Gmail ahead in the Outlook vs Gmail debate.
4. Use a Reading Pane
Gmail has a reading pane reminiscent of old-school email UI styles. You can activate it by toggling it on in Quick settings:
- Click the Gear icon on the top right.
- Scroll down to the reading pane section.
- Choose between Right of inbox or Below inbox. Of course, choosing the first option will pop the reading pane on the right, and the second will open it below.
-
You’ll get a prompt to reload Gmail; click Reload.

Now opening your emails won’t mean losing sight of your inbox anymore.
5. Update Your Google Picture
Like a profile picture, your Google picture can give your inbox a lot of character. It’s a small change, but it makes a lot of difference. If you have none, Google will use the first letter of your first name. But that’s boring and generic.
Here’s how to change your Google picture to something else:
- Go to your Google About Me page.
-
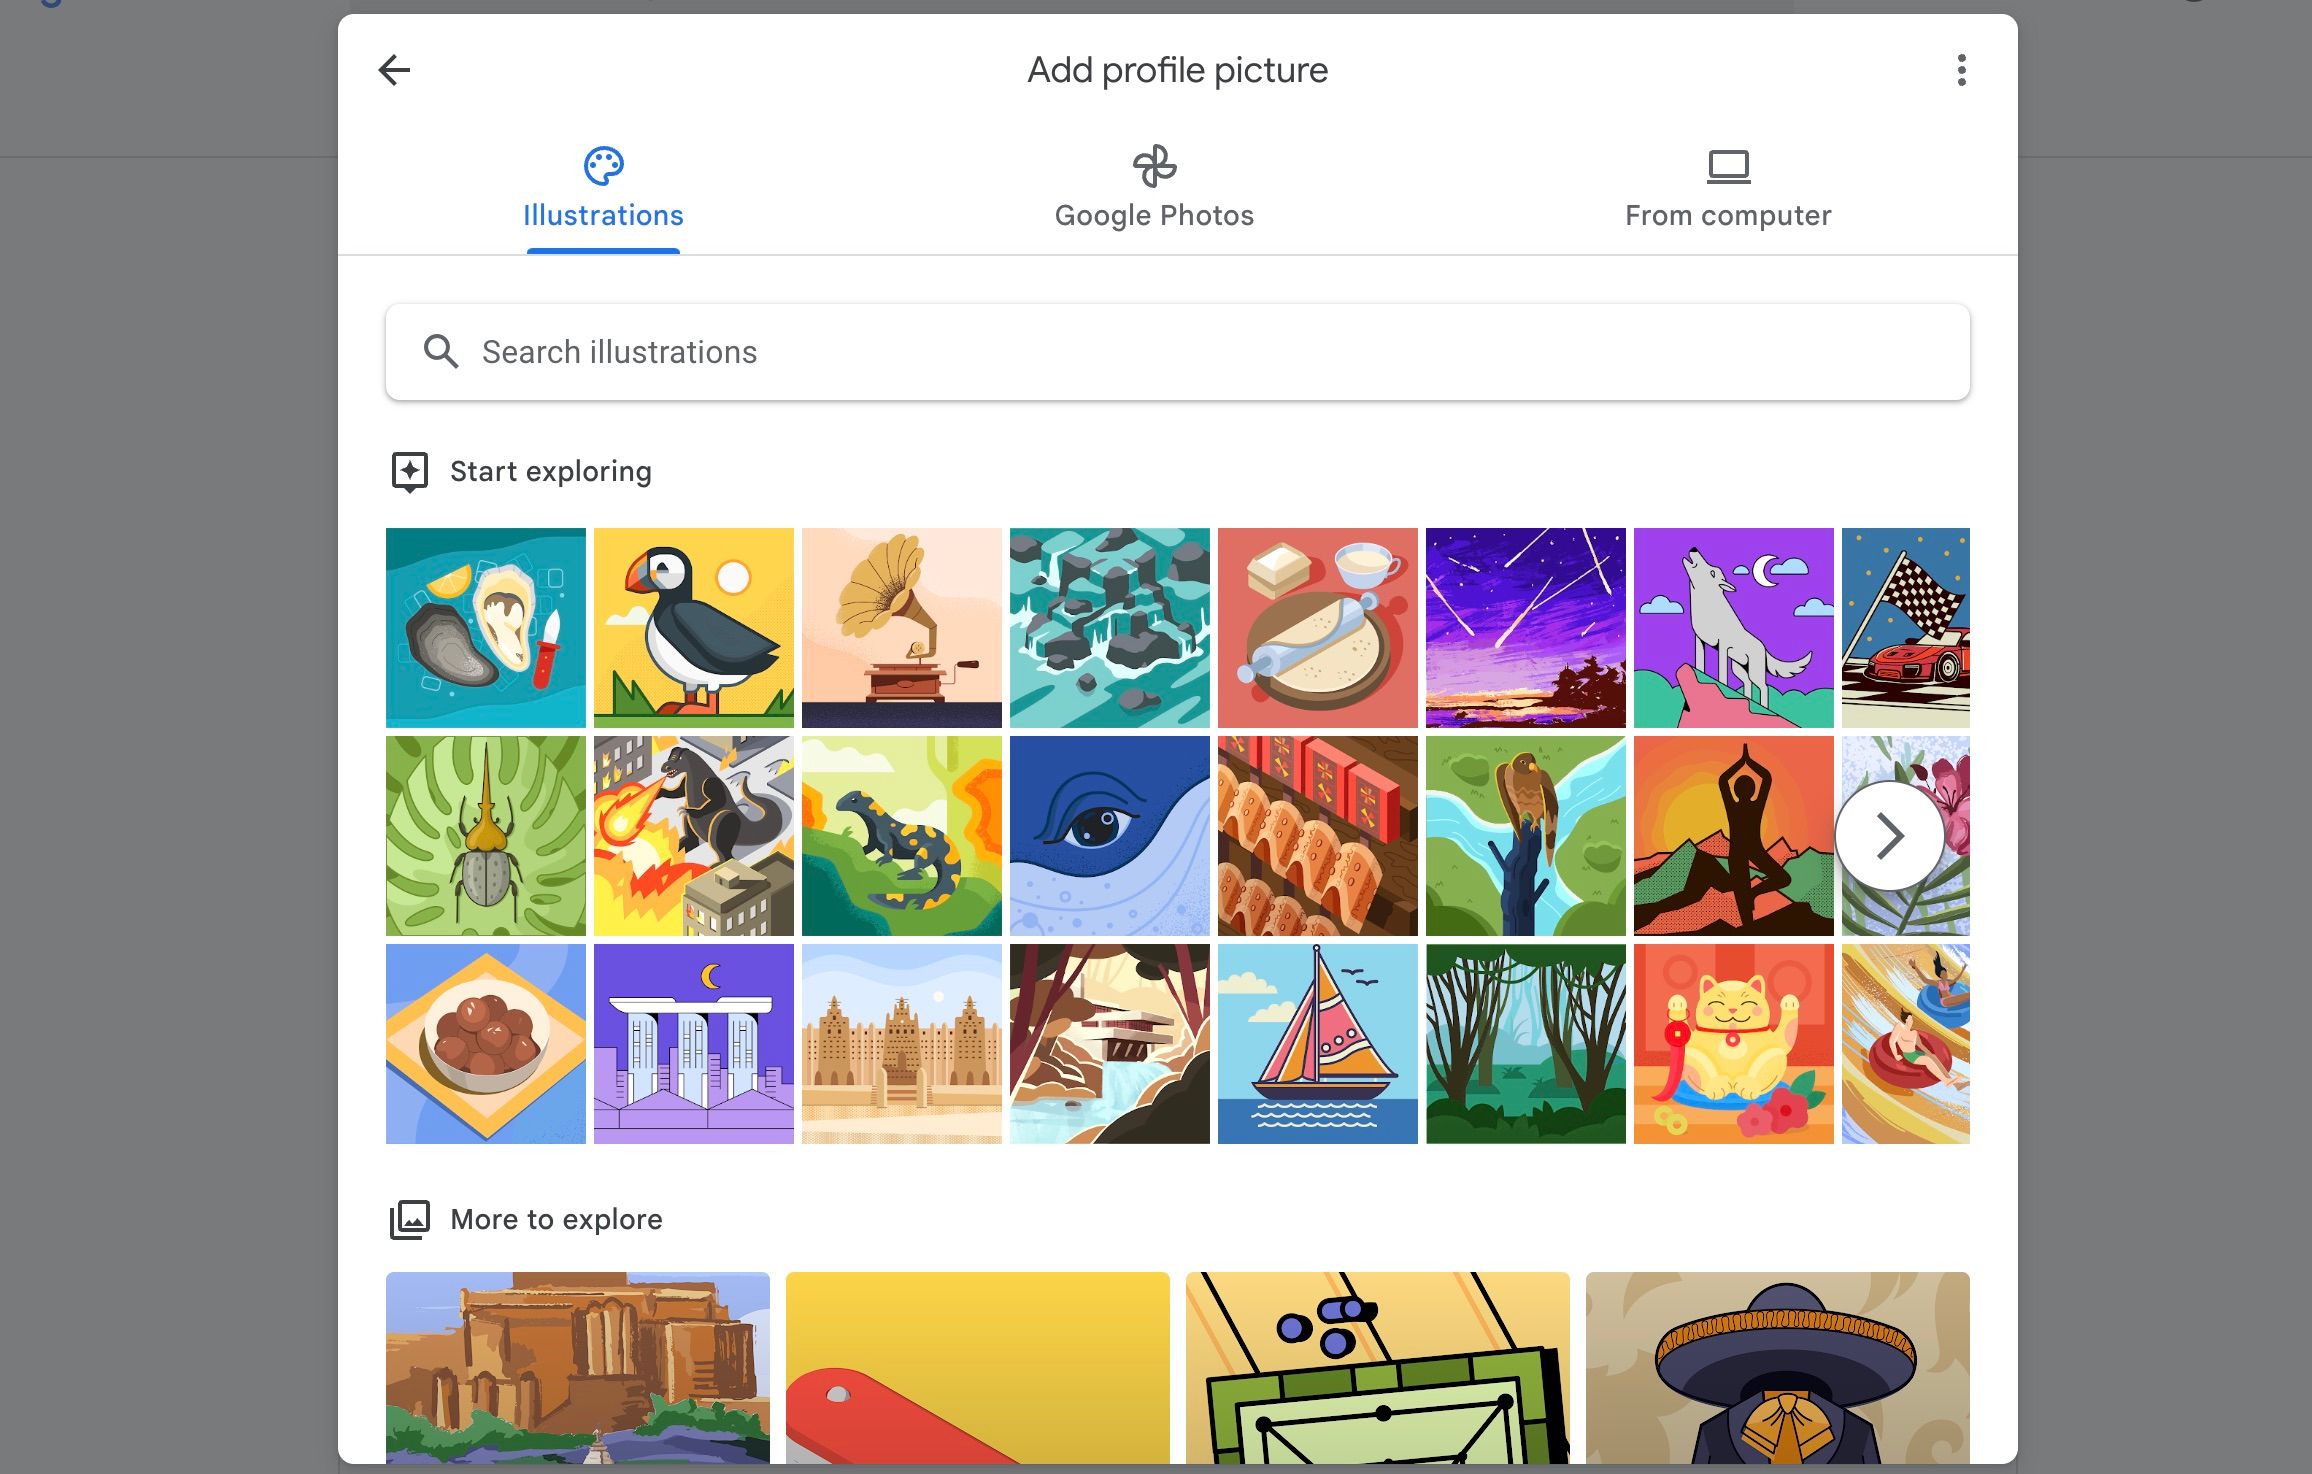
In the Basic info section, select Profile Picture and click Add profile picture.
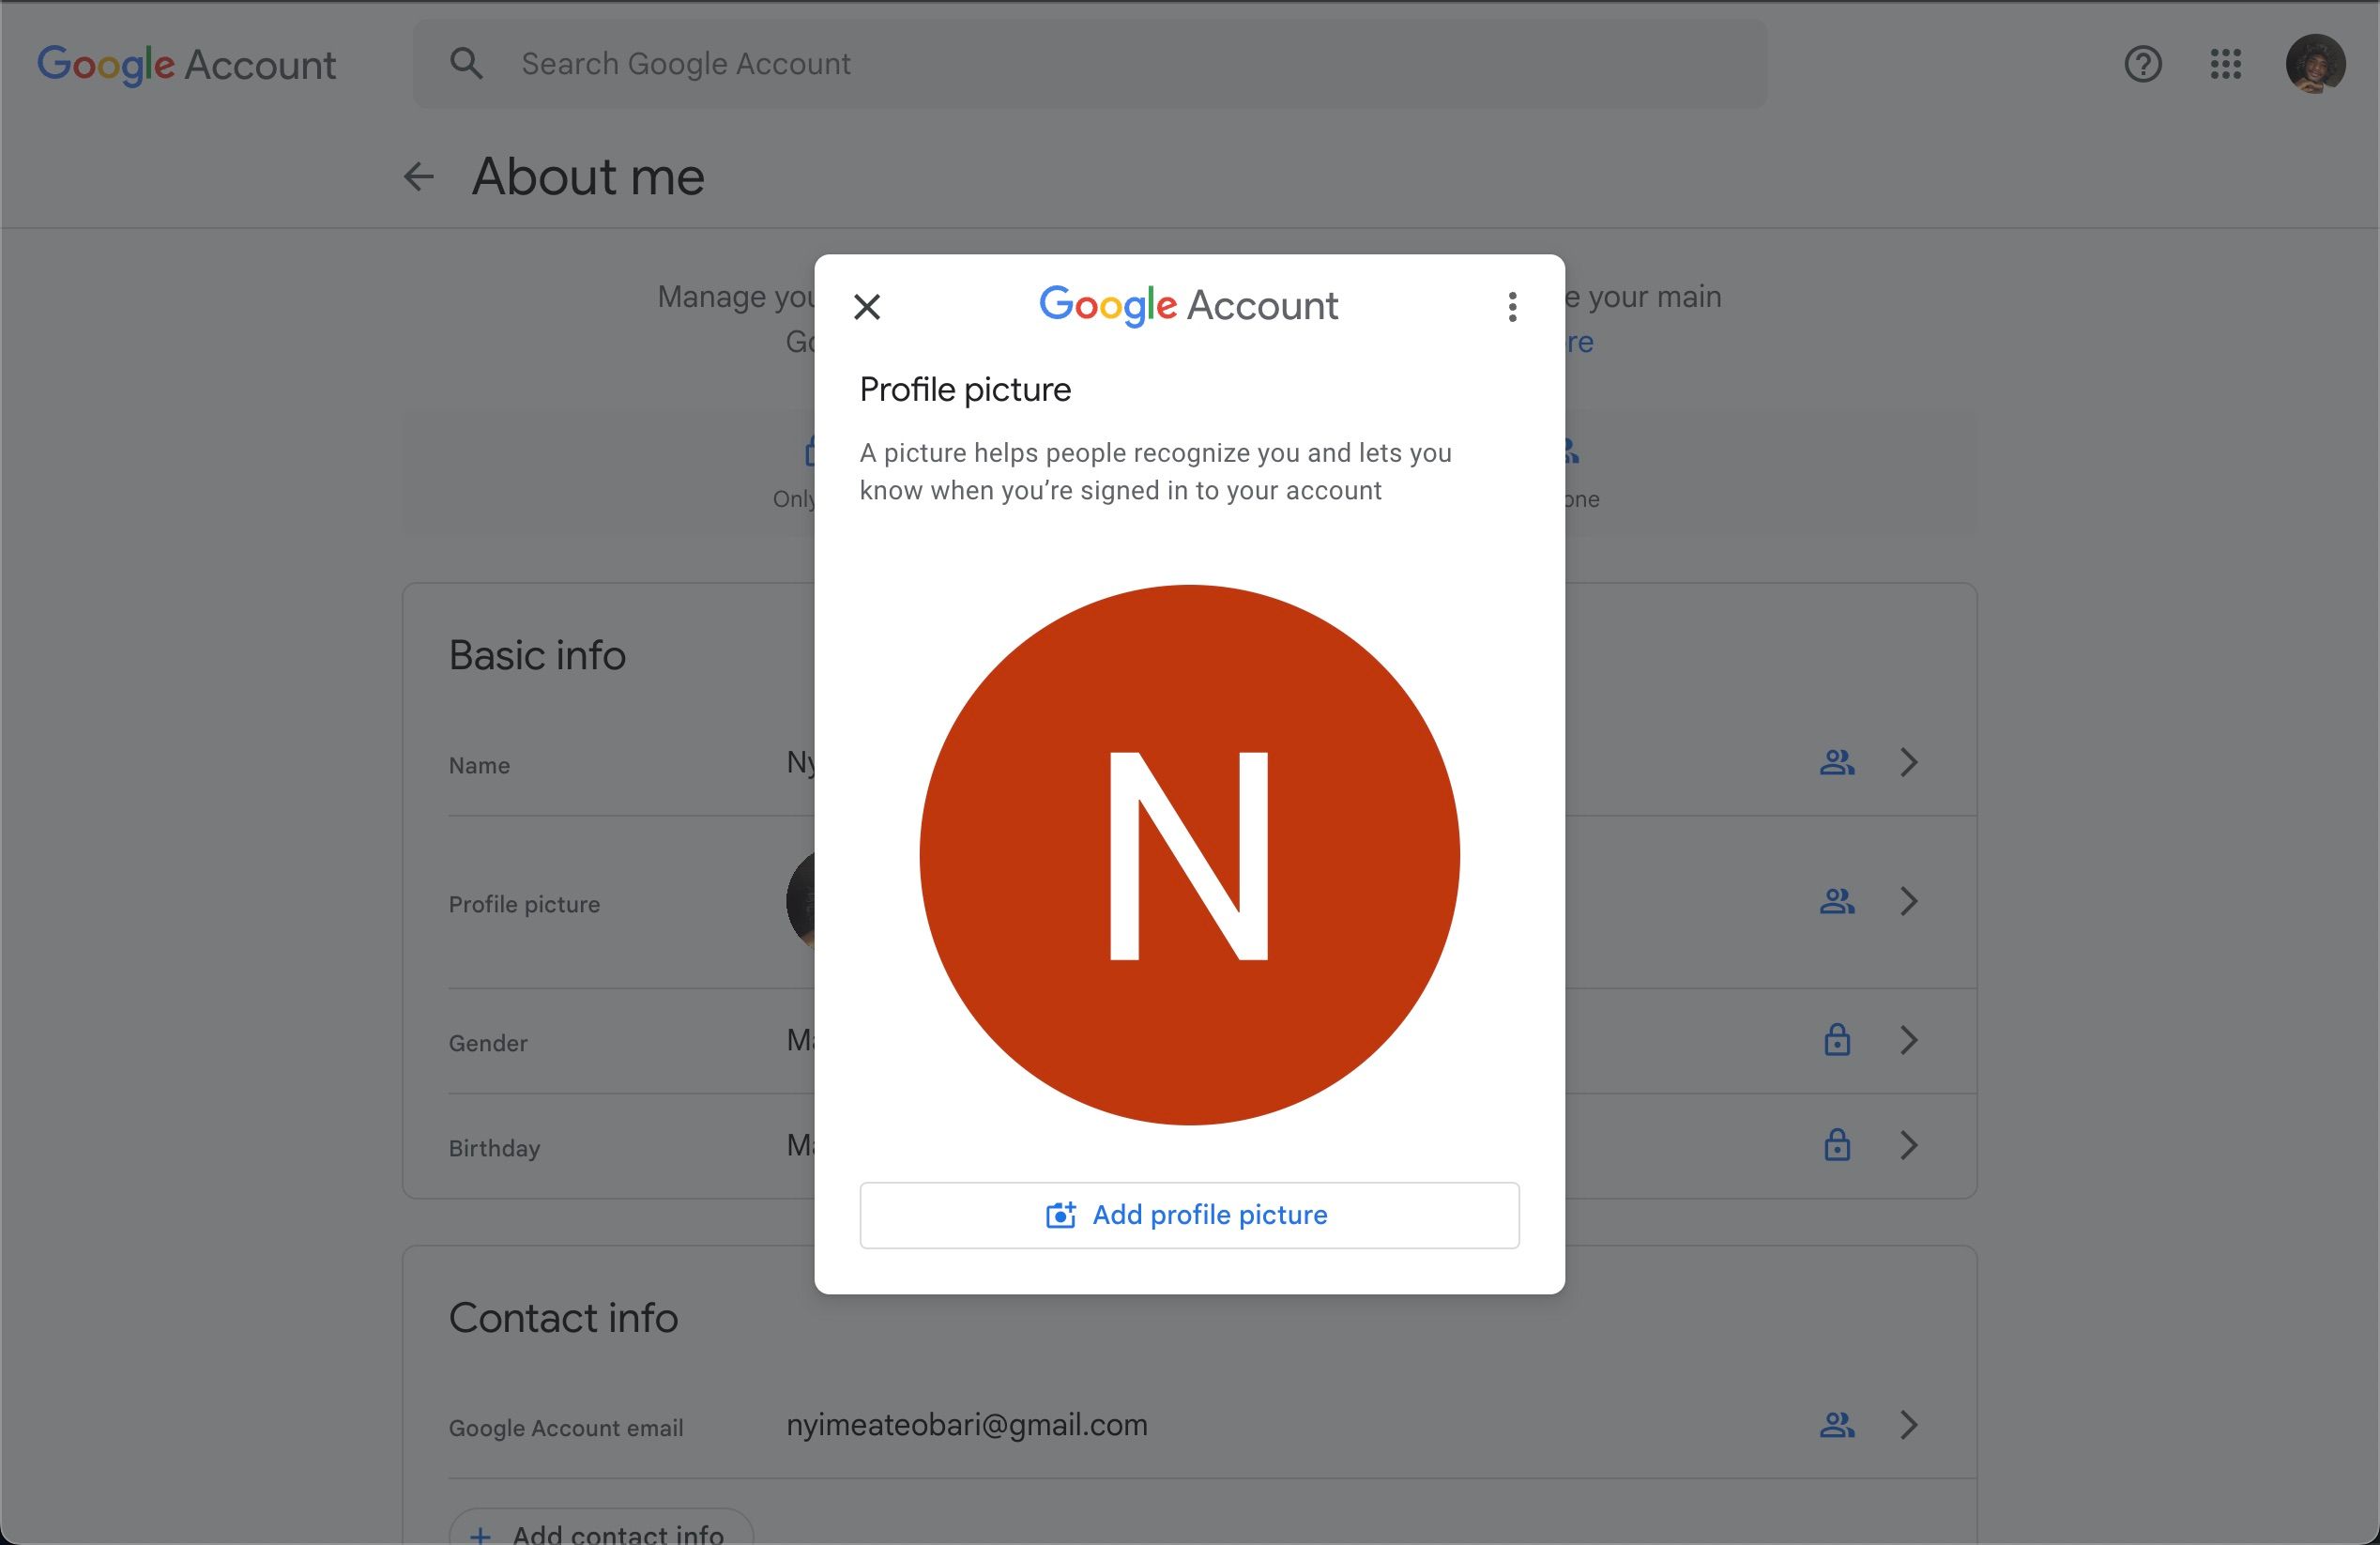
-
By default, it will open Illustrations for you to choose from. But at the top of the window, there’s a tab for Google Photos and another for uploading From Computer.
-
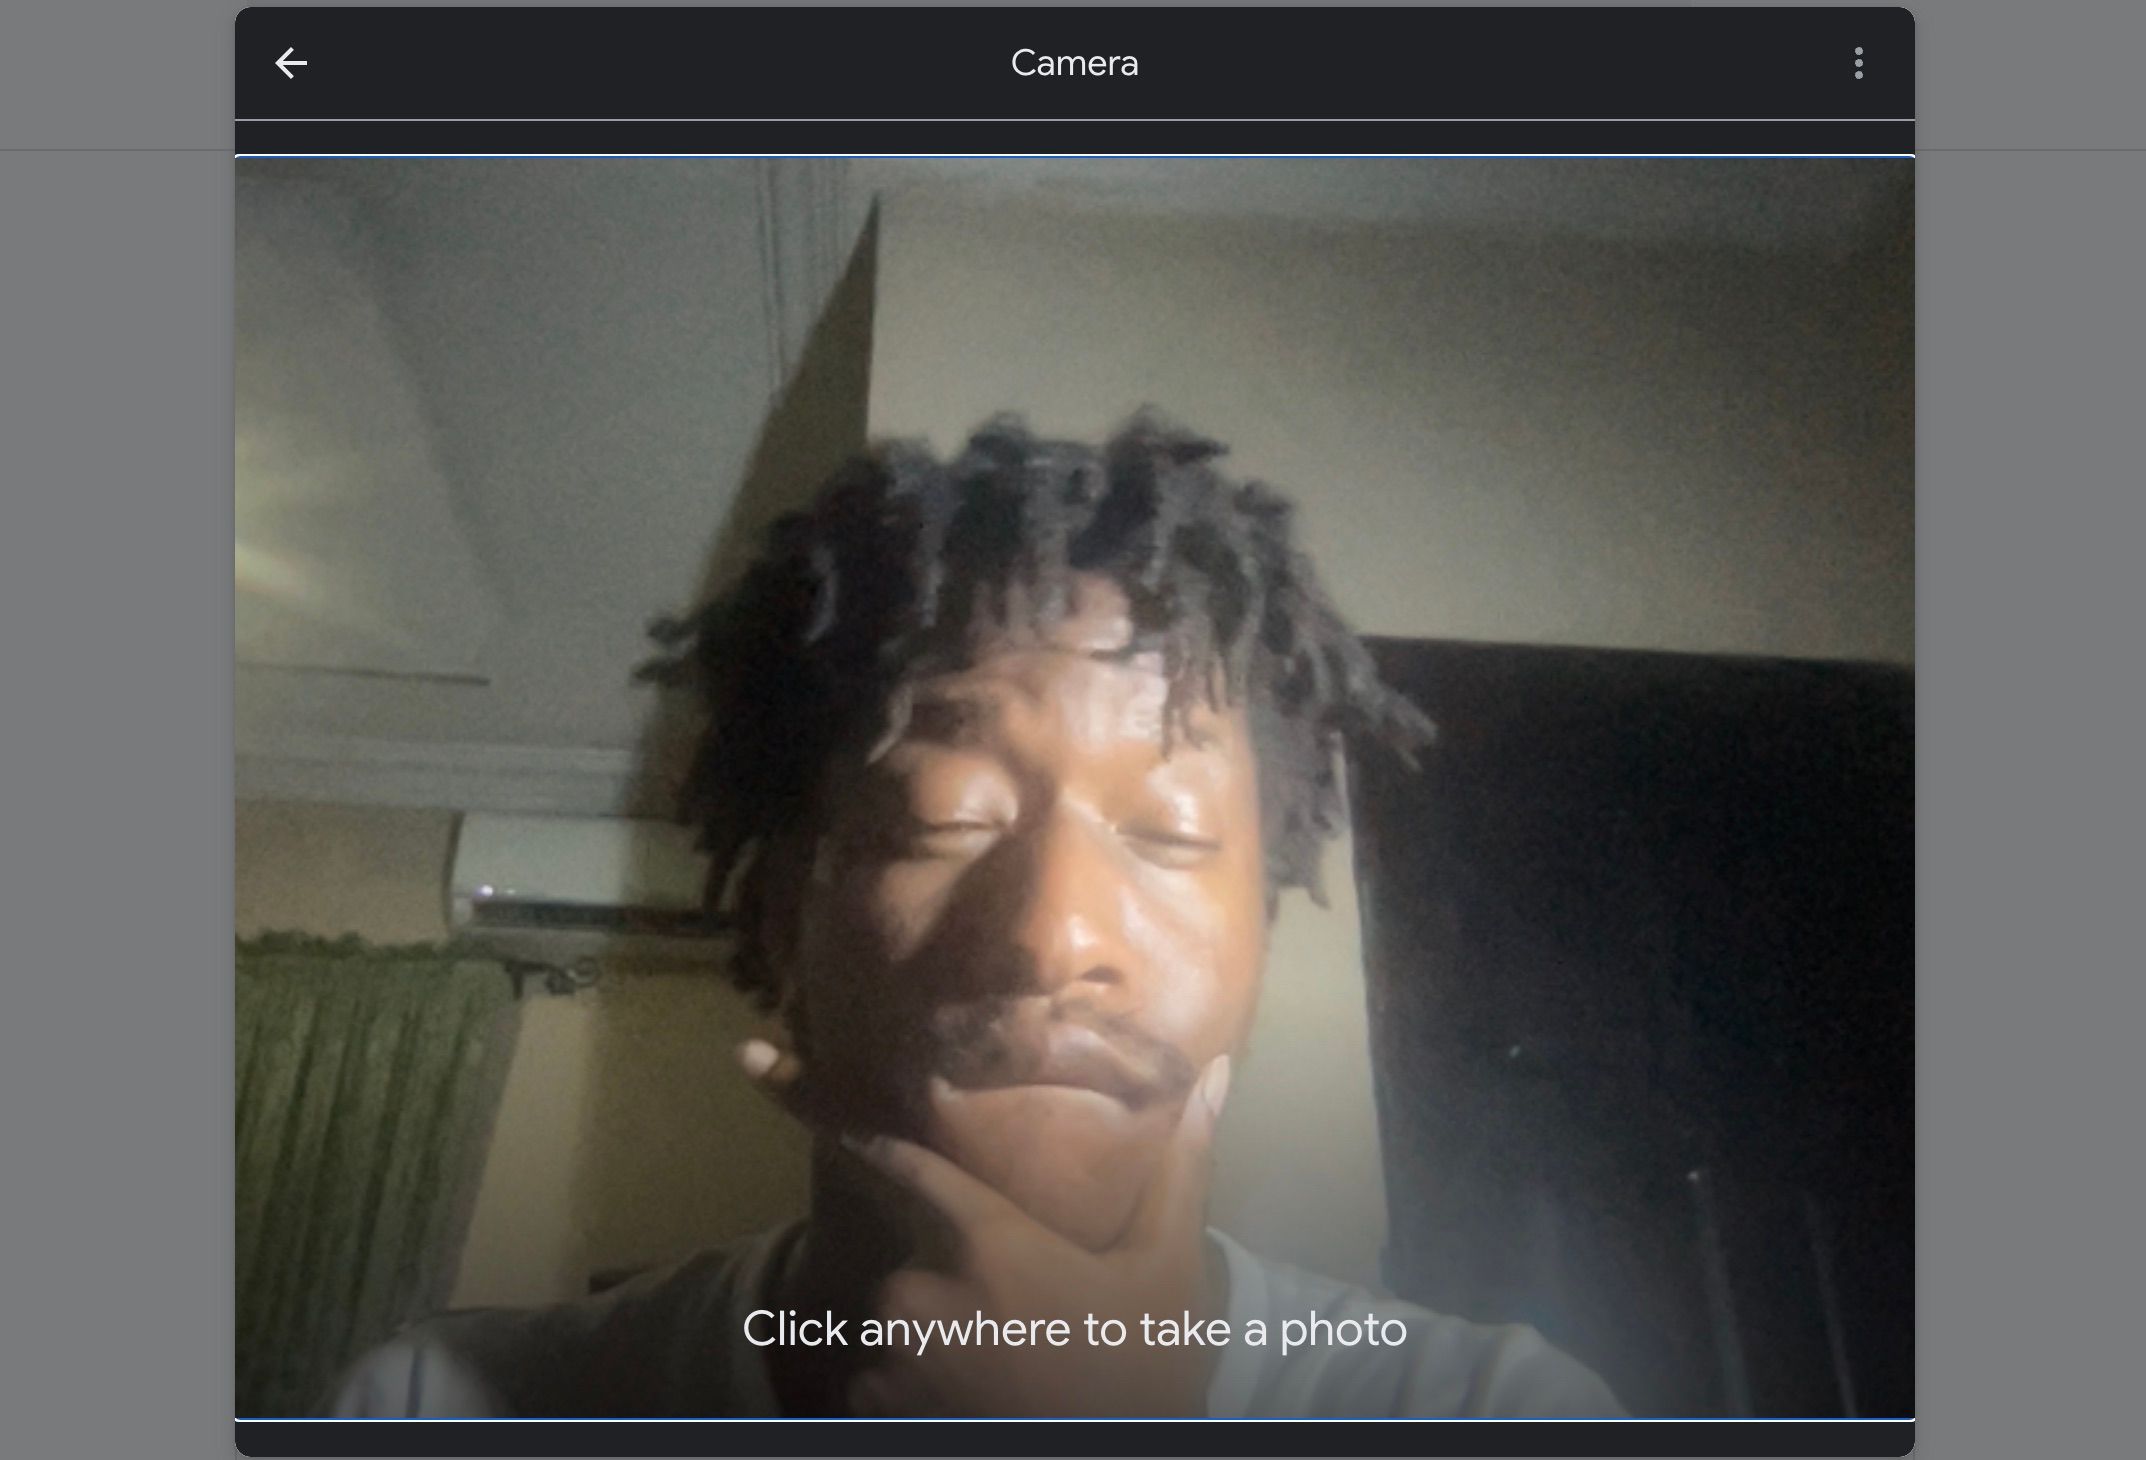
In the From Computer tab, you can use your webcam to take a picture by selecting Take a picture, or you can select Upload from computer.


Refresh your email, and you’ll notice that the change has been effected. If you ever feel like changing your Google information, you must return to the About Me page.
6. Customize the Text Style, Size, and Color
While you can’t exactly change the font size of your inbox (without adjusting your browser’s zoom level), you can change the text style, size, and color of the emails you send out.
Here’s how to change the text style:
- Click See all settings after clicking the Gear icon on the top right.
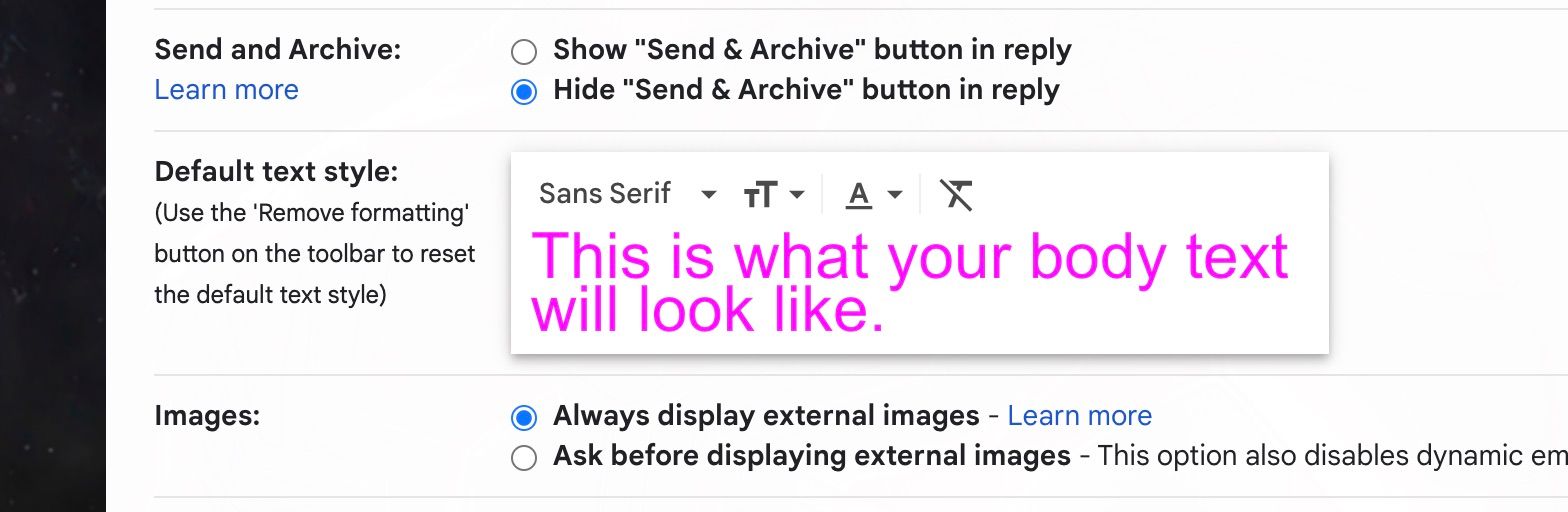
- Ensure you’re in the General tab and find the Default text style.
-
Here you can change the font, size, and color, accordingly. It will show a sample of your choices in the place that reads, “This is what your body text will look like.”
- The last button will strip the formatting and return it back to the default.
- Scroll down and click Save Changes when you’re done.

Changing your text in this manner might make your emails look unprofessional. So, pick a style that won’t embarrass you while customizing your text.
Gmail Offers More Personalization Than Other Email Service Providers
It might not be as robust as many want in terms of customization, but Gmail still offers a lot more than what’s out there. Merely being able to choose your own custom theme puts it ahead of its direct competitor, Microsoft Outlook.
If personalization and customization are a big deal for you, then choosing Gmail will serve you better than any other email service provider out there right now. But you can still take your time to look through its alternatives.