Whether they show cats typing away at keyboards or sassy celebrities rolling their eyes, GIFs have invaded everything from your Facebook feed to the conversation with your mom. They're fun, silent, and take only seconds to send, so what's not to like?
If you're a long-time advocate of GIFs, it's time to take them to the next level and start making your own. In this guide we'll show you how to turn the Burst photos you take with your iPhone into custom-made GIFs.
Step 1: Take a Burst Photo
Burst mode is a feature built into your iPhone's camera, allowing you to take 10 photos per second to capture fleeting scenes like motion and facial expressions. The set of photos is then saved to your library and looks like a single image with a Burst (X photos) badge.
If you haven't used this feature before, you should review the ultimate guide to Burst mode on iPhone. But for the sake of this topic, let's focus on taking Burst photos.
Here's how you take a Burst photo:
- Launch the Camera app and frame your shot. Make sure there's a moving object or person in it.
- Tap and hold the Shutter button. A counter above it will show you how many photos you've taken.
- Let go of the shutter once you have enough photos and have captured what you wanted. Typically a burst of 8-12 photos will do, as you might experience lag when converting larger ones.
The burst should now appear in your photo library, both in the Camera Roll and in a dedicated Bursts album.


Step 2: Create a Burst-to-GIF Shortcut
Shortcuts is a new Apple app introduced with iOS 12 that's still underutilized by many iPhone users. There are lots of tasks you can automate with iPhone Shortcuts, and one of them is turning photo bursts into animated GIFs.
To do that, you'll need to download the Shortcuts app and create a new shortcut. Here's how:
- Go to Shortcuts > Gallery.
- Type GIF into the search field.
- Select Burst to GIF from the suggestions.
- Tap Get Shortcut to install it.
Once installed, the shortcut will appear in the Library tab.


Before you start converting bursts, you might want to go over the shortcut settings and tweak them to your liking. You can access the settings by tapping the ellipsis (...) in the upper right-hand corner of the shortcut. They include the following:
- Get Latest Bursts: Pick how many of your latest bursts will be suggested.
- Prompt: Edit the prompt you see when selecting a burst to convert.
- Select Multiple: Enable it to select several bursts at a time.
- Seconds Per Photo: Set how slowly or quickly your GIF plays.
- Auto Size: Keep enabled to let the app adjust the size automatically, or disable to set your own dimensions for new GIFs. For higher quality, try using the dimensions of your iPhone's screen here.


Quick Look is more of a workflow step than a setting. It allows you to get a preview of the GIF before downloading it, but we'll get to that later.
Once you've adjusted the settings, tap Done, and your shortcut is ready to go.
Step 3: Convert the Burst Into a GIF
Once the shortcut is all set, making a GIF out of a Burst photo is a breeze. Just do the following:
- Tap on the shortcut. This will open the Bursts album in Photos.
- Select the burst you want.
- Wait for the conversion to complete. The shortcut will display the progress.
- Once ready, your brand-new GIF will open automatically.


When taking the burst photo, you'll never be 100% sure it's going to look good as a GIF. So we suggest you take a few sets of Burst photos and try converting them all, just to have more options.
Step 4: Save or Share the GIF
When you have your new GIF open, it seems logical to tap Done to finish up. But this won't automatically save it to your Photos app. To actually save the GIF, do the following:
- Tap on the sharing icon in the top right-hand corner.
- Select the Save Image option.
This will save the GIF to your photo library. You can find it both in the Camera Roll and under Media Types > Animated.
If you select Mail, one of your messengers, or a social media app instead of Save Image, you'll be able to share the GIF without downloading it.


How to Automate Saving the GIFs
You might want to save all GIFs to your phone automatically and decide what to do with them later. Here's how you set the shortcut to do that:
- Go to Shortcuts > Library.
- Tap on the ellipsis (...) icon in the corner of your Burst to GIF shortcut.
- Scroll down to Quick Look. As you'll remember, Quick Look plays the GIF for you before you save or share it.
- Start typing Save to Photo Album into the search field below.
- Tap on the Save to Photo Album option when prompted.
- Now this field will appear below Quick Look. In it, select which album you want to save the GIFs to.
- Tap Done to save the changes.


With the workflow set this way, it will automatically save every GIF to your photo library. And if you don't want to get a preview every time, just delete Quick Look from the workflow by tapping on the gray X on the right.
More Ways to Create and Share GIFs on iPhone
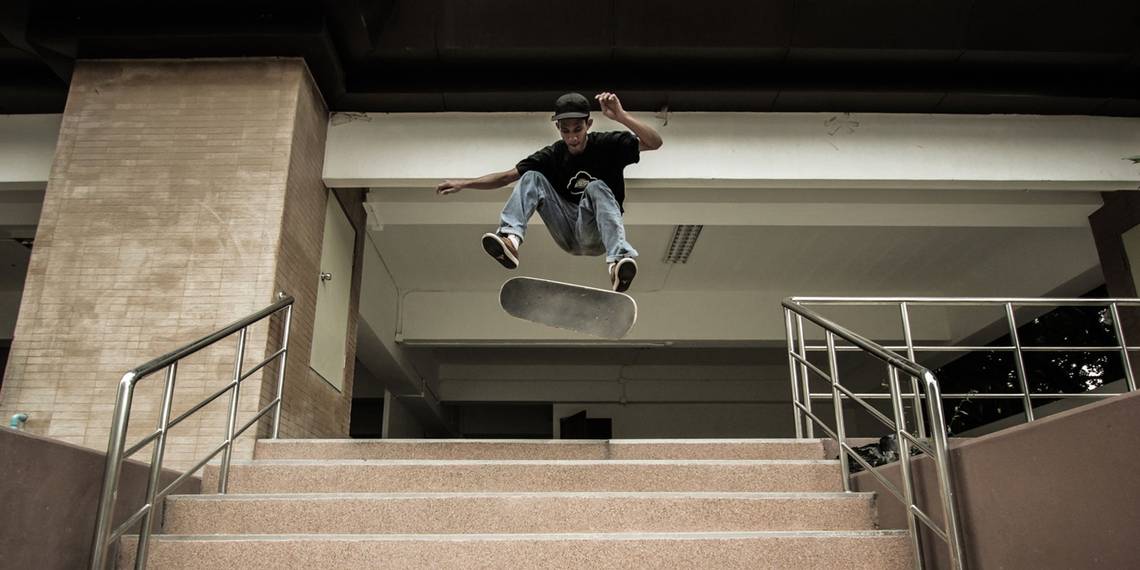
The list of fun ways to use the GIFs you create is virtually endless. You can take a burst photo of you skateboarding and post the GIF to your Instagram. Or you could capture a funny selfie, turn it into a GIF, and text it to someone as a reaction. Whatever you shoot, Shortcuts will animate it, and you'll be able to share it.
Converting burst photos is not the only way to make GIFs with an iPhone. There's an even easier trick: converting Live photos into GIFs. You can also animate still photos or try one of the many iPhone apps for creating and sharing GIFs.