Mac users can get in on the Raspberry Pi game pretty easily, and there are a few different ways to image a microSD card using your Mac. Today we'll look at an easy way to get your Pi up and running to work on some projects that will work with your Mac.
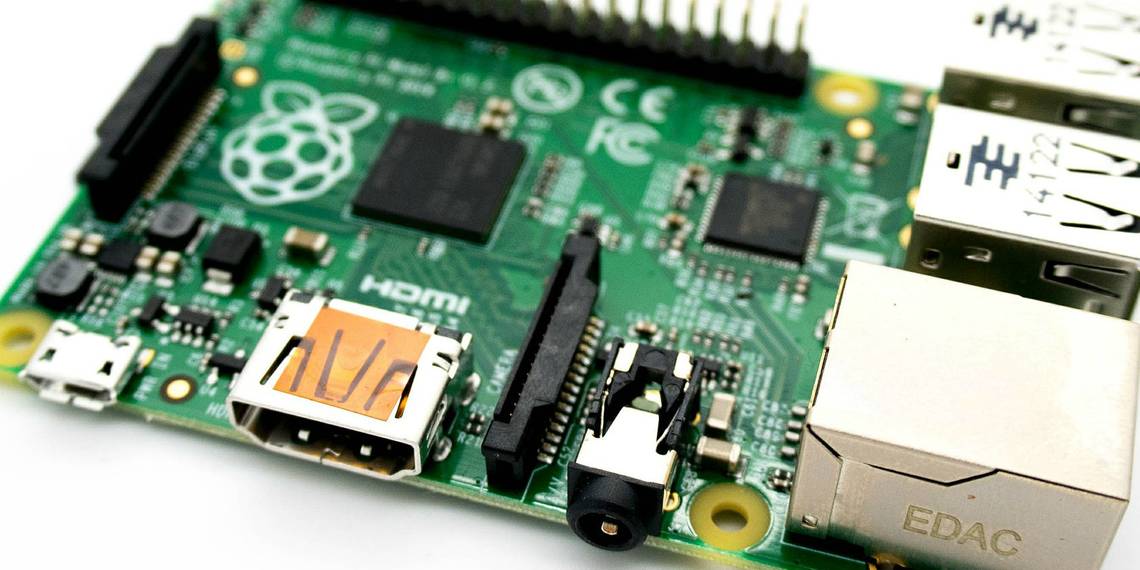
For this project, you're going to need a Raspberry Pi, and a MicroSD card. Check out the Amazon listing below for an all-in-one kit that includes a case and some heat sinks, along with the Pi and card. Next you'll need to choose your install method.
If you're looking for an easy experience, choose the NOOBS install. It gives you a couple of options, and is fairly painless. If you're using a custom image and just want to boot right into Raspian, but don't want to work with the command line, use the GUI option. If you're comfortable in Terminal, use the command line option.
Once you've pick your install method, take a look at some of the projects we've featured below to get started with your new micro computer.
NOOBS and the Mac: A Bit Complicated.
Your first option is straight forward, with one Mac-specific caveat. NOOBS is a baseline image you can use to install several different operating systems on the Raspberry Pi. As the name suggests, this is meant to be the first thing you do with your Pi, and is easy to use. You are supposed to format a MicroSD card to FAT, and then copy files and folders down.
https://www.anrdoezrs.net/links/7251228/type/dlg/sid/UUmuoUeUpU47799/https://vimeo.com/90518800
For some reason, this process isn't so easy on a Mac. You need to download a special SD disk formatting tool from the SD Card Foundation and run that to get the card ready for the NOOBS files, for this example, I had a 32GB Sandisk card linked to below. It takes a good 45 minutes for the format to complete, but then your card is ready for the files.
Download the latest NOOBS file here — unzip the file and then copy the files, not the resulting folder, to your formatted card. Remove the card from your drive and you should be all set to boot your Pi. Done!
The GUI: An Admin Account and a Utility Walk Into A Bar
Our second option is pretty foolproof and uses a utility called RPI-sd Card Builder. All it requires is a formatted card, an image, and an account with admin rights.
So the first thing we will need to do is set up the MicroSD card in Disk Utility. Insert the MicroSD card into its SD card adapter, and then plug that into the Mac. You'll need a USB adapter if you're using a Mac that doesn't have an integrated card reader. There's a link below for the one used for this article.
When you open the app, you'll be prompted to select your SD card. Be careful here that you don't choose the wrong disk, or you're going to lose data on that external drive. Then you choose the IMG file for your Raspberry Pi. You'll be prompted for your user password, and then a script will run. The script copies the image to the card and then ejects the card.

The last step failed for me, so you may have to eject the card manually. Once that is finished, you are ready to boot the Pi from your chosen operating system. Done!
ApplePi-Baker: All Of The Above Please

If you're looking for something a bit more comprehensive, Apple-Pi Baker will do the job. It supplants both of the above methods with a GUI that's right at home on the Mac. If you're planning on building more than just a single project for the Raspberry Pi, this is the app you'll want.
First download it and copy it into your Applications folder. Next start the program and choose from one of the three options. When it first starts up you'll need to provide your password, and your account needs admin rights. You can then format your SD card for NOOBS, which is pretty quick, and beats out the Pi foundation standard method by a mile. You can then download a copy of NOOBS from here, and copy the files to your newly formatted SD Card.
If you're looking to copy an image to your SD card, Apple-Pi Baker has the same abilities as the GUI tool above. You select your card and image, and the app does the heavy lifting. While this isn't significantly different to the RPI-sd Card Builder, it doesn't include your network or other USB drives in the available targets. Isolating the SD Cards prevents an accident where you wipe precious data from a drive you didn't mean to target.
While both of those are just convenient versions of the previous utilities, what sets Apple-Pi Baker apart is its backup function. If you're seriously working on an example Raspberry Pi project, or just want to backup an image of your basic Raspian set up with the settings you need; being able to create your own IMG files is essential. This process is the opposite of what we're doing in earlier steps.
To create a backup, insert your SD card from your current Pi setup and select it in the main Apple-Pi Baker screen. Then select Create Backup. A pop-up will warn you that the IMG file will be the same size as your SD card, which may cause issues if you try and restore it to a smaller card. If you're looking to have a basic config to clone out over and over, you may want to build your IMG on a smaller card, then transfer it to a larger card and expand. This isn't such a concern if you're just backing up your card for personal use.
The Command Line: Quick and Painless, No Installs Required
Your last option requires no additional software, but uses text-base commands and Terminal. If you're willing to work with the command line, you don't have to do anything but download your image and plug in your microSD card. Once you have both of these, all the rest of the steps can be done in Terminal. Just be very careful when noting the disk numbers, as the wrong choice may reformat another drive unexpectedly.

The first thing we need to do is format the card. We're going to do this with the command line version of Disk Utility, diskutil. First, we need to get the ID of our Micro SD card with this command:
diskutil list
The command will list all of the attached disks; you should use the disk number that matches your card. We'll use disk2 for an example in the rest of the commands. Now unmount the disk with the command:
diskutil unmountDisk /dev/disk2
Once the disk has been unmounted, you can copy your image to the card using the dd command. This is a file copy utility, which will copy the image to the Micro SD card. The command breaks down into a few pieces of info: the block size of the disk, the source image, and the destination. In this example, the source file (ubuntu-mate-16.04-desktop-armhf-raspberry-pi.img) is in the Downloads folder of PiUser.
dd bs=1m if=/Users/piuser/Downloads/ubuntu-mate-16.04-desktop-armhf-raspberry-pi.img of=/dev/rdisk2
The copy will run in the background. Once it finishes, you can eject the card, and you're ready to set up your Raspberry Pi. Done!
Projects for Mac Users
The DIY section of MakeUseOf has tons of different projects that you can build using a Raspberry Pi. There are a few that are going to be great places for Mac users to start.
Raspberry Time Machine
If you're looking to free up one of your USB ports on your Mac, moving your Time Machine backup to a NAS is an easy fix. We've covered before how to create a Time Machine target on any NAS.

So before you can do that, you'll need to set up a NAS. Using the Raspberry Pi, you can do that just as easily. What's nice is that this method will allow you to create your NAS across a variety of spare storage devices.
AirPlay Receiver
AirPlay might be an excellent way to share your Mac or iOS device to your television, but you might not be ready to invest in an Apple TV. The Raspberry Pi can give you an entry level Airplay receiver, just follow this guide here.

If you've got some electronics skills, and an old amp, you can make an AirPlay speaker using a Raspberry Pi. Beats the iPod Hi-fi by a long shot.
Wireless Printer
If you're looking to make your old printer join the wireless age, we've got a project that allows you to use the Raspberry Pi as a wireless adapter. Using CUPS and some basic Linux skills, you're essentially turning the Pi into a mini print server. Then you can add the Pi as a printer for your Mac.
Retro Pi

If you're looking to have a little fun with your Rasberry Pi, we have a great guide for turning it into an emulation arcade. This is a great way to have your old game collection on a modern TV, with a slick couch-friendly interface. If you're feeling ambitious you can even build a mini-cabinet for the Pi.
Just The Beginning
These four projects are easy ways to get started with the Raspberry Pi. We've featured many more projects, like building your own network security camera. You can make the Pi into a stop motion rig for your next You Tube video. Our DIY section is full of ideas for new projects you can try out.
Have you built a Mac-related project on the Raspberry Pi? Personally, I can't wait for ARM based Macs so I can make an Apple Pi (you can deride that joke in the comments as well).