The DSLR camera user guide is perhaps one of the most daunting collection of words ever written, but studying it is one of the necessities to get the most from your digital SLR camera. As beginners to digital photography, we have all skimmed through or avoided it altogether because we just wanted to get down shooting photos. There is something to be said for practice, but not at the expense of theory, which relates the camera's features with proper usage.
A great shot is a split second event. Getting it right is knowing which camera feature to use and when. So, a broader knowledge of what your camera can open a world of photographic opportunity.
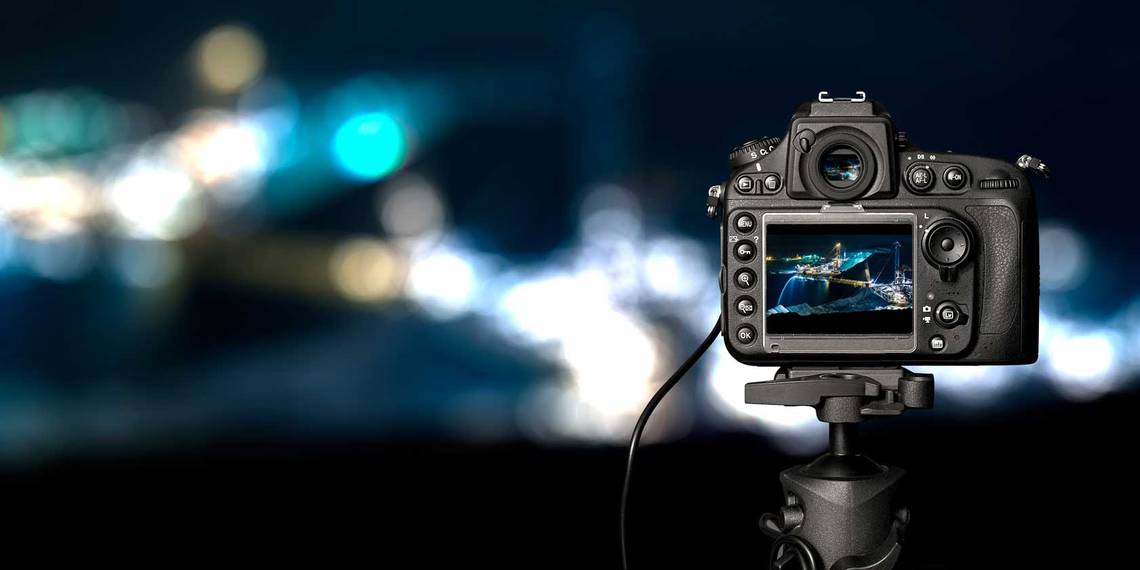
Here are ten DSLR features (of the many) that might inspire you to open your camera’s manual to see if your model supports them.
Customize File Names
Different brands follow different file naming conventions with alphanumeric characters (E.g. IMG_10001.JPG). Usually, all DSLRs come with a feature that allows you to set custom file names. Here are the support pages that discuss file names (and numbering) for Nikon and Canon.

The Benefits: File naming helps you personalize your images and organize them better. For instance – you can use your own initials to identify photos shot by you and those shot by someone else. You can also change the filename per project and use it as a quick organization tactic, or use it to split sessions or locations.
Recognizable file names also help with organization when you use multiple cameras. Some cameras even allow you to create custom folders where you can save captured images.
Play With Picture Styles
Entry level cameras to advanced DSLRs have options for "image effects". Canon EOS DSLR cameras have six preset styles (and an extra user-defined one) – Standard, Portrait, Landscape, Neutral, Faithful, and Monochrome. Nikon SLRs have similar options -- Standard, Neutral, Vivid, Monochrome, Portrait and Landscape. You can also tweak these individual picture styles by adjusting sharpness, contrast, saturation, and color tone.

You can also download custom picture styles available online like the popular (and free) Cinestyle from Technicolor to your camera from your computer. Canon also provides downloadable picture styles (image below) which you can add to the presets. Here's the how-to from Canon and the page on the Nikon Picture Control System.

The Benefits: Familiarity with picture styles helps you set the mood for a photo and avoid some steps in post-processing. Picture Styles give you creative space to give photos some unique effects while shooting, or just punch up regular shots with a few adjustments.
Rate Your Images In-Camera
Check if your camera has an in-camera function to rate images. My Canon 7D allows me to rate images and videos on a 0 to 5 star scale. The individual rating is saved in the meta-data of the photo or video and is imported along with all the others into software like Adobe Lightroom, the camera's provided software and native file-viewers in Windows 7 and 8.

The Benefits: With rated photos, you can select the best and showcase them while viewing it on a slideshow within the camera. It is a huge timesaver if you shoot a lot, and quickly want to review the best you took – but don't just go on the preview image found on the back of the camera, use your histogram first and foremost.
Use The Focus & Exposure Lock Button
http://www.youtube.com/watch?v=FzqQskGoURE
Focusing the camera always works with the shutter button pressed half-way. On most cameras you can also lock the focus and exposure with another button on the back of the camera. Usually, this feature is indicated by an "AF ON" button or the "AE Lock" (or "AE-L") button.
Focus with the half-pressed shutter button as usual, but from there hit the button on the rear with your right thumb for to lock focus. The Canon tutorial (like the video from Steve Perry above) explains all the benefits and the method for setting up the back button auto-focus.
The Benefits: One of pluses is that it is easier to maintain continuous focus whether the subject is stationary or moving. If you are shooting portraits and the distance between the lens and the subject stays the same, it is easier to recompose a different aspect of the subject by avoiding the need to focus multiple times. Just press the back button once (or hold the button, on some cameras). Though, you can do it with focus-lock as well. I have also found it convenient because saves you from lifting your finger off the shutter button again and again to focus .
Electronic Level
The electronic level is one of the more useful (but under-used) features on DSLRs. Use the electronic level with your camera on a tripod and set the focus so that there is no perceptible horizontal, backward or forward tilt. Electronic levels are visible through the viewfinder and on Live View. In Nikon models too, you can set up the "virtual horizon" from the menu.
The Benefit: This is valuable for landscape shots when you are trying to align your frame with the horizon and your camera is on uneven ground. It is also handy for shooting buildings and architectural landmarks which have clear horizontal and vertical lines.
Check The Histogram After A Shot
Tackling overexposure or under exposure is one of the basic challenges of photography. The histogram is a pixel map which helps you see which parts of the image are too white or too black. You should always keep the histogram displayed during post-processing. But getting into the habit of checking the in-camera histogram is a quicker way to understand what goes into a balanced photo. Bakari showed us how to read a histogram and it holds true for both the camera and the editing software.

While shooting, the histogram is displayed when reviewing photos. Like the screenshot above, it is displayed alongside the photo on most DSLRs. Some cameras also show color histograms with the the red, green and blue channels in the photo.
The Benefit: Reading the in-camera histogram helps to understand exposure in the field. Scenes and situations differ, so histograms aren't always the ultimate benchmark but they frequently provide better feedback than peering at poorly lit LCD screens in full sunlight. You want balanced shots with a full range of tonal range that is represented with a nice bell shaped curve on the histogram.
Don't Forget The Continuous Drive Modes
You can call it continuous or burst. You can shoot a sequence of photos by simply holding down the shutter button. This is great for moving subjects like a sports event or childrens party.
Different DSLRs have different drive modes, but there is usually a burst mode along with the single shot and timer modes. For instance, my Canon 7D has a high-speed continuous shooting mode that takes 8 frames per second, and a low-speed continuous shooting mode that takes 3 frames per second. The speed and space of the memory card is obviously one of the limiting factors for the number of shots you can take. Do always check your drive mode before shooting because you don't want to use the wrong one at the wrong time.

The Benefit: The default mode in all cameras is the Single-shot, but I like to keep my camera on the Continuous mode to capture quick moments. Picking the best out of the multiple shots has often led to some expressive captures.
Automatic Exposure Bracketing
The term sounds very fancy, but it is simply the process of taking two extra shots at different exposures to the one which your camera just took. Don't worry, it's all automatic – you don't have to manually change any setting for each shot after you choose AEB, as Canon calls it. Nikon usually labels it "BKT".

Modern sensors are great at picking exposure, but they are still not as accurate as the human eye in difficult light situations. DSLRs allow you to adjust the exposure values to adjust the amount of light that enters the camera, but if you get it wrong your additional two bracketed shots should have you covered in case of over or under exposure.
You can pick one of the three which feels just right, or change the exposure brackets and try again. There are some online tutorials where you can learn to fuse the three photos and get a highly-defined (HDR) image.
The Benefits: AEB increases your chances of getting the right exposure by taking two extra shots along with the one you take: one slightly over-exposed, one standard, and one under-exposed. For beginners, it is a "better-safe-than-sorry" feature for capturing a precious shot, rather than ruing the lost opportunity later. For instance, the three shots below. For more seasoned photographers, you can use multiple exposures to blend together various aspects in Photoshop, or merge and tonemap for a HDR image.

White Balance Presets
When viewing an object under different types of lights, our eyes adjust automatically. So, a white object viewed under a bright sky, a cloudy one, or even under a bulb appears white because the human eye calibrates superbly. The digital camera isn't so adept. It needs some help to reproduce the natural color of an object and not be affected by lighting conditions around it.
The Benefits: Balancing for white is an important camera feature that tries to neutralize any color casts and give us natural colors, accurate shades and human skin tones. There are presets available for different light conditions apart from the default Auto (AWB), where the camera tries to do its best. It's important to be familiar with the other settings and how they can help you get accurate shots. Combining this with RAW photos helps you finetune photos. For instance – Fluorescent warms up the "colder" look of a photo shot under white lights..

Beyond this, most cameras also allow you to manually set custom white balance settings. This is very easy to do, and only requires you take a picture of a white or gray piece of paper under the conditions in which you are going to shoot. Here are the Canon and Nikon pages on White Balance.
Auto-Power Off Or Automatic Shutdown
Every mid-level to high-end DSLR comes with power management options that save you the bother of switching the camera on and off repeatedly. By default, the feature is enabled and it helps to conserve battery life. Cameras also allow you to set the duration after which auto-power off kicks in. To turn it back on, just press the shutter button halfway.
The Benefit: To save power while still being ready to shoot with the tap of a finger.
What Did We Miss?
You may already be familiar with most of these features. I know that there are many more – so do tell us about some of the features you find most valuable, that are easy to miss. Is it the Depth of Field preview, or Flash compensation? Maybe, your new camera has a timelapse feature or square crop for Instagram-like shots? Who knows, you might inspire someone to rekindle their photography habit again!
Image Credit: Digital camera the night view (Shutterstock)