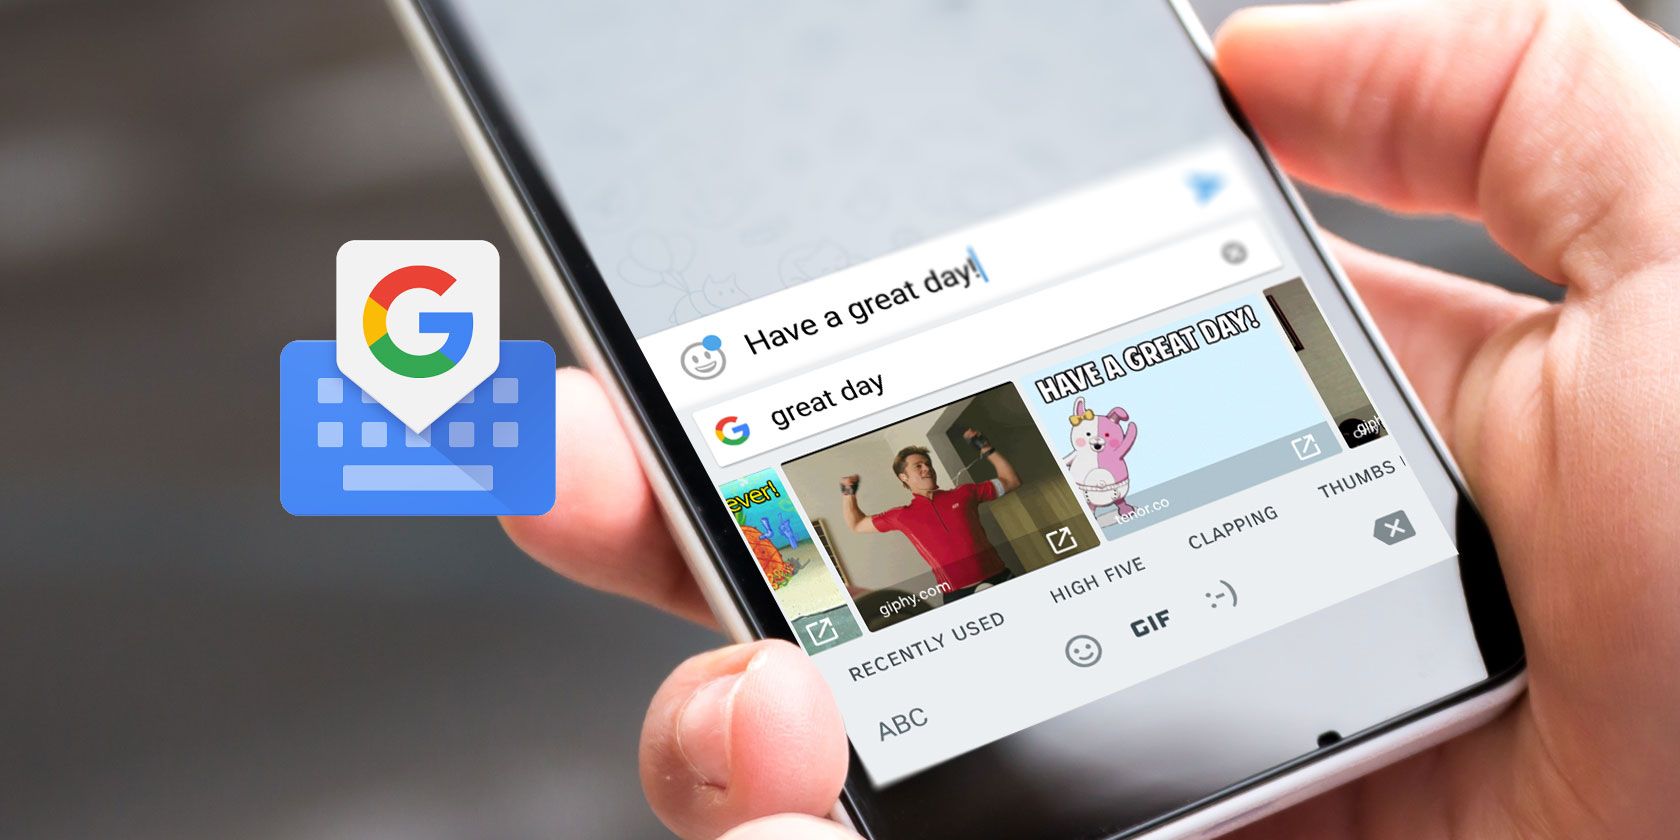
One of the most exciting things about using Gboard is the incredible level of customization it offers. On the outside, Gboard appears a little bland. It does not appear significantly different from the hundreds of other keyboard apps you can find on the Play Store.
However, if you take the time to poke around, there are a lot of interesting features you'd find useful. We've put together 10 things you probably didn't know Gboard could do.
Why You Should Use Gboard
If you're not already using Gboard, you should try it out. The Google-made app is unarguably one of the best keyboard apps for Android. Apart from having access to a long list of useful features, you'd be safe from the broad range of security and privacy concerns associated with third-party keyboards.
Download: Gboard for Android (Free)
1. Select Text Easier With Trackpad Mode
Text selection can be a bit challenging on touchscreens. You just don't have precise cursor control. Gboard has a feature that makes this easier, at least in text boxes. You can move the cursor by swiping left or right on the space bar.
You can also easily delete multiple words at the same time instead of tapping the backspace button to get rid of a letter with each tap. Simply tap the backspace button and swipe left (without letting go of the screen) to select the text you want to delete. The text will be deleted as soon as you release your finger.
2. Quickly Access the Alternative Keyboard
Whenever you want to enter commonly used punctuation marks, like an exclamation or a question mark, you'd typically switch to the numeric keyboard using the ?123 button. In Gboard, you can access these punctuation marks, along with other special characters by simply tapping and holding the period button.
3. Translate Right in the Keyboard
Gboard comes with a live translation feature, a Gboard-specific iteration of Google Translate. It can translate words and sentences between more than 90 languages as you type. To access the feature:
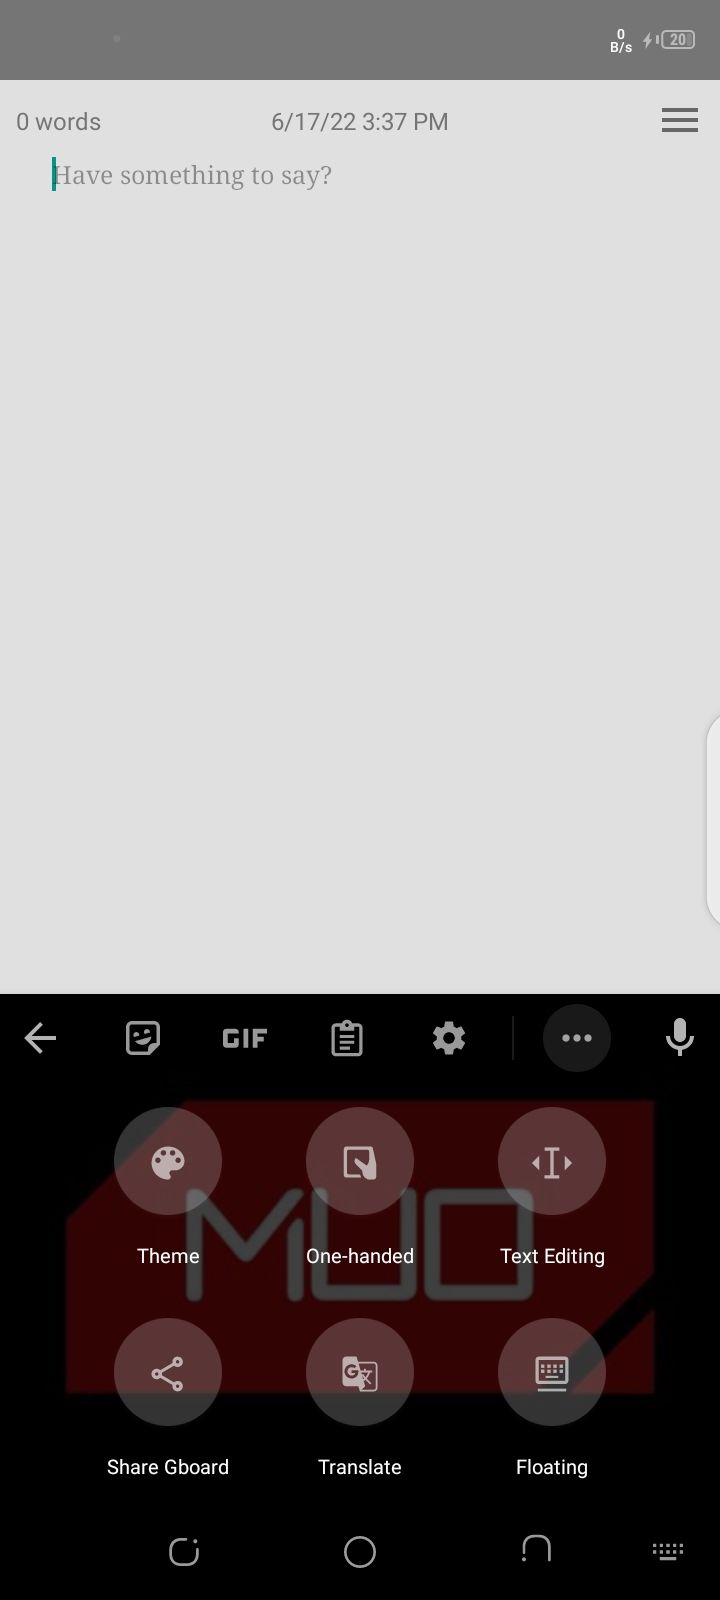
- Tap the right caret icon in the top left corner of your Gboard app.
- Tap the three dots in the top right corner of your Gboard.
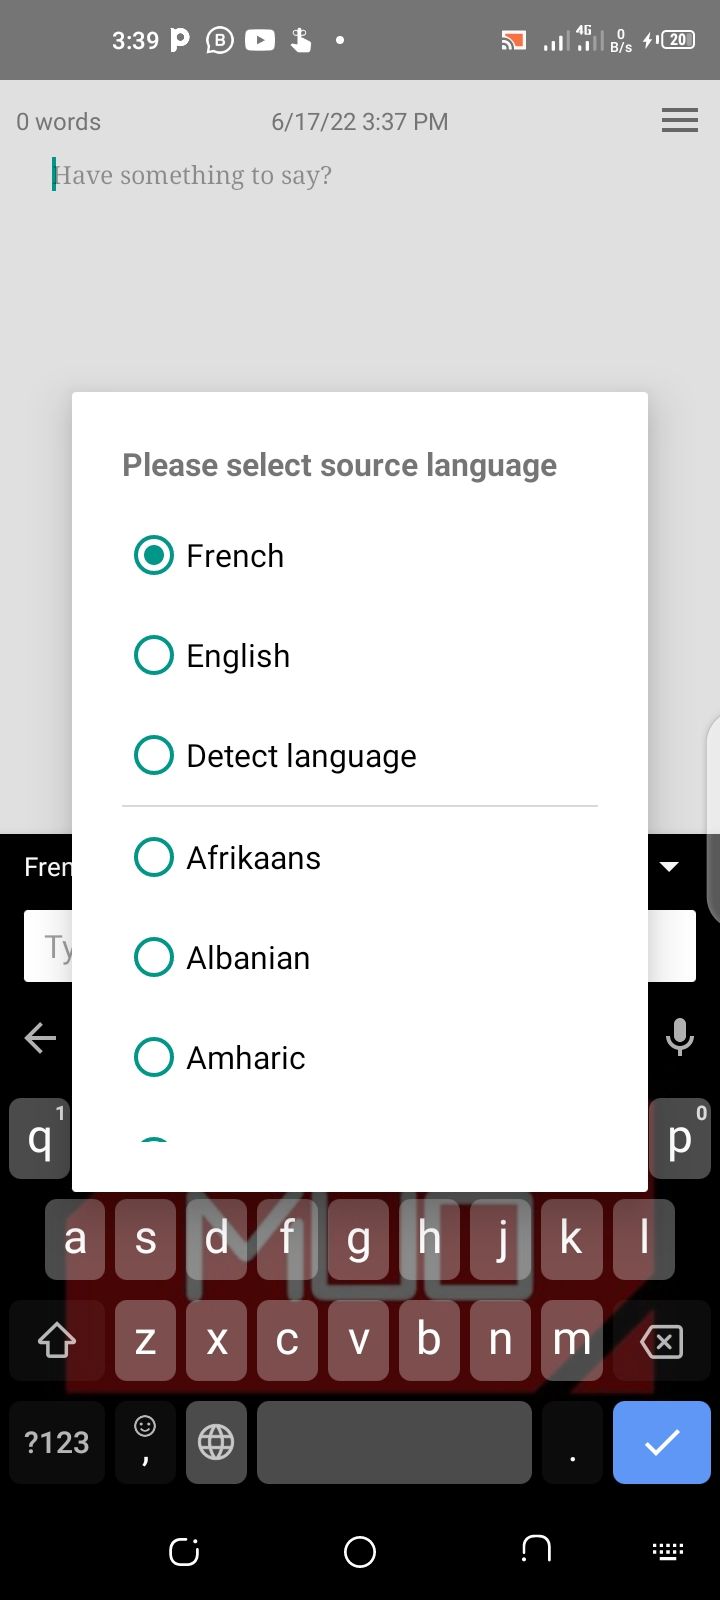
- On the menu that comes up, tap Translate.
- Set your cursor to the area you want the translated text to be inserted.
- Start typing using your preferred language on the input box that comes and your translated text will be inserted into your current document.
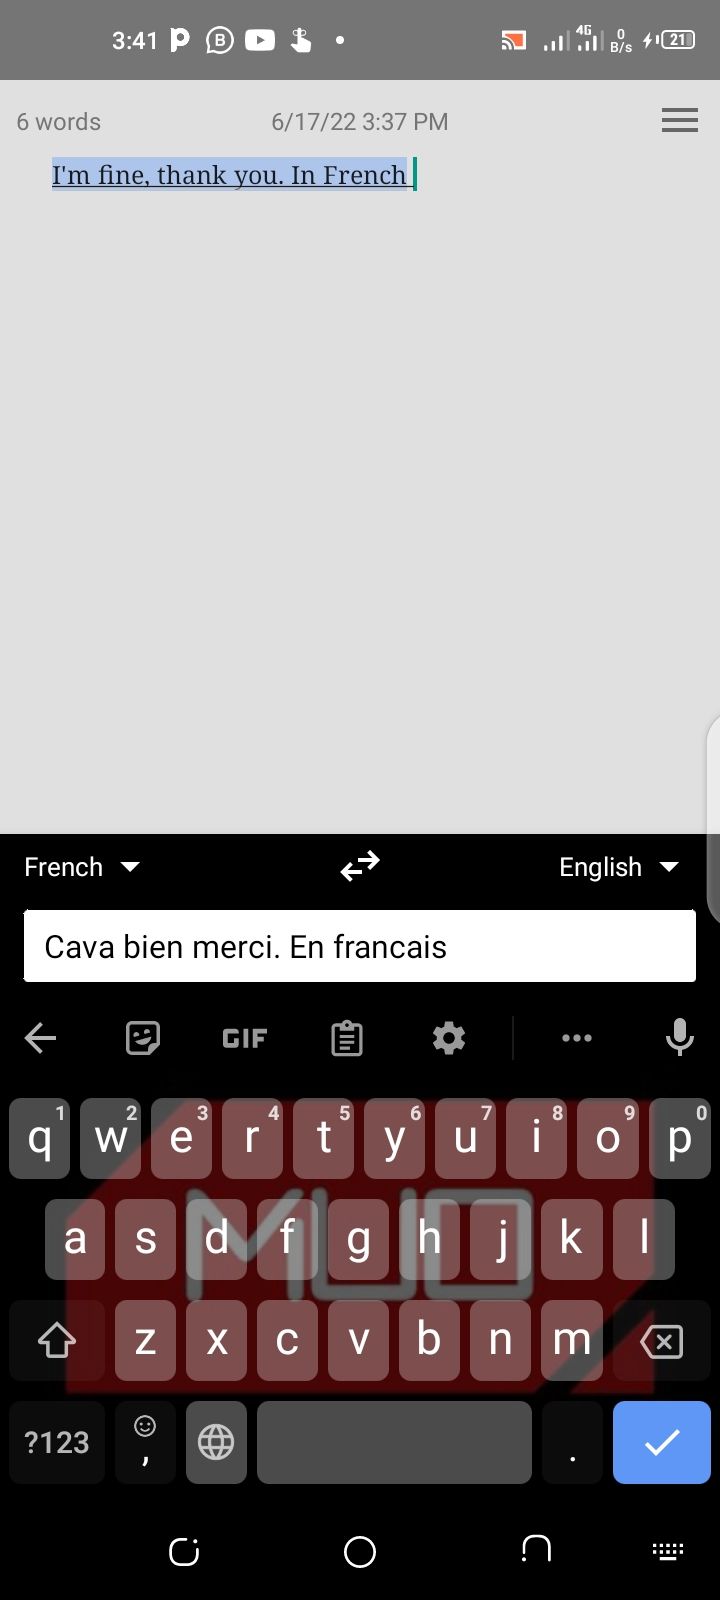
Alternatively, you can speak using the Gboard voice input and let the feature translate into text in your language of choice.
4. Create Text Expansion Shortcuts
If you use certain words or sentences frequently, it might make sense to create a faster way to access those words without having to type them out each time. Gboard has a text expansion feature that can help you do this. So, instead of typing common words like your email address or home address, you can use a few characters to invoke them into your text box.
To set up text expansion:
- Tap the right caret icon in the top left corner of your Gboard interface.
- Tap on the settings icon, select Dictionary > Personal Dictionary, and tap on the keyboard language to use (eg. English (US))
- On the next screen, tap on the plus icon in the top right corner of your screen.
- On the next screen, type a word or sentence and then type a shortcut to use for accessing it.
- Hit the back button in the top left corner of your screen to save.
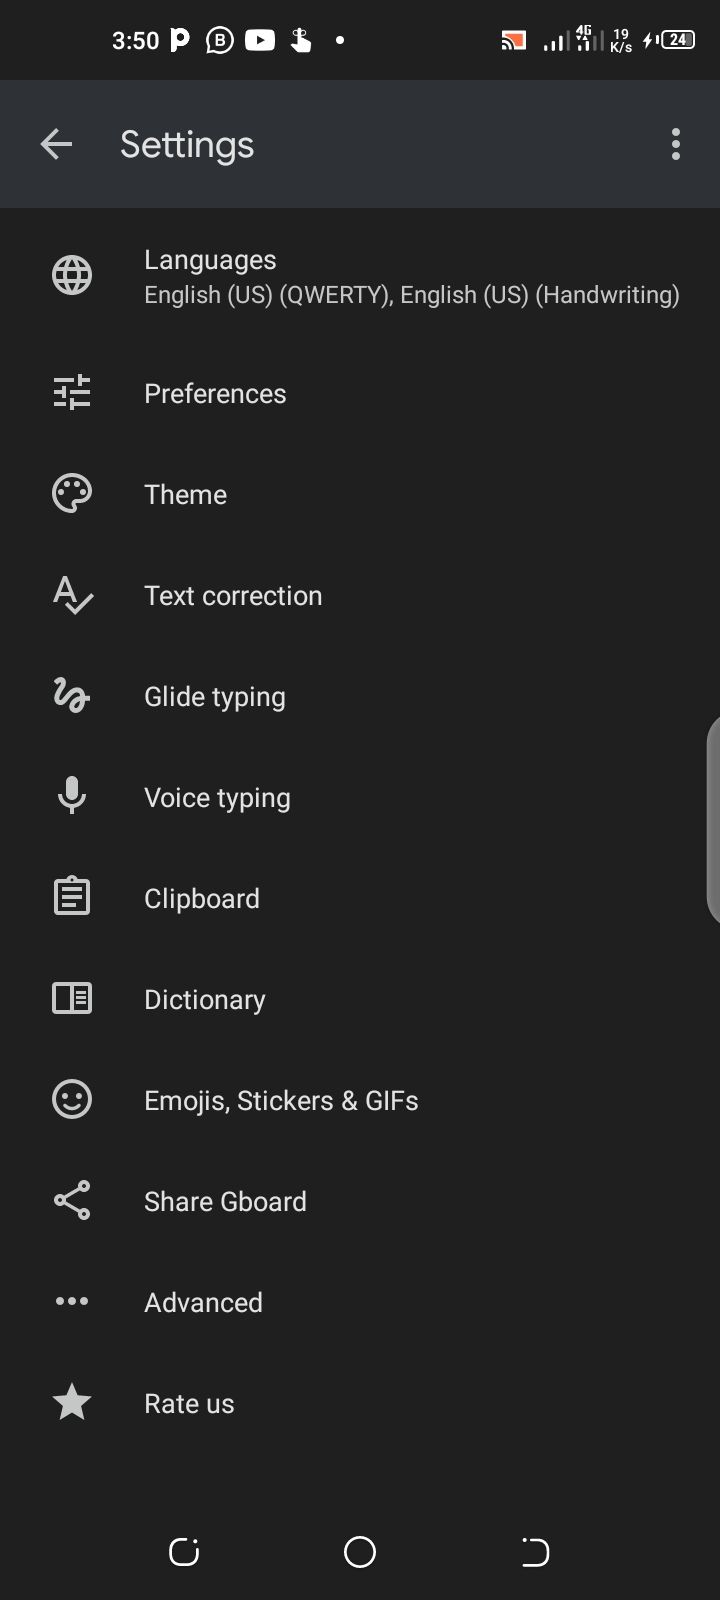
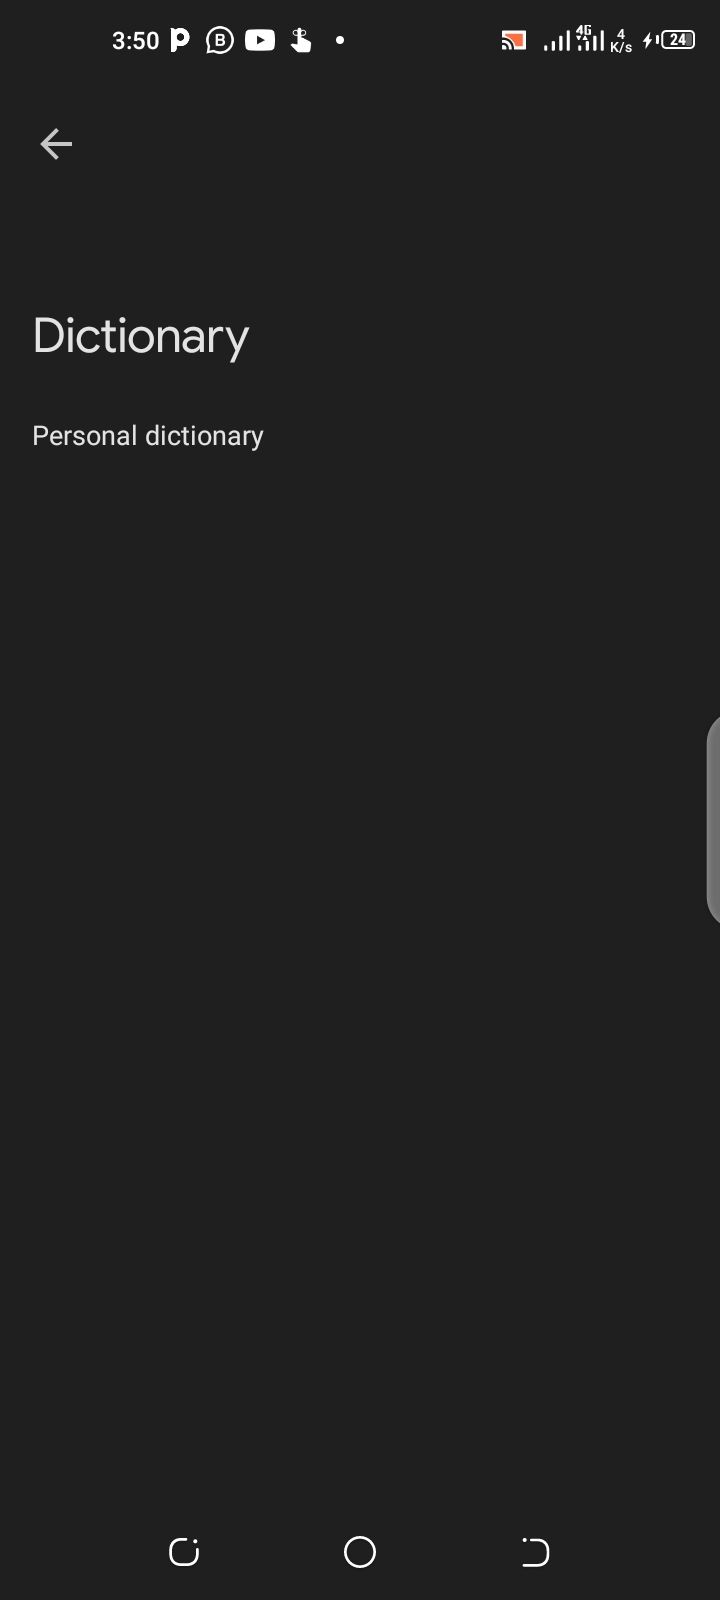
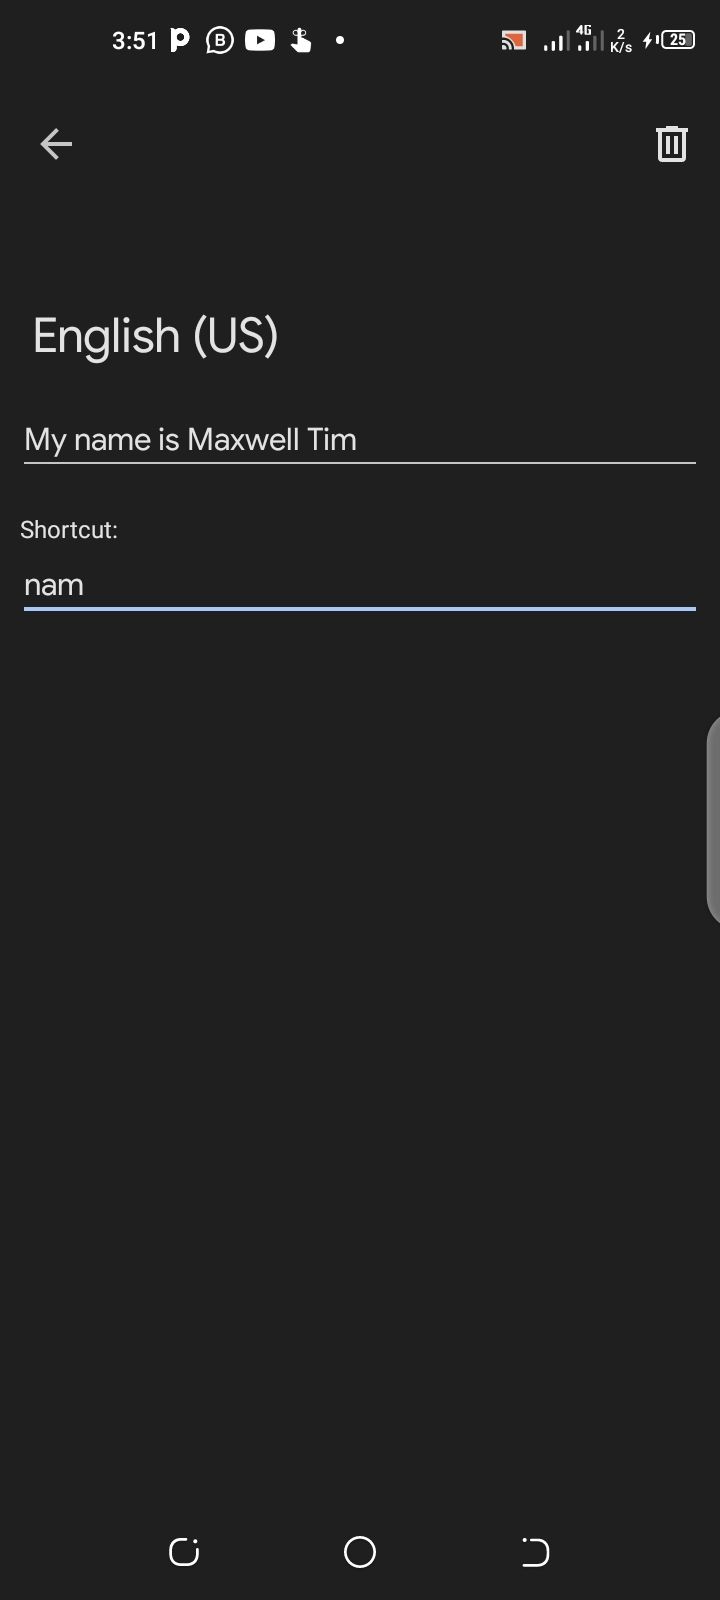
To use the feature, simply type the shortcut within any text input area and the sentence/word you want to access will come up as a suggestion on your keyboard.
5. Type in One-Handed Mode
If you're having trouble reaching the other edge of the screen when you're typing with one hand, Gboard has a one-handed mode option to ease your pain. To access the feature:
- Tap on the right caret icon in the top left corner of your Gboard interface.
- Tap the three-dot icon.
- Tap on One-handed mode.
Your Gboard will shrink and get docked to either the left or right side of your screen. Tap on the arrow button that appears beside the typing area to make Gboard dock on an alternate side of your screen, depending on which hand you prefer to type with.
6. Customize the Keyboard With Themes
Gboard might not be the most glittering of keyboard apps, but if you know where to look, you'll find a lot of exciting themes and tweaks to make it look its best. To access Gboard themes:
- Tap on the right caret icon in the top left corner of your Gboard interface.
- Tap the Settings icon that comes up.
- Tap Theme and then select from the available options and select Apply to use the theme.
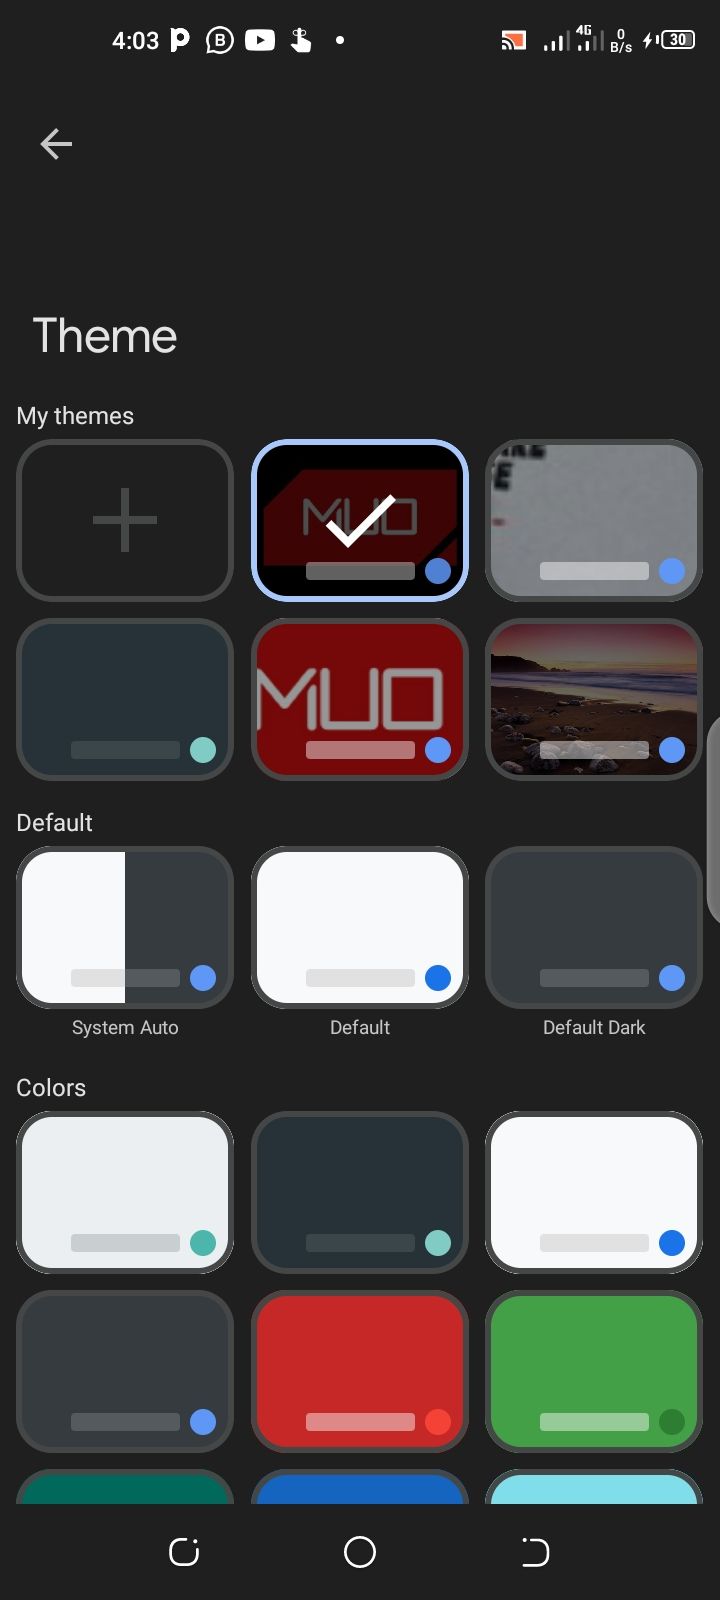
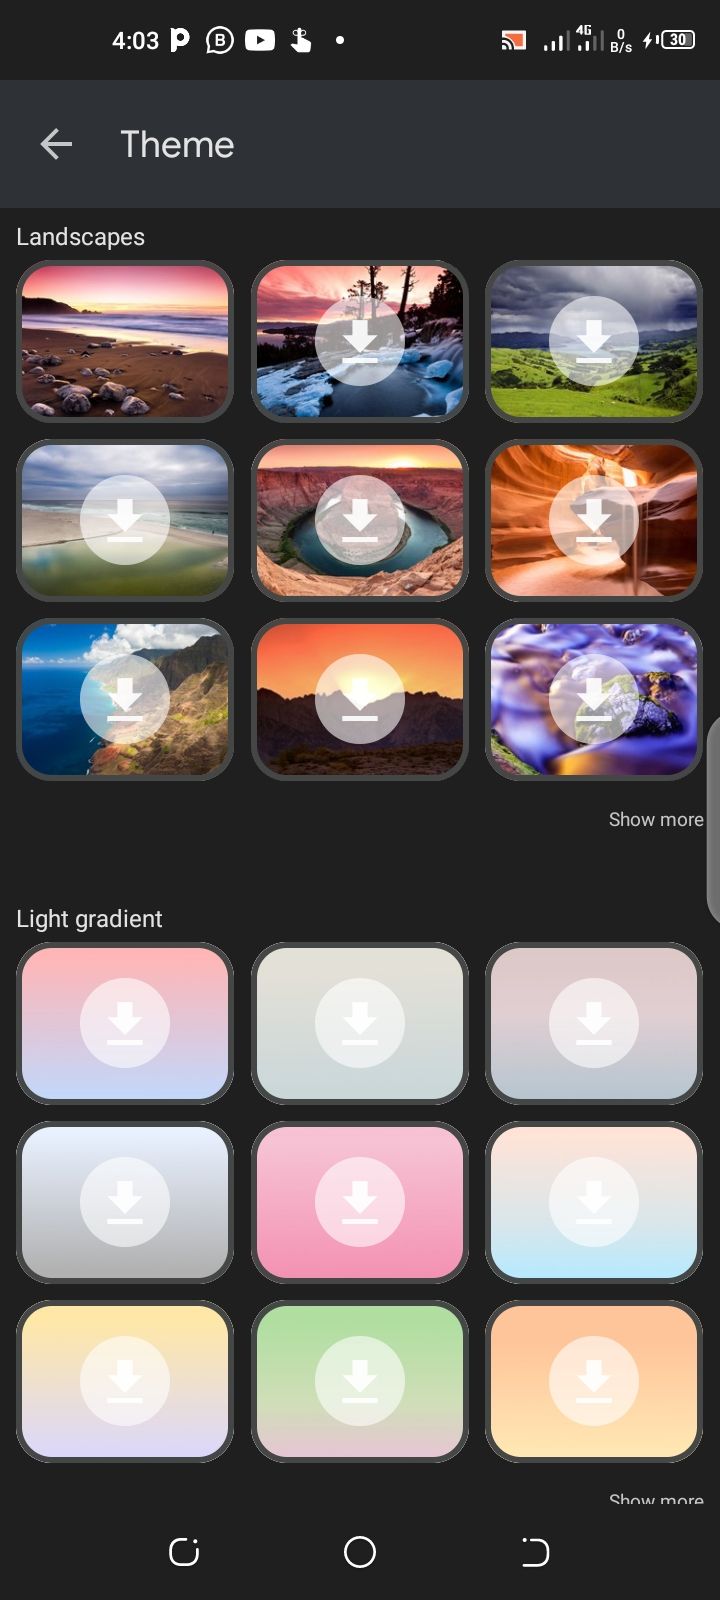
You can choose solid colors, gradients, or landscape images as your preferred theme. If you don't fancy any of the available options, you can create your own. To create a custom Gboard theme:
- Tap on the big plus icon on the theme page.
- Select a preferred background image from your local photo gallery.
- Adjust the brightness.
- Choose whether your keys should have borders, then hit Save.
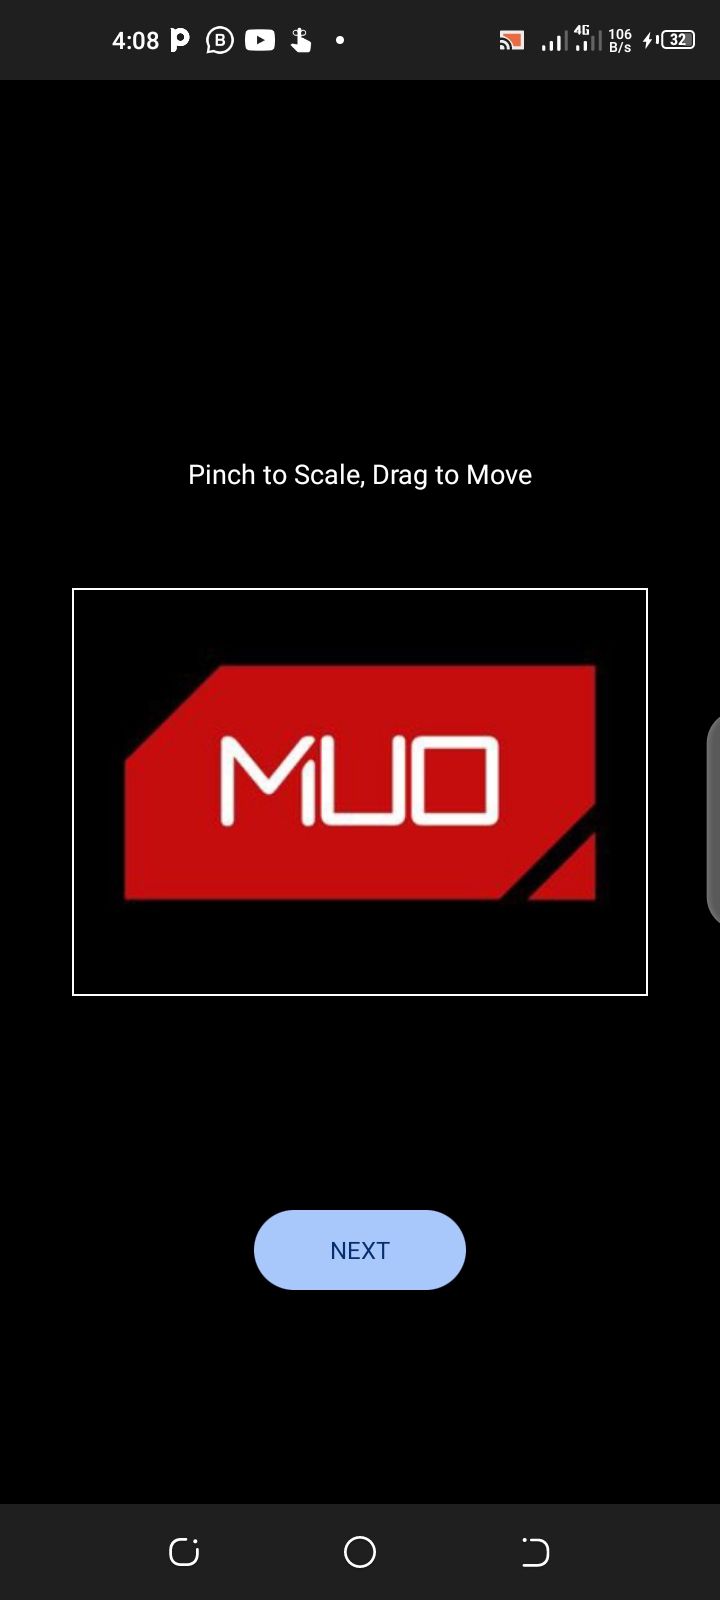
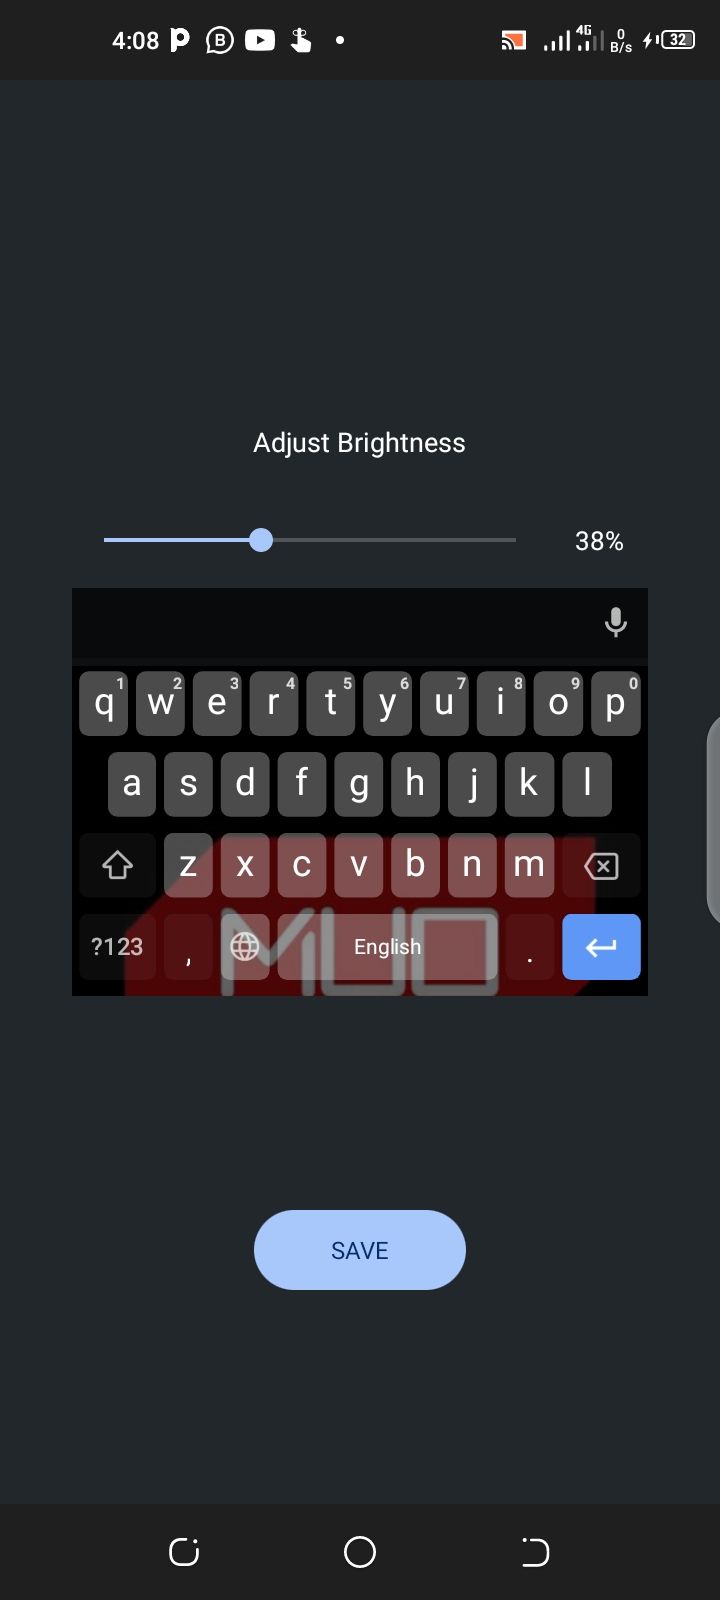
Done that? Well, your custom theme is ready for use.
7. Remove Certain Auto-Suggested Words
We're quite used to keyboards suggesting words, it's part of what makes typing on smartphones very fast. However, sometimes misspelled or inappropriate words may pop up among your auto-suggested words.
To get rid of an auto-suggested word and ensure it doesn't come up as a suggestion again, long-press on the word and drag it up towards the delete icon that pops up on the screen.
8. Navigate Documents More Easily
If you frequently create or edit documents with your smartphone, one of the challenges you'll encounter is the tedious text selection and navigation routine. Fortunately, the guys at Google have a workaround to ease the pain. Gboard comes with a Text Editing mode that replaces the alphanumeric keys with navigation and text manipulation keys.
While on the Text Editing mode, you can control where your cursor goes with greater accuracy. The feature also makes it easier to select, copy, and paste text. To access the feature:
- Tap the right caret icon in the top left corner of your Gboard interface.
- Tap the three-dot icon and then tap Text editing.
9. Move the Keyboard Anywhere On Screen
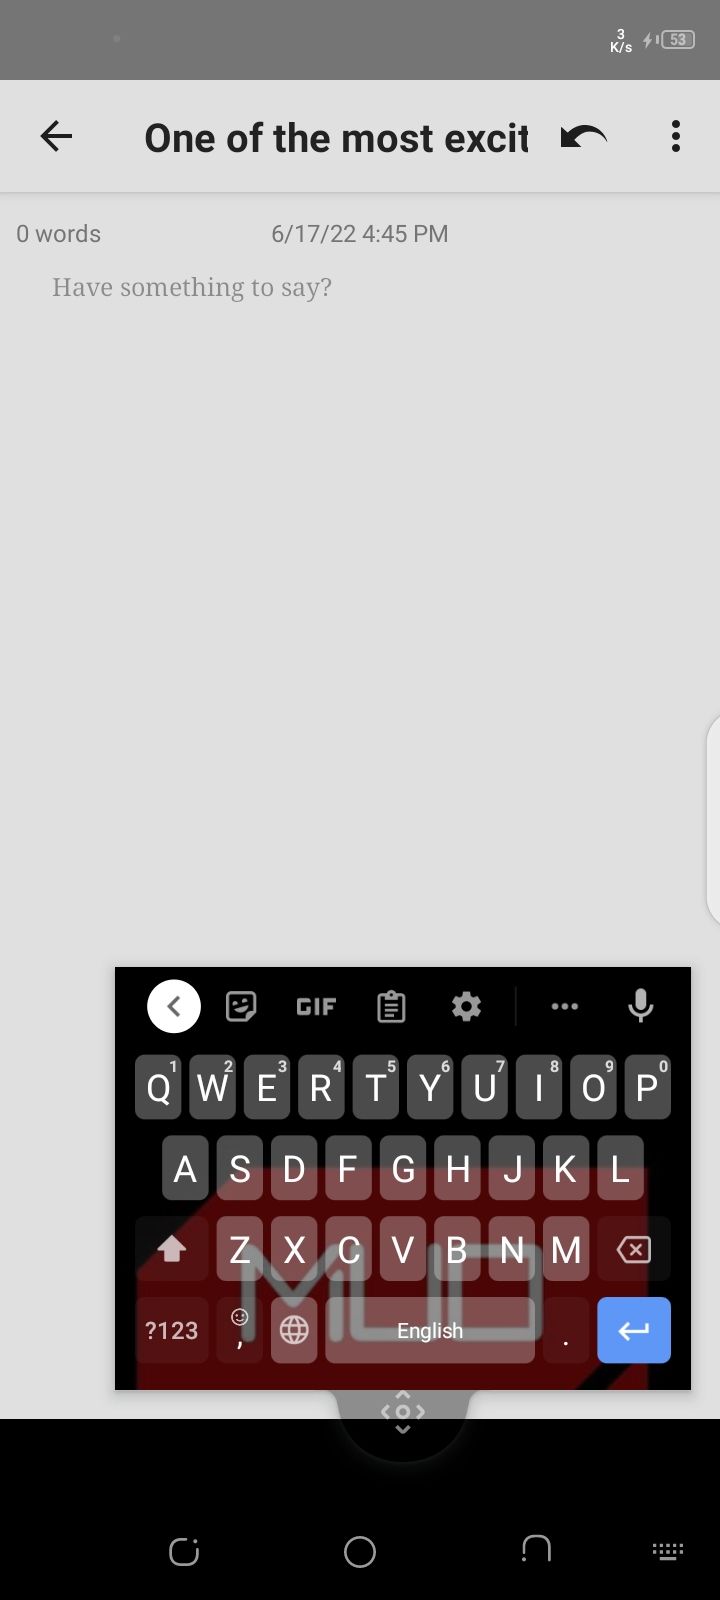
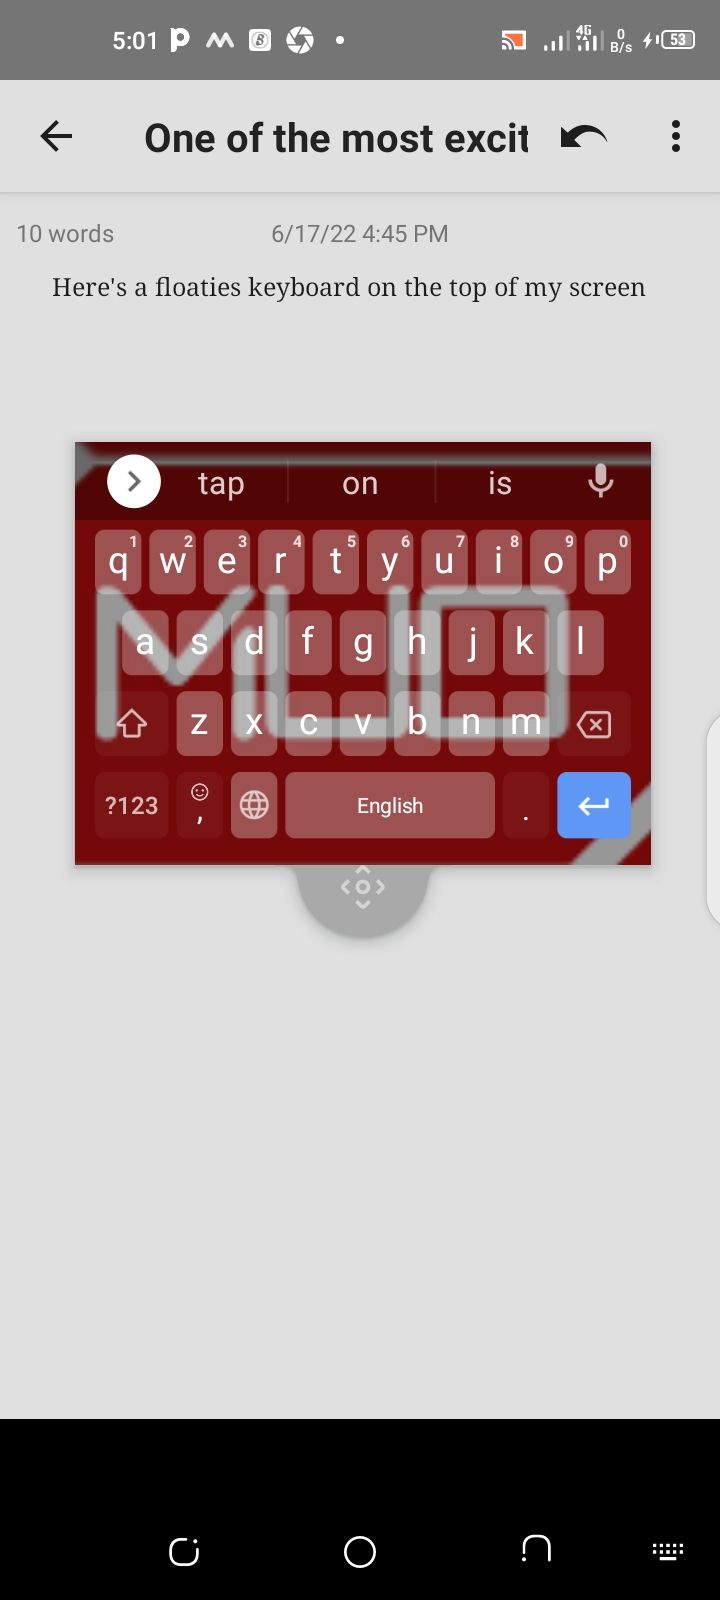
If for any reason you're not comfortable with the default location of your Gboard keys, you can make the entire Gboard interface float to wherever you want on your screen. To make your keyboard float:
- Tap the right caret icon in the top left corner of your Gboard interface.
- Tap the three-dot icon and then tap Floating.
- Your keyboard will be undocked from the default bottom position. Hold the navigation button on the bottom of the undocked Gboard interface and drag it to wherever you want on the screen.
10. Use Custom Bitmoji
If you've ever wanted access to emojis that look like you, Gboard's Bitmoji feature might be what you're looking for. If you have your Bitmoji set up already, Gboard has a Bitmoji integration that lets you use it right from the keyboard. If you're not familiar with them, here's a guide to help you set up and start using Bitmoji.
To access the Gboard Bitmoji feature:
- Tap the right caret icon in the top left corner of your Gboard interface.
- Tap the square-faced-shaped icon next to the caret.
- Tap the winking face icon on the bottom of your Gboard interface.
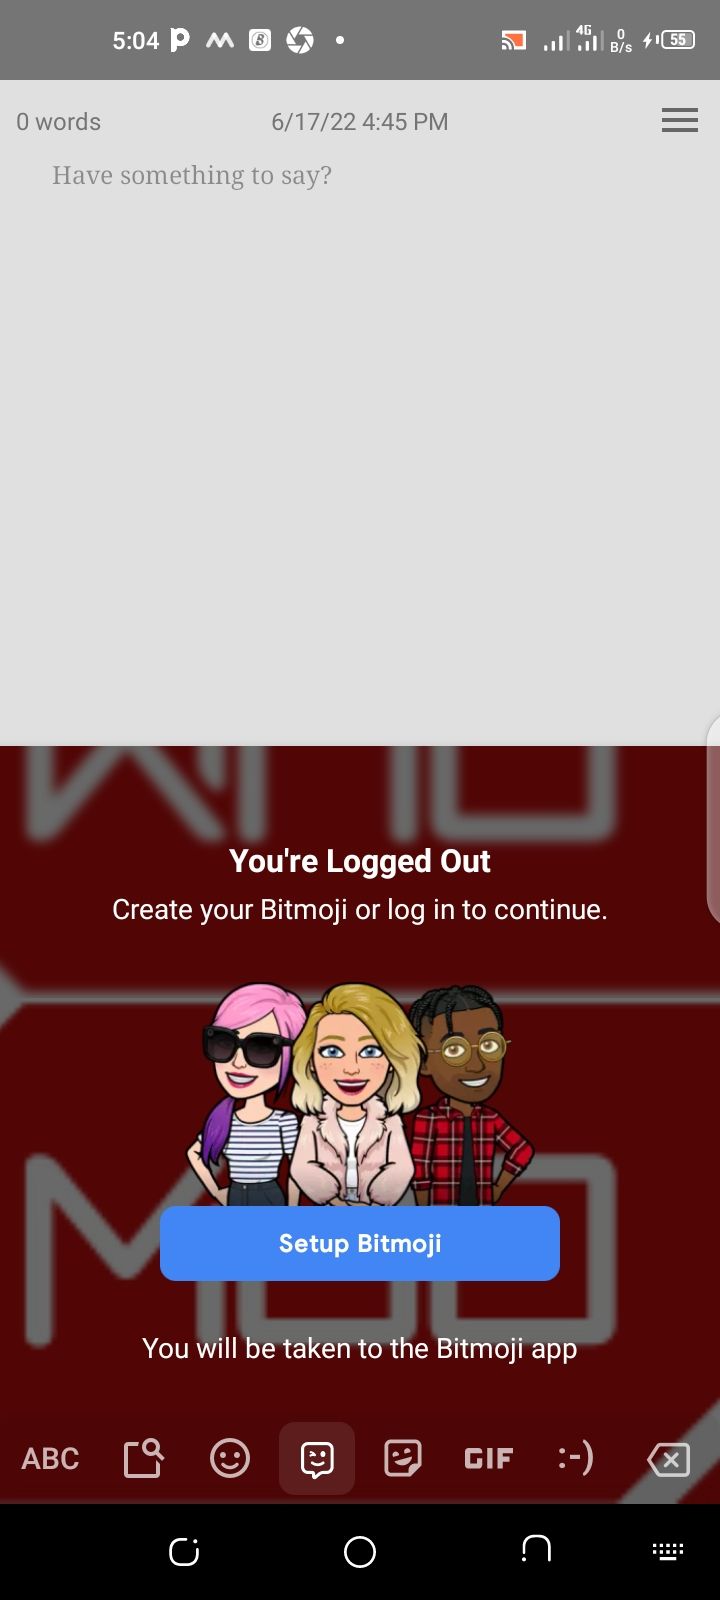
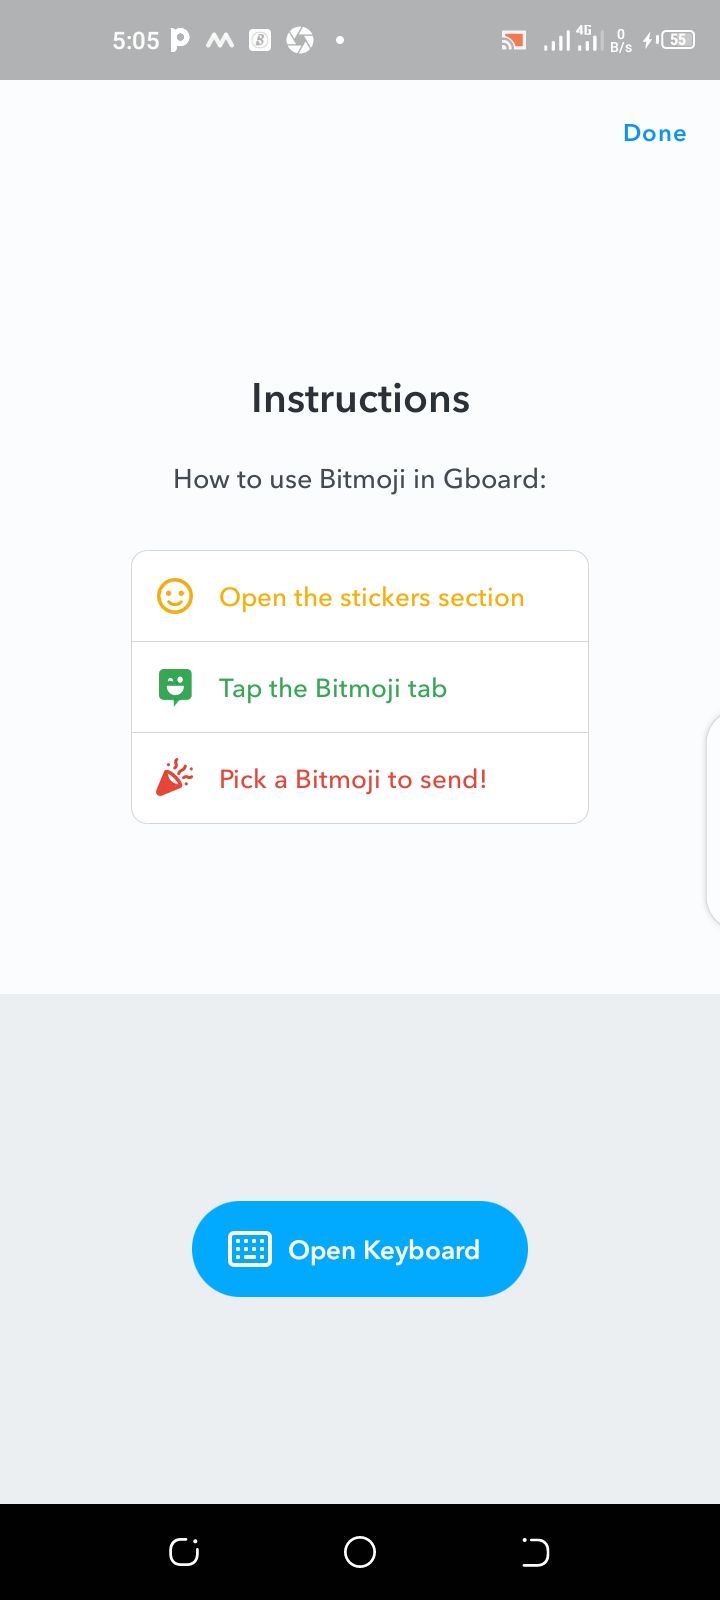
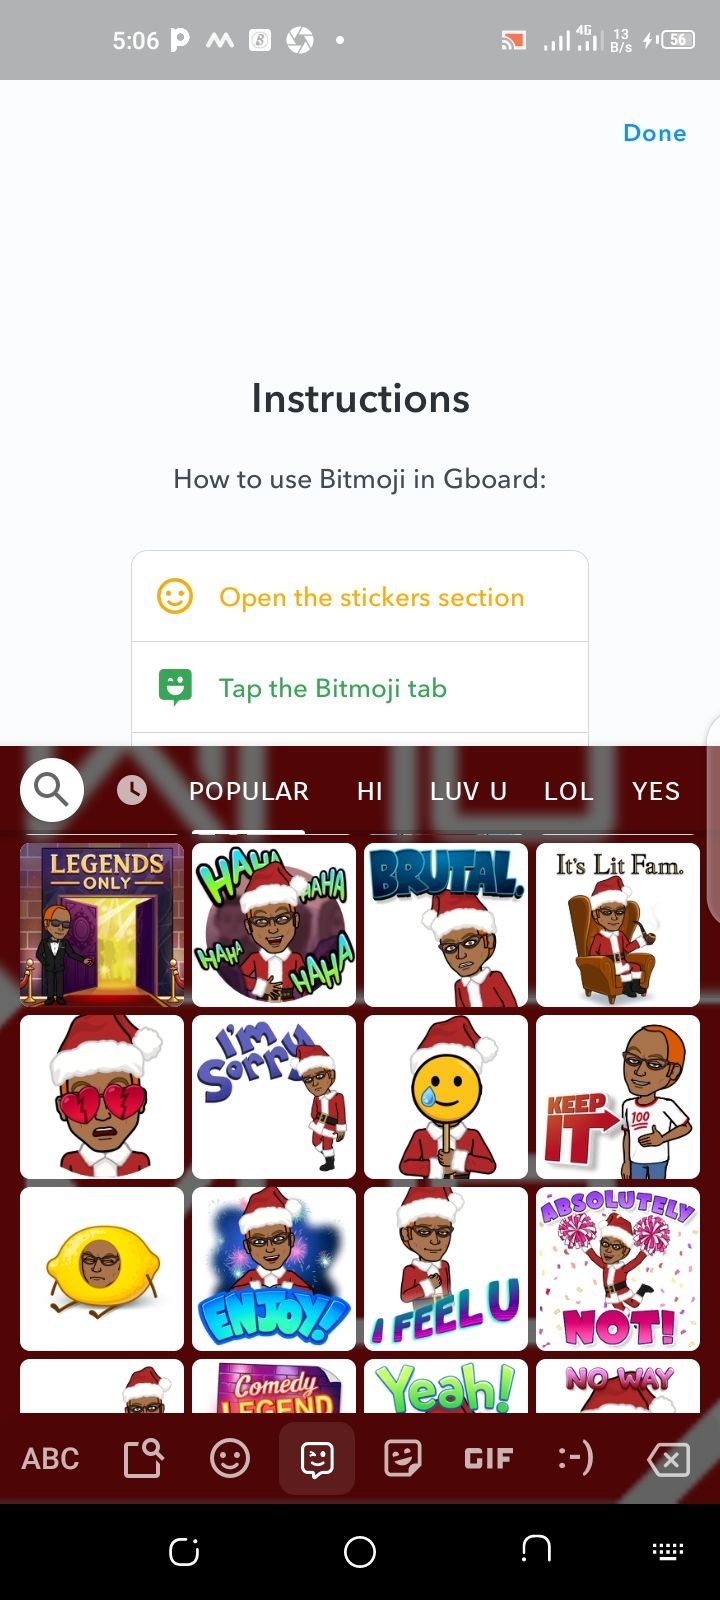
If your Bitmoji account was set up and logged in on your device, you should see all of yours ready for use. If it's your first time accessing the feature, you'd likely need to set up your avatar in the standalone Bitmoji Android app to enjoy the feature.
There's More Where That Came From
Gboard is an aesthetically simple yet feature-rich keyboard app. The Gboard team does a good job of pushing out new features very frequently. If you're interested in taking advantage of every useful feature the app has to offer, always be on the lookout for new.
Sometimes, Google doesn't widely announce new feature additions, so you'll need to look closely to find new things to try. With Gboard, there's always more to explore.

