Are you having problems with the microphone input on your Windows PC? Not being able to use your microphone properly means you can't participate in voice calls on Discord or Zoom, record audio, or do all sorts of other tasks.
Whether you're using a headset microphone or a USB mic, we'll explain how to resolve microphone issues in Windows 10. They'll help whether your mic keeps cutting in and out or if it's not working at all.
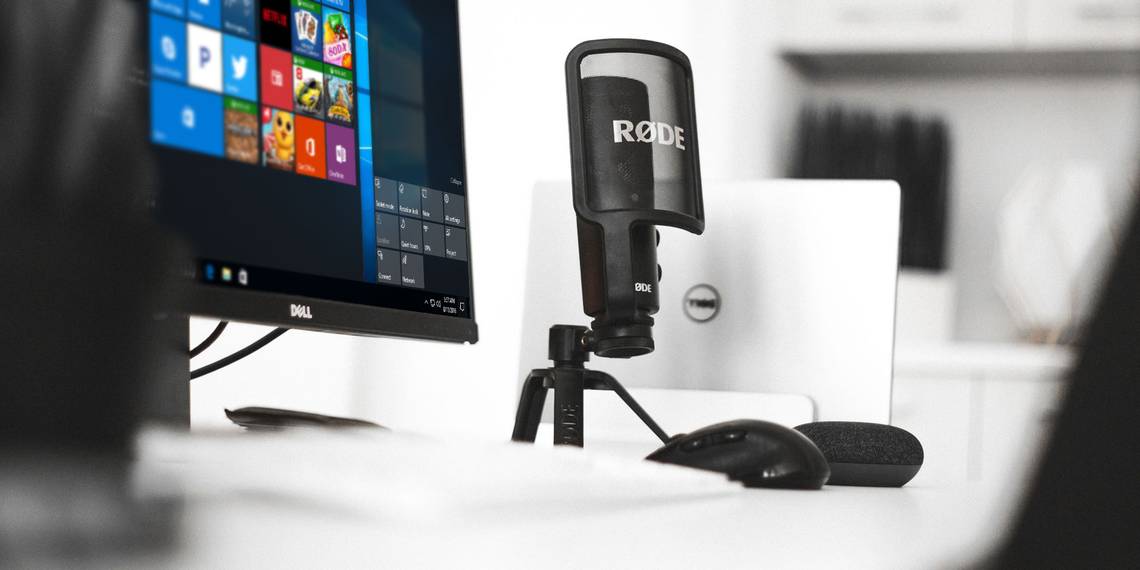
1. Check the Sound Settings Menu
Before you start troubleshooting, restart your computer. You might have a temporary issue that a simple reboot will fix.
Assuming the restart didn't make a difference, your first stop for microphone troubleshooting, particularly if your mic isn't working at all, should be the sound settings menu in Windows. Access these by navigating to Settings > System > Sound.
Here, under Input, click the dropdown box under Choose your input device. Select the mic you want to use. Note that other available inputs, like the built-in microphone on your laptop or webcam, will also show here. If you don't see the microphone you want to use, skip down to sections #2 and #4 below.

Once you've picked the right mic input, speak into your mic and you should see the Test your microphone bar move up and down. If it doesn't, head to Settings > Update & Security > Troubleshoot > Additional troubleshooters and choose Recording Audio. Windows will check for some common issues and attempt to fix anything it finds.
Back on the Sound page, click the Device properties link under the Input section. This opens a new page where you can rename the input, which makes it easier to identify in the future. You can also check the Disable box to keep that mic from showing up on your PC, or change the Volume to adjust how loud the mic's input is.
At the bottom of the main Sound page, you'll find the App volume and device preferences menu. This allows you to choose a different output and input device for each of your open apps. Have a look here and make sure you don't have the wrong mic selected for the app you're using.
Also, it's wise to close any apps you aren't using. If you have multiple apps open that are trying to access your microphone, your mic might not perform correctly in the app you actually want to use.

2. Troubleshoot Your Microphone Hardware
Next, you should look over your audio hardware setup. This is important whether your mic cuts in and out, there's no input from your mic at all, or it didn't appear in the menu above.
If you use a USB mic, try plugging it into another USB port on your PC. Don't use a USB hub or extender—plug your mic directly into a slot on your PC. If the mic works in another port, the first USB port is likely dead or has an issue. For analog mics, make sure you have the cable plugged into the pink microphone port on your PC.

No matter your mic type, confirm that all its cables are fully inserted and that nothing is loose. This includes the cable for your headset mic if it's removable, and any extension cables. If you have an extension cable, try removing that to rule it out as the problem. You should also check for fraying cables. Replace any damaged cords, which can cause issues like your mic cutting out.
While it sounds obvious, make sure your mic is close enough to your mouth to pick up your voice clearly.
If your microphone has a physical mute toggle, make sure you haven't enabled it by mistake. Look for a slider or button on your headset, its cord, or the front of the mic.

Should you still have no mic input after double-checking the above, try plugging your mic into another computer. If it doesn't work on the other PC, your microphone hardware may be faulty. Try contacting the manufacturer; you may be able to get a replacement if it's still under warranty.
Finally, don't forget to check for updated drivers for your microphone. Most headsets and microphones work with Windows out of the box, but some may require specific drivers for best performance.
Search Google for your device's name plus "drivers," and look for a Downloads section on the manufacturer's website to find the driver. Updating your sound card drivers is important, too.
3. Confirm That Apps Can Access Your Microphone
Windows 10 has a Privacy menu where you can block apps from accessing sensitive data like your camera and location. It's possible that you've blocked an app from accessing your microphone here, so you should check this list next.
Head to Settings > Privacy to take a look. On the left sidebar, click Microphone under App permissions. Make sure the slider under Allow apps to access your microphone is enabled, or no apps will be able to use it. Then take a look through the list of apps to confirm the one you want to use has access.

This first slider and list are only for Microsoft Store apps, however. Scroll down further and you'll reach a section titled Allow desktop apps to access your microphone. Double-check that the slider under this header is also turned on.
While you can't toggle mic access for individual desktop apps, you can see when they last accessed your mic. This can help you figure out if the app is detecting your mic properly, as the problem might lie with the app itself.
4. Review Your List of Recording Devices
If your mic is still not working properly, you should next review your list of available input devices. You can do this by clicking Manage sound devices under Input on the Sound Settings page mentioned above, but it's a little easier to do using the Control Panel.
Type "control panel" into the Start menu and open this utility, then change Category in the upper-right to Small icons if necessary. When you see the full list of choices, choose Sound.
In the resulting window, switch to the Recording tab, which shows all the microphones connected to your PC. Right-click anywhere and confirm that both Show Disabled Devices and Show Disconnected Devices are checked.

Look through the list and make sure that your primary mic isn't disabled. If it is, right-click it and choose Enable. When you speak into a mic, you'll also see its bar light up to confirm it's working.
Adjust Mic Levels and Exclusive Mode
Once you've gotten Windows to recognize your microphone, you can use some options in this panel to optimize performance. They can help with issues like your mic cutting out or not sounding clear.
Double-click on your microphone in the Recording panel and you can edit a few options. If you didn't change the mic's name earlier in Settings, you can change it now on the General tab. Pick something clear to avoid confusion within apps.
On the Levels tab, you can adjust the input volume (and boost it, with supported mics). Try raising this if your input volume seems too low, or lowering it if your mic clips and sounds distorted.

Depending on your mic and computer, you may see additional tabs on this page. These contain enhancements like background noise suppression and similar, which you can try if you want. For troubleshooting, it's a good idea to disable all Windows audio enhancements to prevent them from interfering. Certainly turn off any automatic gain control or similar options, which can cause your mic to cut out.
Finally, on the Advanced tab, uncheck both boxes under Exclusive Mode. The Allow applications to take exclusive control of this device box means that one app can "lock" your microphone so nothing else can use it. Disabling this can solve a lot of mic problems.
You can also adjust the Default Format in the dropdown box to select the input quality. If this is too low, your mic will sound poor.

Once you're done making changes, head back to the Recording tab. Right-click any inputs you don't use and choose Disable to reduce clutter in input menus. Finally, right-click your main mic and choose Set as Default Device so apps use it by default.
5. Record Yourself to Pinpoint Your Mic Problem
At this point, if your mic is still cutting in and out in a specific game or app, you should determine whether it's an issue with your microphone or the app itself. To do this, you'll need to record a short clip of audio.
Windows 10's built-in Voice Recorder app is suitable for a quick test. Alternatively, Audacity gives you a lot more options and monitors for a deeper analysis.
Simply open either app and record yourself for a minute—recite the alphabet a few times, count to 50, or similar. Then play it back and see if it cuts out or otherwise sounds unclear at any point.

If it sounds clear in Audacity, continue with troubleshooting. Your microphone problem is most likely with a certain game or piece of software.
But if your mic recording cuts out here, double-check your hardware if you haven't already. As long as your hardware isn't damaged, your problem will likely be fixed with one of the above steps. If nothing works, your mic likely needs to be replaced.
6. Disable Xbox Game Bar and Captures
Windows 10's Game Bar can record clips and screenshots of your game. While this is handy, it's also known to cause mic issues in some games.
Head to Settings > Gaming > Xbox Game Bar and disable the Enable Xbox Game Bar for things like recording game clips... slider. Then move to the Captures tab and disable Record in the background while I'm playing a game and Record audio when I record a game.

These features are handy if you use them, but it's better to disable them otherwise to avoid mic problems. Check out other great game recording software for Windows 10 to replace this.
7. Adjust Microphone Settings in Your Game
By now, you've all but ruled out a hardware issue with your microphone, and are pretty sure the mic problems are limited to one app. Thus, you should dig around in the settings of your game (or other software) to see if you can tweak the mic options there.
Confirm that the game is using your primary microphone, using the name you set earlier. Also, most video games have an option to reduce your mic input volume. Try dropping this a bit, as your input may be clipping and causing the mic to cut in and out. Increase the input volume if others say your voice is too quiet.

Finally, if the game has a microphone test option, see how your voice sounds in the game. If it's clear in the test but cuts out in-game, the cause could be a network issue. Perhaps the game's voice chat uses a port that your router has blocked. Read our router tips for optimal gaming performance to look into this.
If your mic issue only occurs in-game, consider using a reliable third-party voice chat client like Discord for communication, instead of relying on the game's solution.
8. Troubleshoot Your Mic in Zoom, Skype, or Similar Apps
It's particularly frustrating when you have a microphone issue in a chat app like Zoom. If you've walked through all the above steps and still have microphone trouble, the issue probably lies somewhere in the app's audio settings.
In Zoom, click the Gear icon on the right side to open its settings, then switch to the Audio tab. Under Microphone, you should see the Input Level move when you speak. Click Test Mic to record yourself briefly and see how it sounds. Use the dropdown box to swap your mic input to another device if needed.

Zoom has other options that can cause your mic to cut in and out. Normally, having Automatically adjust microphone volume enabled is useful, as it keeps you from having to tweak it if you start speaking loudly or quietly. But if your mic audio isn't clear, try unchecking this and adjusting the input Volume slider manually.
The Suppress background noise option can also cause your mic to fade in and out. If this option gets too aggressive, it might cut out as you speak. Try lowering it instead of using Auto.
If your mic is cutting out in Discord, click the Settings gear at the bottom-left of Discord and pick Voice & Video from the left sidebar. Disable Noise Suppression and Echo Cancellation, then see if that makes a difference. You can also try disabling Automatically determine input sensitivity and setting the sensitivity on your own.

Finally, make sure you aren't muted in a call. Most chat apps give you an option to mute your microphone at the bottom of the screen. This can lead you to think your mic isn't working if you forget you're muted.
See our tips for fixing Skype issues for more advice if your problem lies with a video calling app.
9. How to Fix Echo on Your Mic
It's annoying to hear everything you say again with a delay. And while mic echo is often a problem on someone else's end, there are a few ways to reduce mic echo problems on your computer.
First, if at all possible, use a headset on calls. Most echo is caused by your microphone picking up audio from your computer's speakers, which is more common when using your laptop's built-in microphone and speakers. Using headphones greatly reduces the chance of your microphone picking up that sound.
Make sure that your microphone sensitivity isn't set too high, as discussed above. Even with headphones, a sensitive mic may pick up some sound that comes through the headset.
If you hear everything you say in your headphones, even when you're not in a video call, you probably have a specific Windows setting turned on. To fix this, go back to the Recording tab in the Sound section of the Control Panel, double-click your input device, and switch to the Listen tab.
If you have Listen to this device checked, you'll hear everything from that microphone in the selected output device. This can be useful in certain circumstances, but in most cases, it will drive you crazy. Uncheck the box and hit OK to stop hearing everything your mic picks up.

Your Windows Microphone Problems, Solved
Hopefully, one of these tips solved your Windows microphone issues. These problems can sometimes be difficult to nail down, since microphones, games, apps, and settings vary so much in each use case. But next time your mic starts cutting in and out, or isn't working at all, you'll know what to do.
If you've determined that your microphone has gone bad, there are thankfully lots of great headsets that don't cost a lot.